Keyboard
total time spent: 22.5+ hours
keyboard
27th July (day 1): reasearch and brainstorming
😭i was busy with exams and kept this project on a hold. This is my first time doing a project of this complexity and i didnt know anyhting about the workings of a mechanical keyboard and i have never owned one but.
I spent the ENTIRE (around 4 hours) day researching keyboard jargon, engineering, stabilizers, switches, parts, layouts etc... I found a few keebs for inspo
That sums up my day along with simultaneously working on my macropad (slickopad :) ) which also helped my understand the working and workflow better.
Suuuuper professional research notes:
Time Spent: 4 hours
29th July (day 2): design, schematic and pcb
I FORGOT TO ENTER MY PREVIOUS DAY cos i had to attend a family event :( but here goes
spent the previous day and today finalizing the layout, i wanted a cute, compact keyboard so i decided to go with a 65% keyboard layout, the top right key replaced with a RE:
for the MCU i decided to go for a raspberry pi pico, cos its simple, fairly cheap and readily available.
This is my first pcb of this scale so it took quite a bit of research (the macropad helped tons). i decided to go for a 15x5 key matrix with diodes to prevent ghosting coming to a total of 66 keys and 1 RE. here is the schematic (took me less time than i expected me to) i came up with:
I HATE ROUTING, while making my macropad i rerouted a couple hundered of times. but THIS TIME I HAD A FIXED LAYOUT IN MIND and as a result i didnt have to reroute much. Im sooo happy that my routing went smoothly. i had to use 2-3 vias but i tried to make do without. here is the pcb:
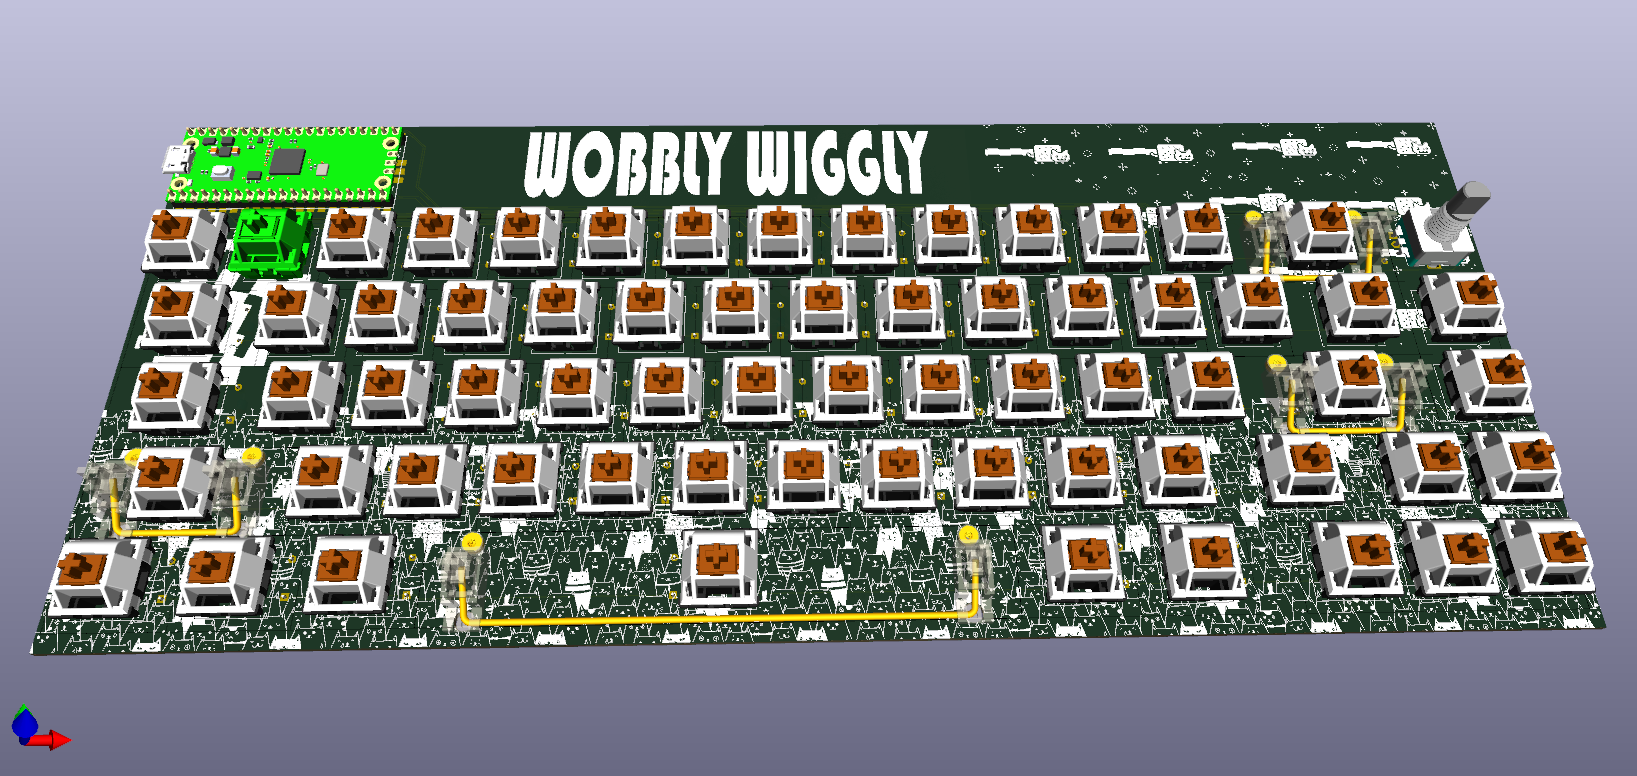
finally here's a 3d render of the pcb (LOOKS REALLY COOOOOL!!!)
Im really happy with the progress ive made although i wasted quite a bit of time finding the right footprints and models and figuring out (googling) other teeny tiny issues but now i can do stuff without tutorials now and im proud of that.
I'll start designing the case tomorrow!! (3d modelling is nightmare fuel)
Time Spent: 4.5 hours
30th July (day 3): CAD - case
wheeeeezeee
I truly hate fusion navigation controls, controlling a 3d space with a 2d cursor is hard, anyhow....
I COMPLETELY LOCKED IN TODAY!
After researching about keyboard mounts, i wanted to go for a gasket mount or gummy-o-ring mount, but both of those sounded a bit complex and i didnt know if i could find the gaskets separately, sooo, i chose to go for a top mount design as i read its a good balance and is reallly popular.
Im using heatset inserts this time and i want to conceal the screws so i kept that in mind.
This is what i came up with, although i might need to tweak it a bit tomorrow:
bottom case:
plate:
top case:
final assembled look:
Although im happy with how it turned out, i dont like the massive 40mm unused space on the top, i wanted to make a minimal keyboard and this goes completely against, the only solution i found feasible was to use solder pads and then use wires to link the pcb to the MCU, but this is my first time with something like this and i thought its better not to experiment too much, moreover, i have a deadline, ie, tomorrow!
Ill do the finishing touches and fix up any errors tomorrow and get my repo ready tomorrow hopefully!
BTW!!! My macropad got approved today!! YIPPEEE!
Time spent: 8 hours
31st July (day 4): finishing touches
I made a few tweaks here and there. adjuested somedimensions. changed some filleted edges to chamfered cos i read that it is better for 3d printing.
I spent quite some time rendering the various views.
This project was amazing and it was the most complicated project i have ever taken. This was a new learning experience for me and i;m so happy! Im quite happy with how it turned out
I'll now make the final repo and then submit!
Thank you
Time Spent: 2 hours
1st July (day 5): Top case redesign
The case was a bit simple and i was told to make it a more complicated. so i decided to go with a wing embossing on the top part of the case
I decided to make an angel wing like design in figma
after embossing it on , this is how it turned out:
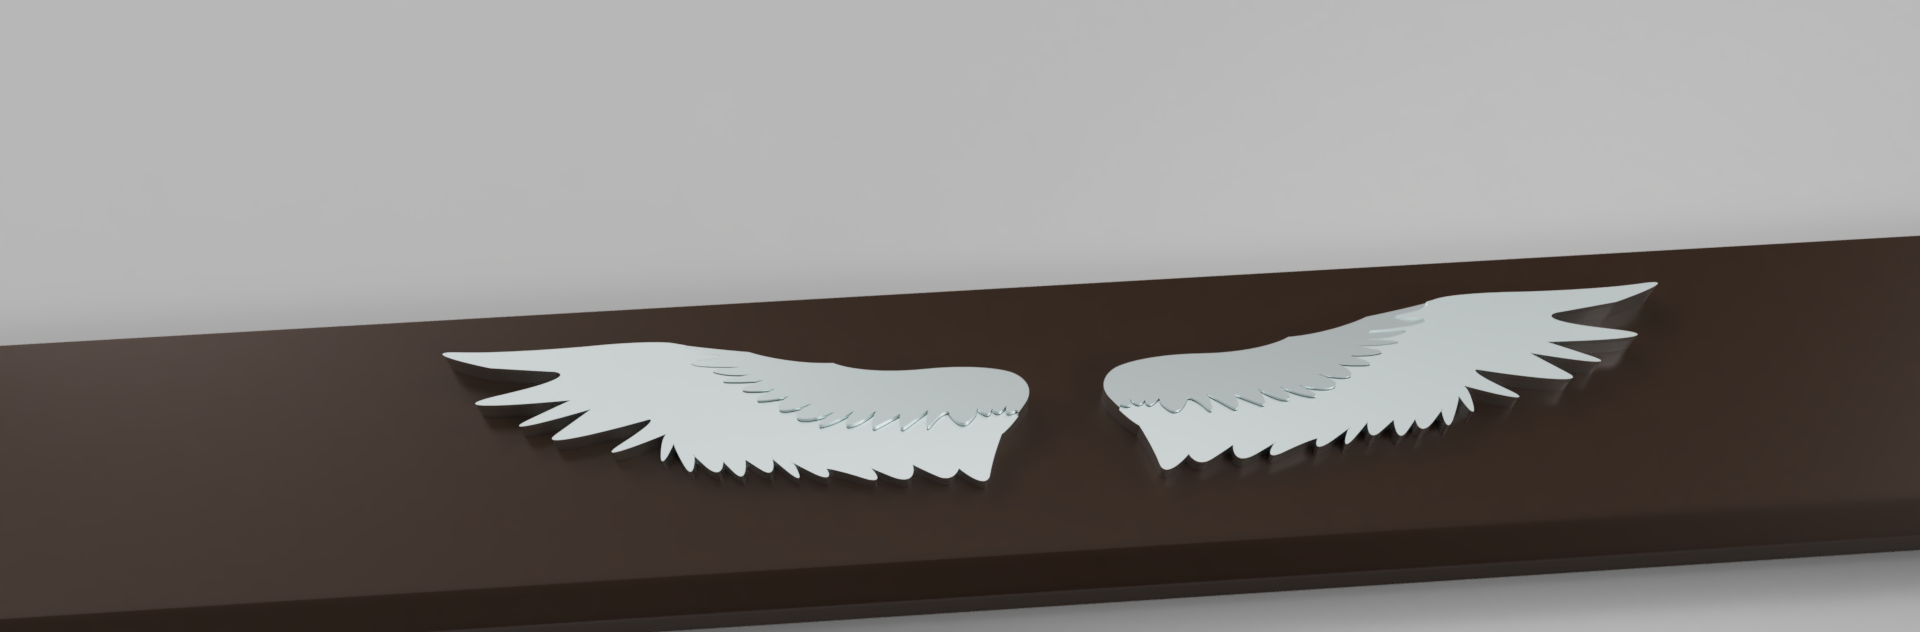

I think it looks pretty cool, idts its gonna look after the 3d print tho.
Time Spent: 1 hour
2nd July (day 6): Top Case redesign and general tweaks
bruh
I redesigned the case again and this time and after a LOT of trail and error with different ideas i decided to go with a cool hollow net like design. It took me an embarrasingly long time to implement it courtesy of my poor fusion skills :D
This is how it turned out:
these are the renders:
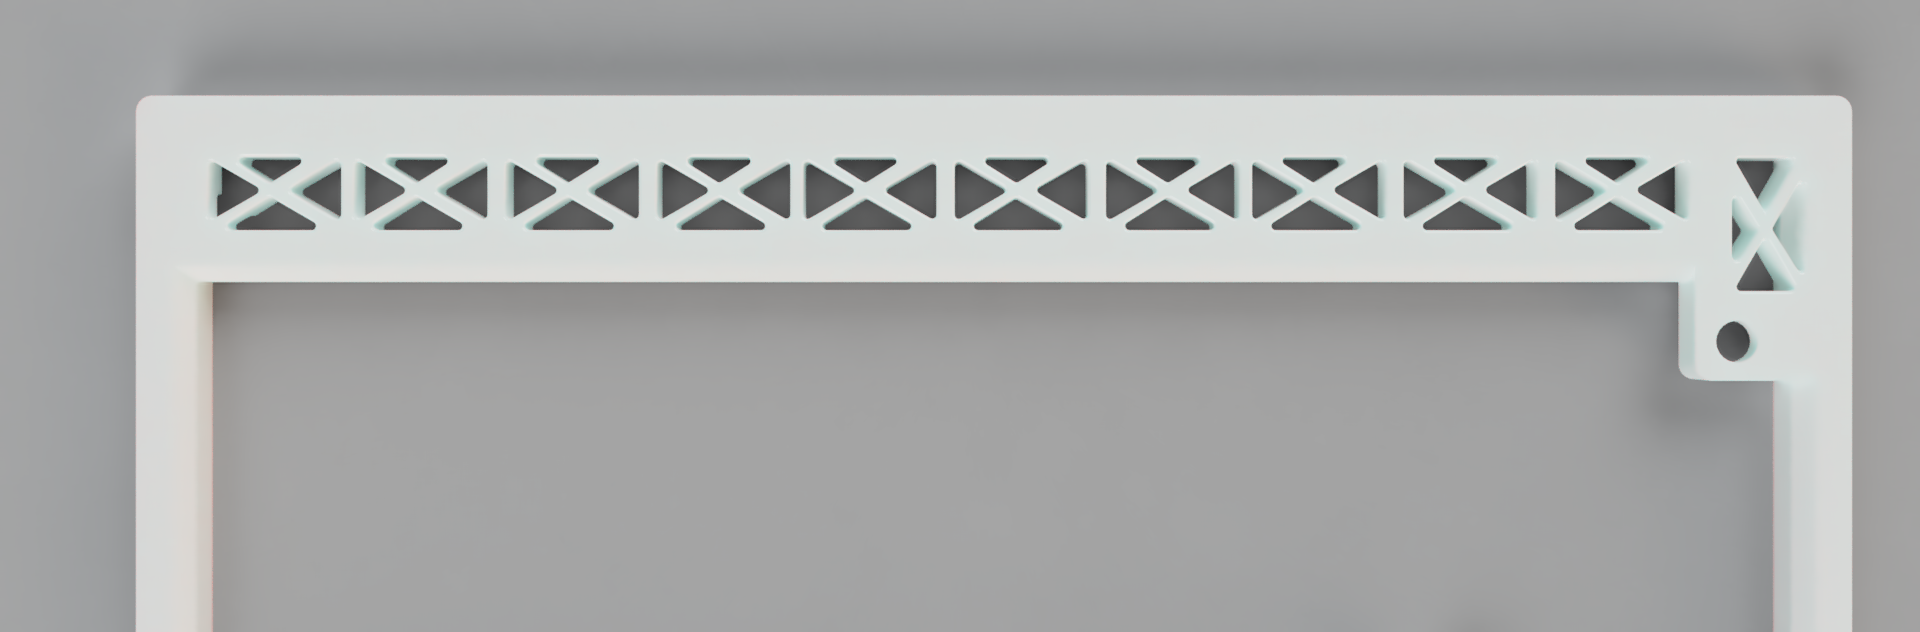
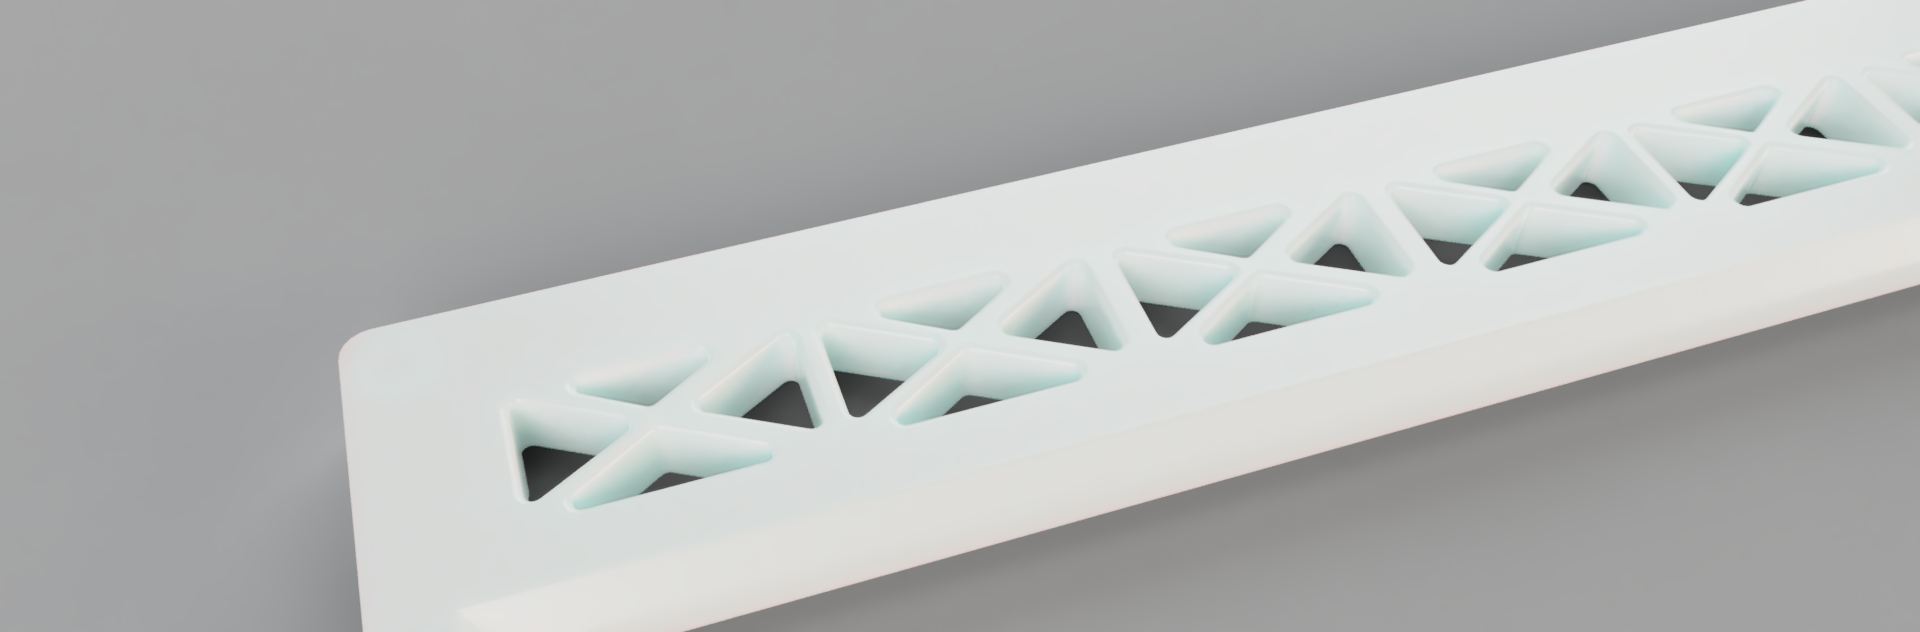
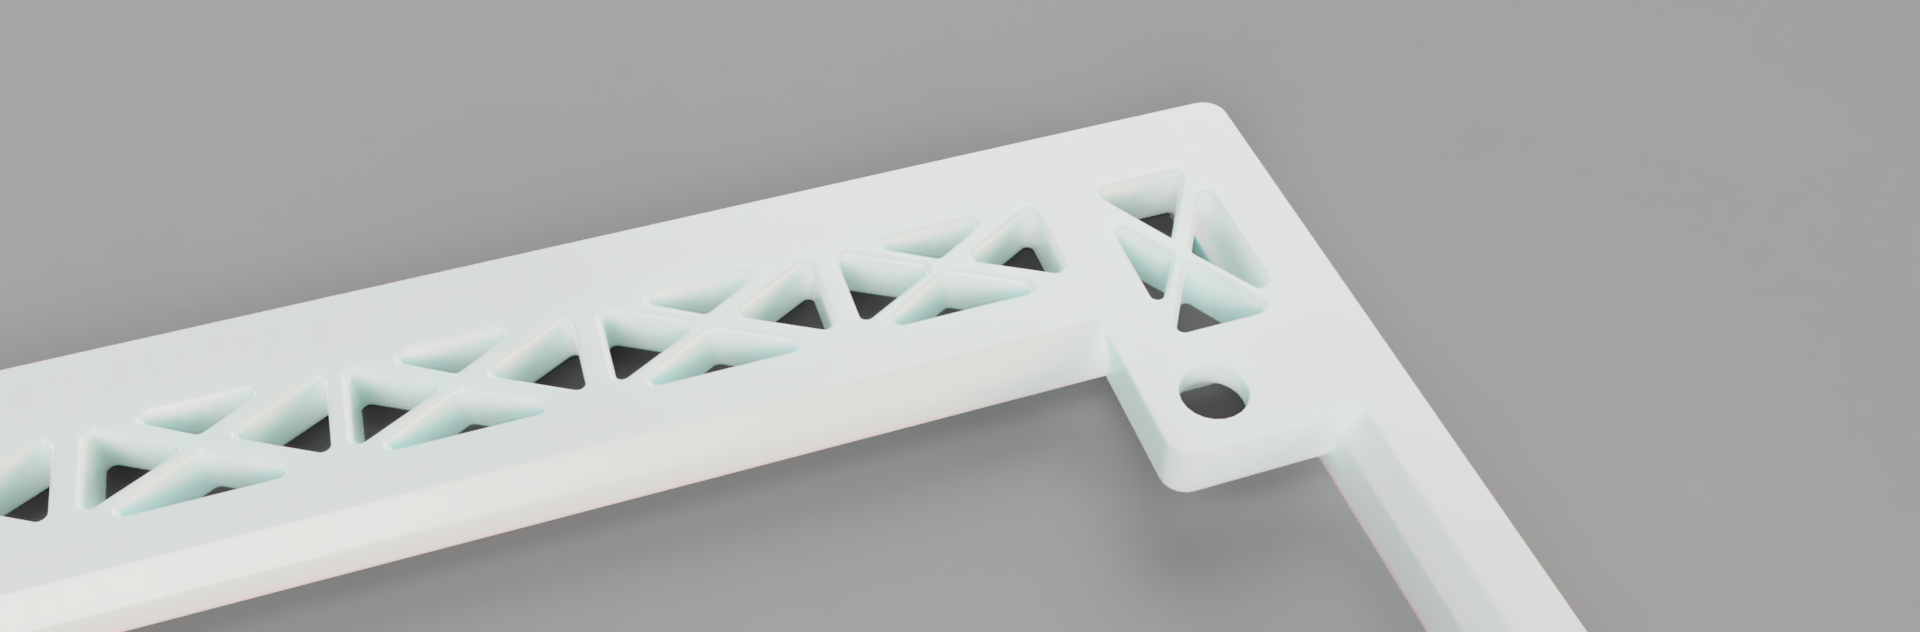
I'm pretty happy with this, i think it looks cool and idts there'll be any issues 3d printing this.
also i forgot to add one hole for the heatset insert
and i made a bit of square space for the RE as i was concerned itll not fit
I hope its done now, i think this is perfect now!
Time spent: 3 hours
12th July: Added COOL Silkscreen and placed orders
wooh
My grant arrived a few days ago and since ive placed orders for mostly everything.
only the case remains of which each part needs to be split into two to make it 3d printable in a typical 256mm3 3d printer.
Anyways! here is how the pcb looks:
front:

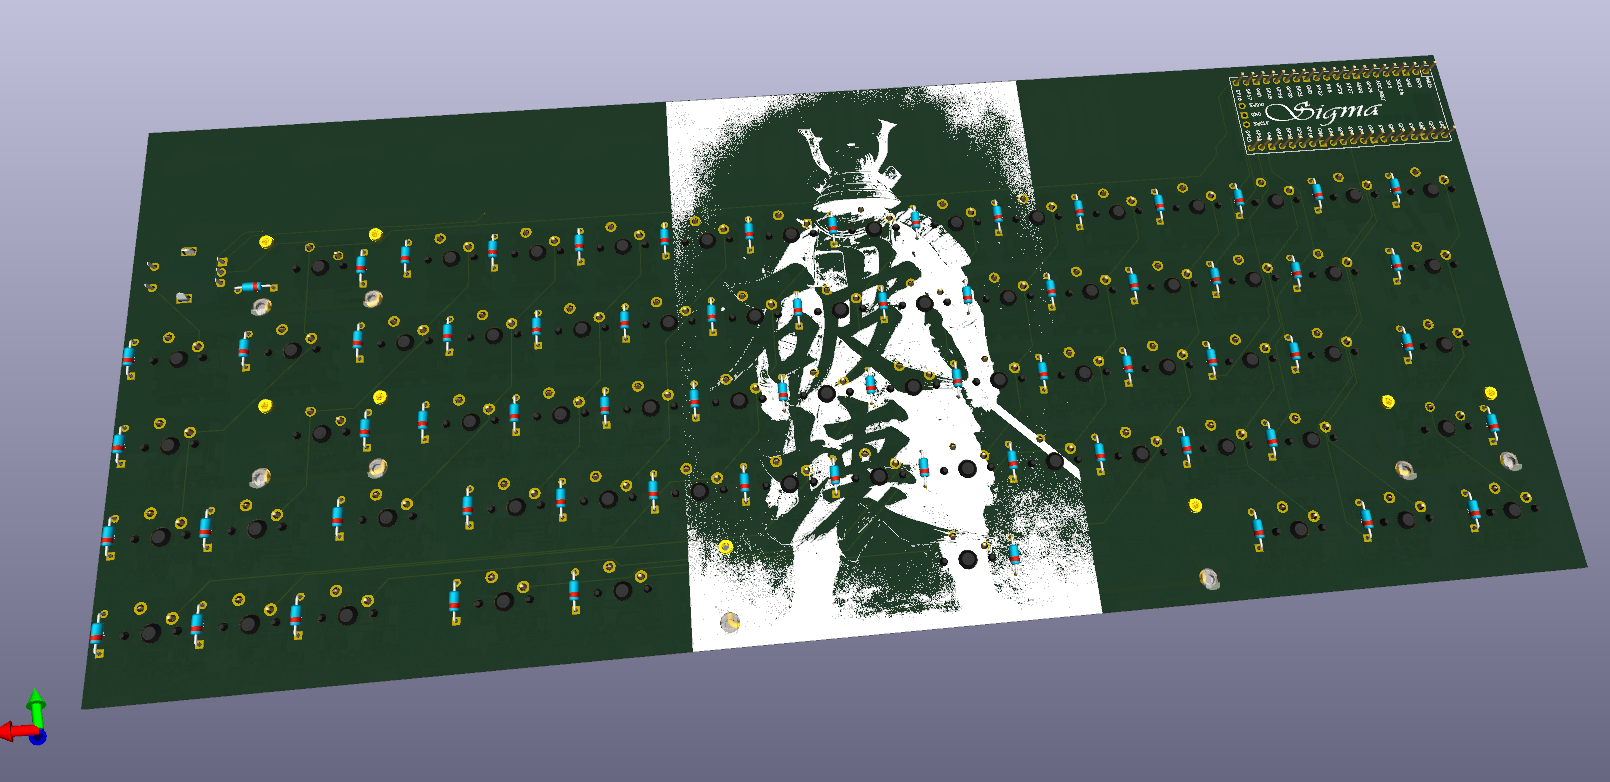
back:
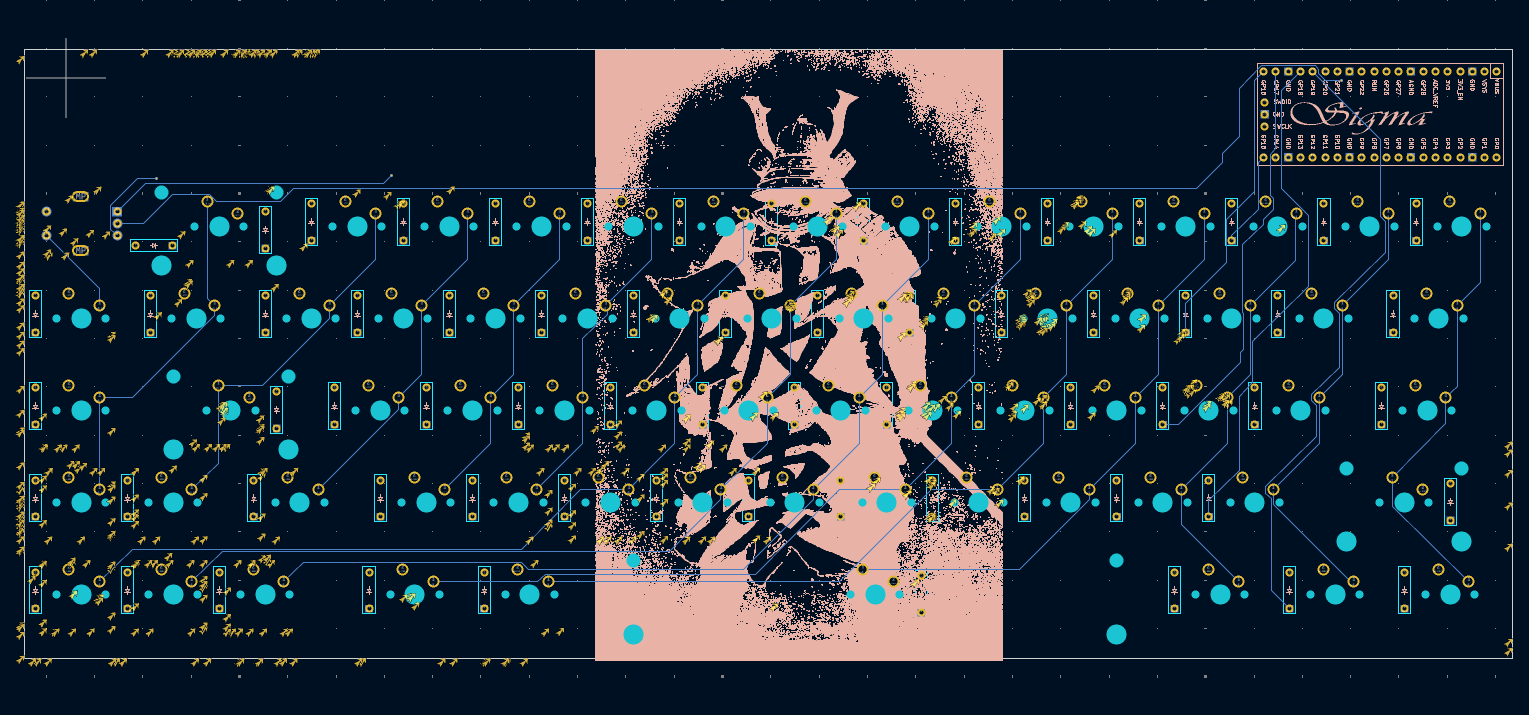
3d: