
MiniSafe
A perfect safe that not only functions well but looks soo cool!
Mini-Safe
TOTAL TIME SPENT: 21 HOURS
JUNE 15
Time Spent: 11 Hours
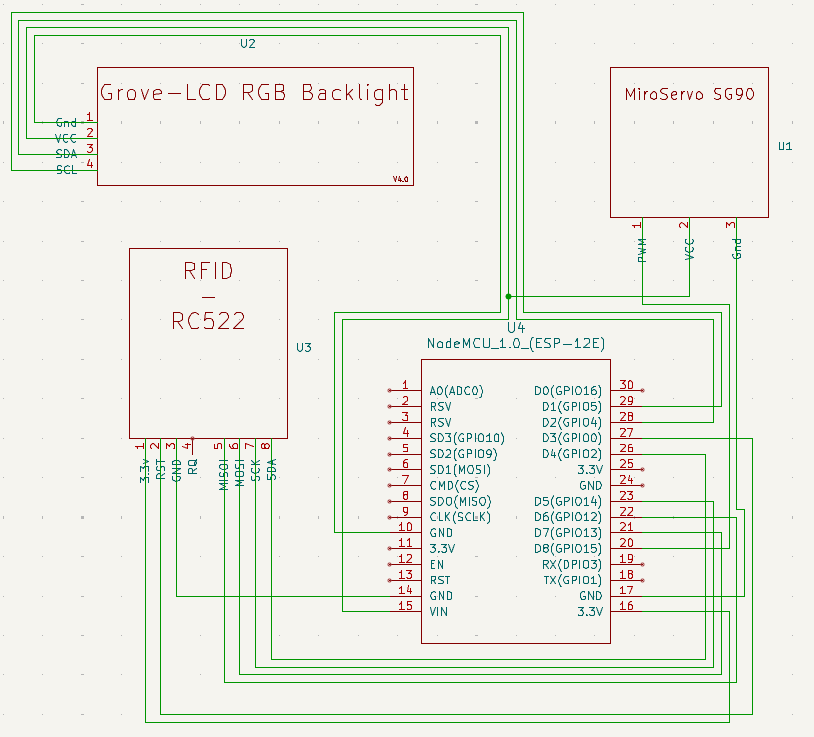
Today I got a brilliant Idea. What if I made a minituare cute safe!! I thought that If done well It could be a really cute an amazing project so I started of by making a list of materials that I would need for it. I had a basic Idea A lock of some sort that would be unlocked by a input device such as a keypad. Then I had a realization, I have a RFID moudle so why not just use that! Then I had another realization I have a servo motor so why not just use that. Then I had another realization I have a Grove-LCD RGB BACKLIGHT so why not just use that! Then I had another realization I have a esp8266 board so why no just use that!!!!! (Slighly over-exagurated but I was really surprised okay.)
So I decided to start of making the actual wiring and everything instead of having to do that last. It took a while but evenutally it worked and it was amazing. This really energized me to start working on the next step. but before I tell you about it check out this video of the circiut.
| I forgot to add the code to the repo so heree it is code for the project
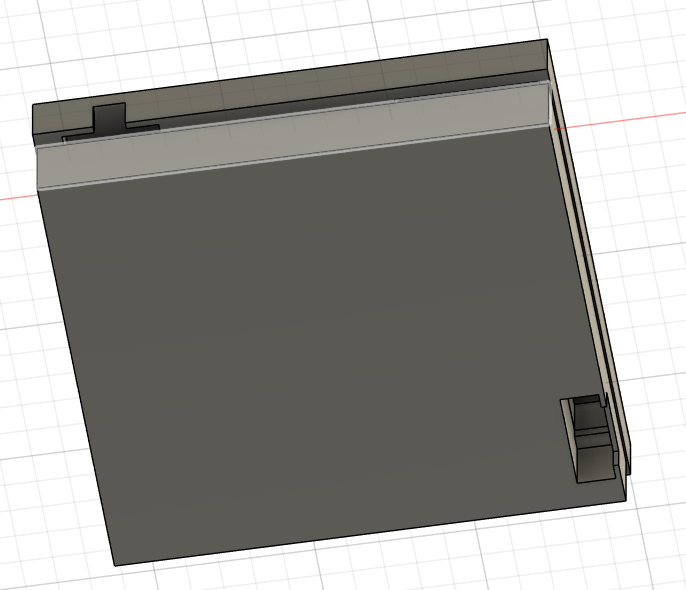
Next I realized that I didn't have to work on the pcbs so I could just make the case and I would be done with a major chunk of the project. So I started of making it and didn't really make to much, just the back part of the case which was relativly easy compared to the front. I just made a floor extruded the walls added a roof and then sum fillets.
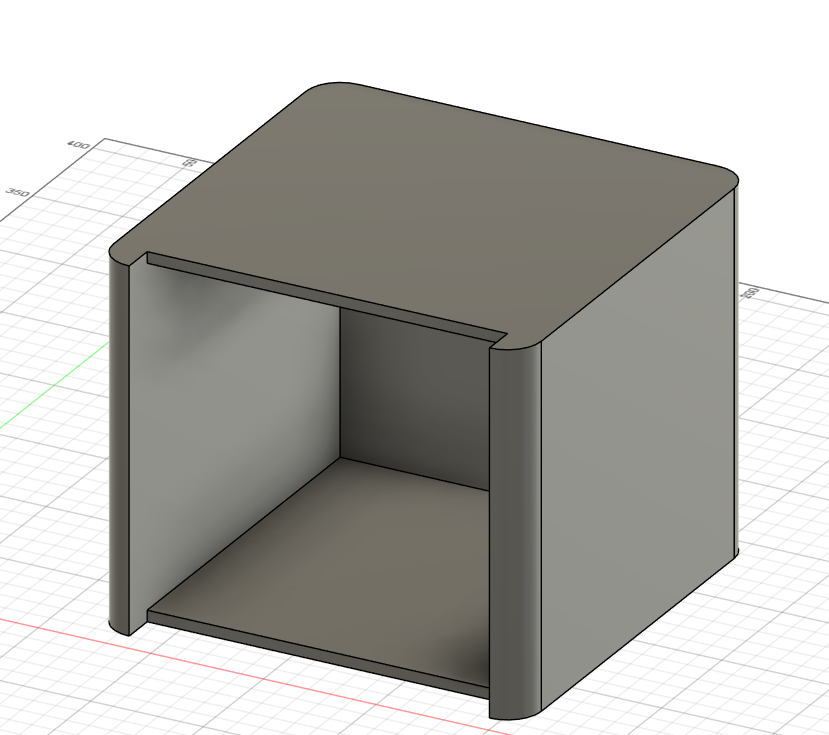
After this I tried to make A front of the case but made no progress so I just called it a day and went to sleep.
After A while I came back and just made a simple box as a place holder.
Time Spent: 11 hours || No Idea how fast the time went by ||Took me Longer than I would Like to admit to do the 3d model
June 16-17
I was tired and I had to go to school so I didn't really do anything :(
June 18
Today the moment I woke up I knew Today I WAS GONNA LOCK IN!! And finish the project.
After I came back from school today I sat down and finished the cad. This was surprising difficult at first but I feel like I know why now. Although I have somewhat knowledge of blender I have never done fusion before and I really don't know how to use it so I feel like I really should because today I learned about the hole feature using youtube videos and it was really helpful.
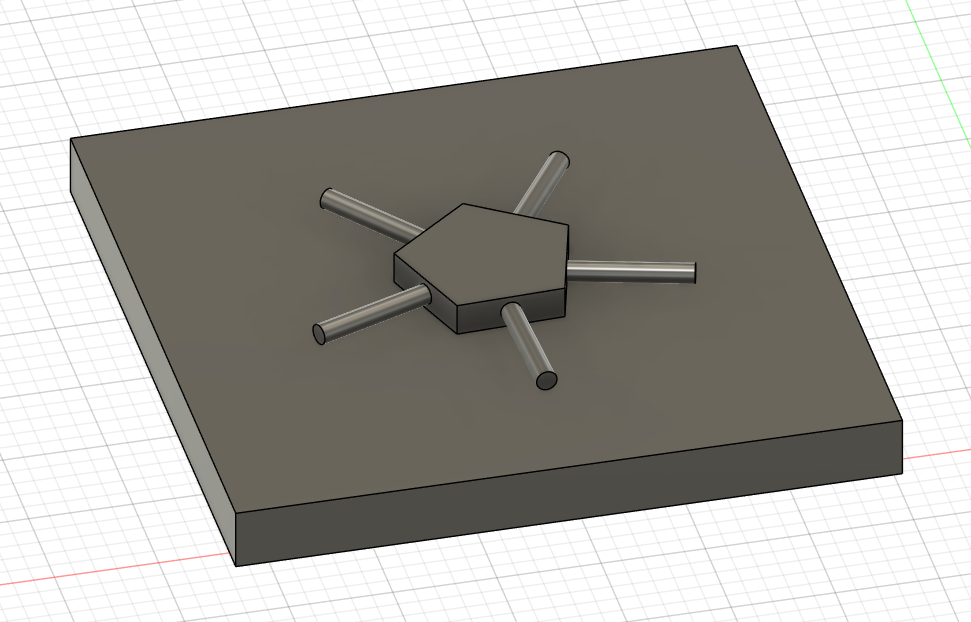
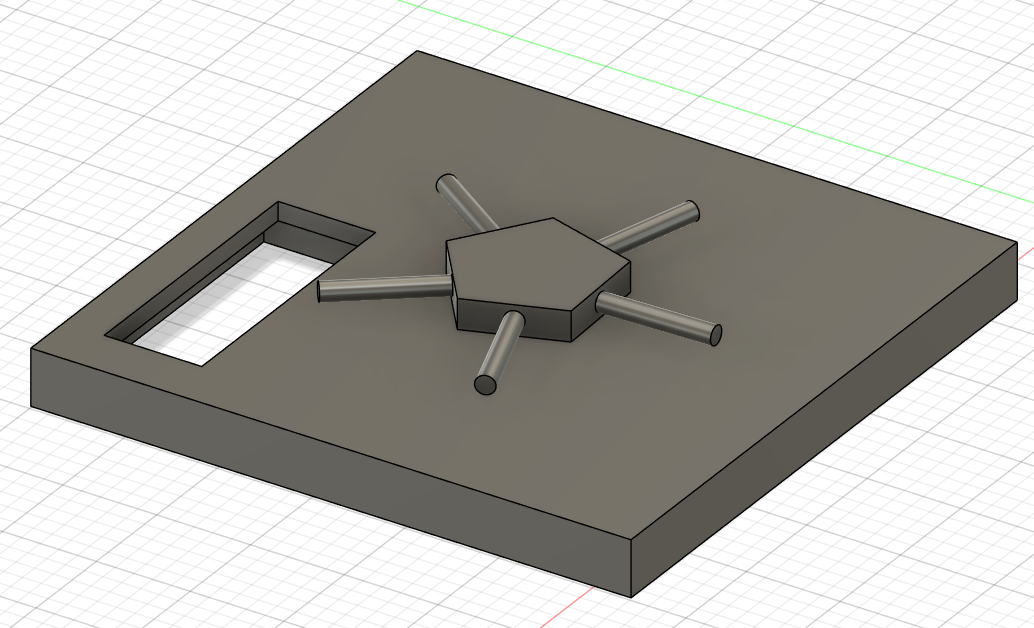
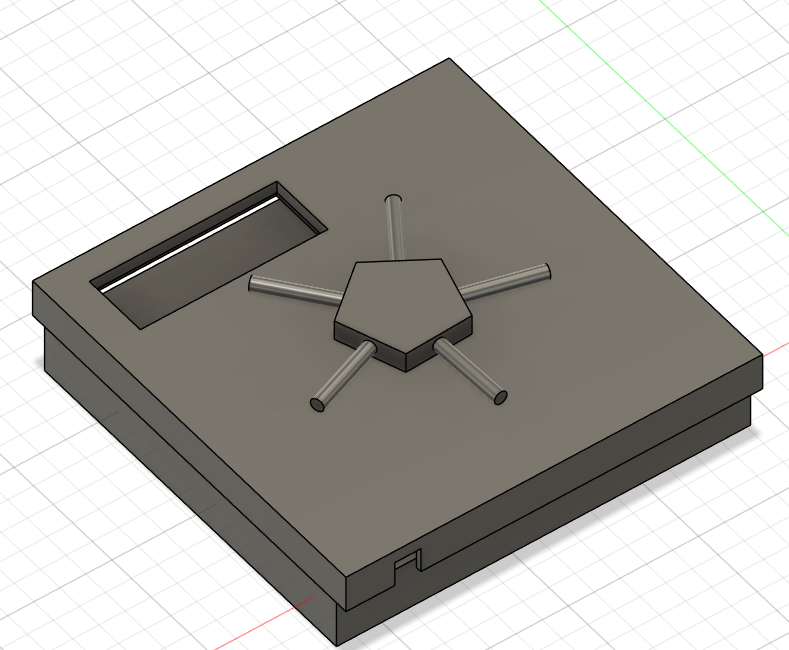
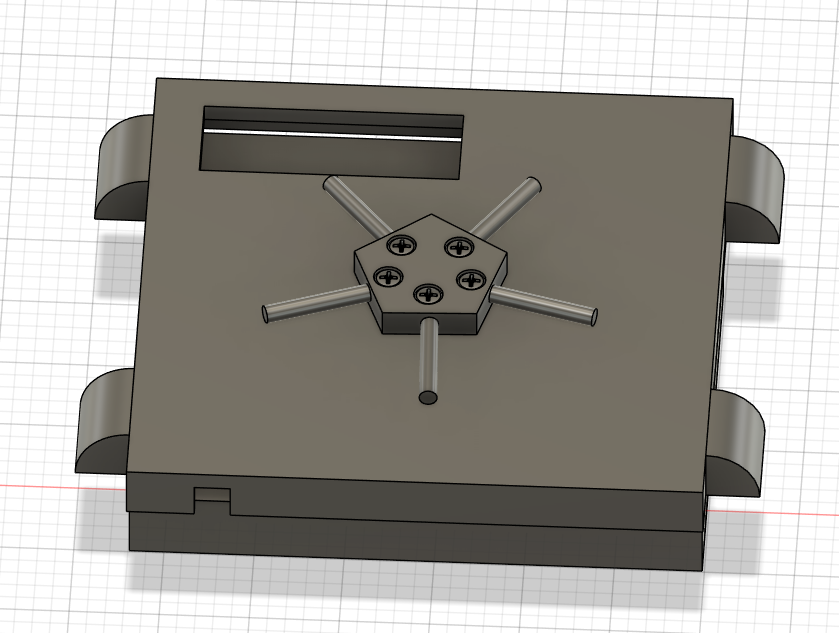
I first added a pentagon in the middle of the square for the front part and then added bars on the side of each face for the classic movie feel.
Next although there was probably a better more realiabe way to do this I brought out my ruler and started to make sketches for for my components and made holes where nescesarry. I started of by making it for the lcd display
Next I did the rifd module. I didn't want it to be visible so I kept space between the top and where the rfid module will go. I also know that the tag will still work becasue it is being detected over a cm from the card and the distance is not that great.
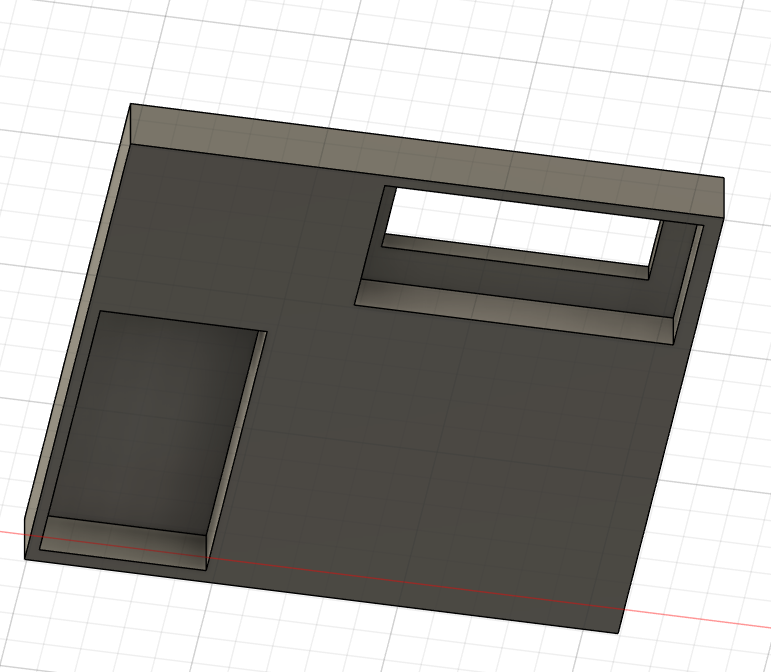
Next I made the hole for the esp8266 which would be controlling everything and I also didn't want this to be visible so I did the same thing as before. For this I also had to make a hole for the wire that would power the esp. I made it at the bottome of the case and that was another component done.
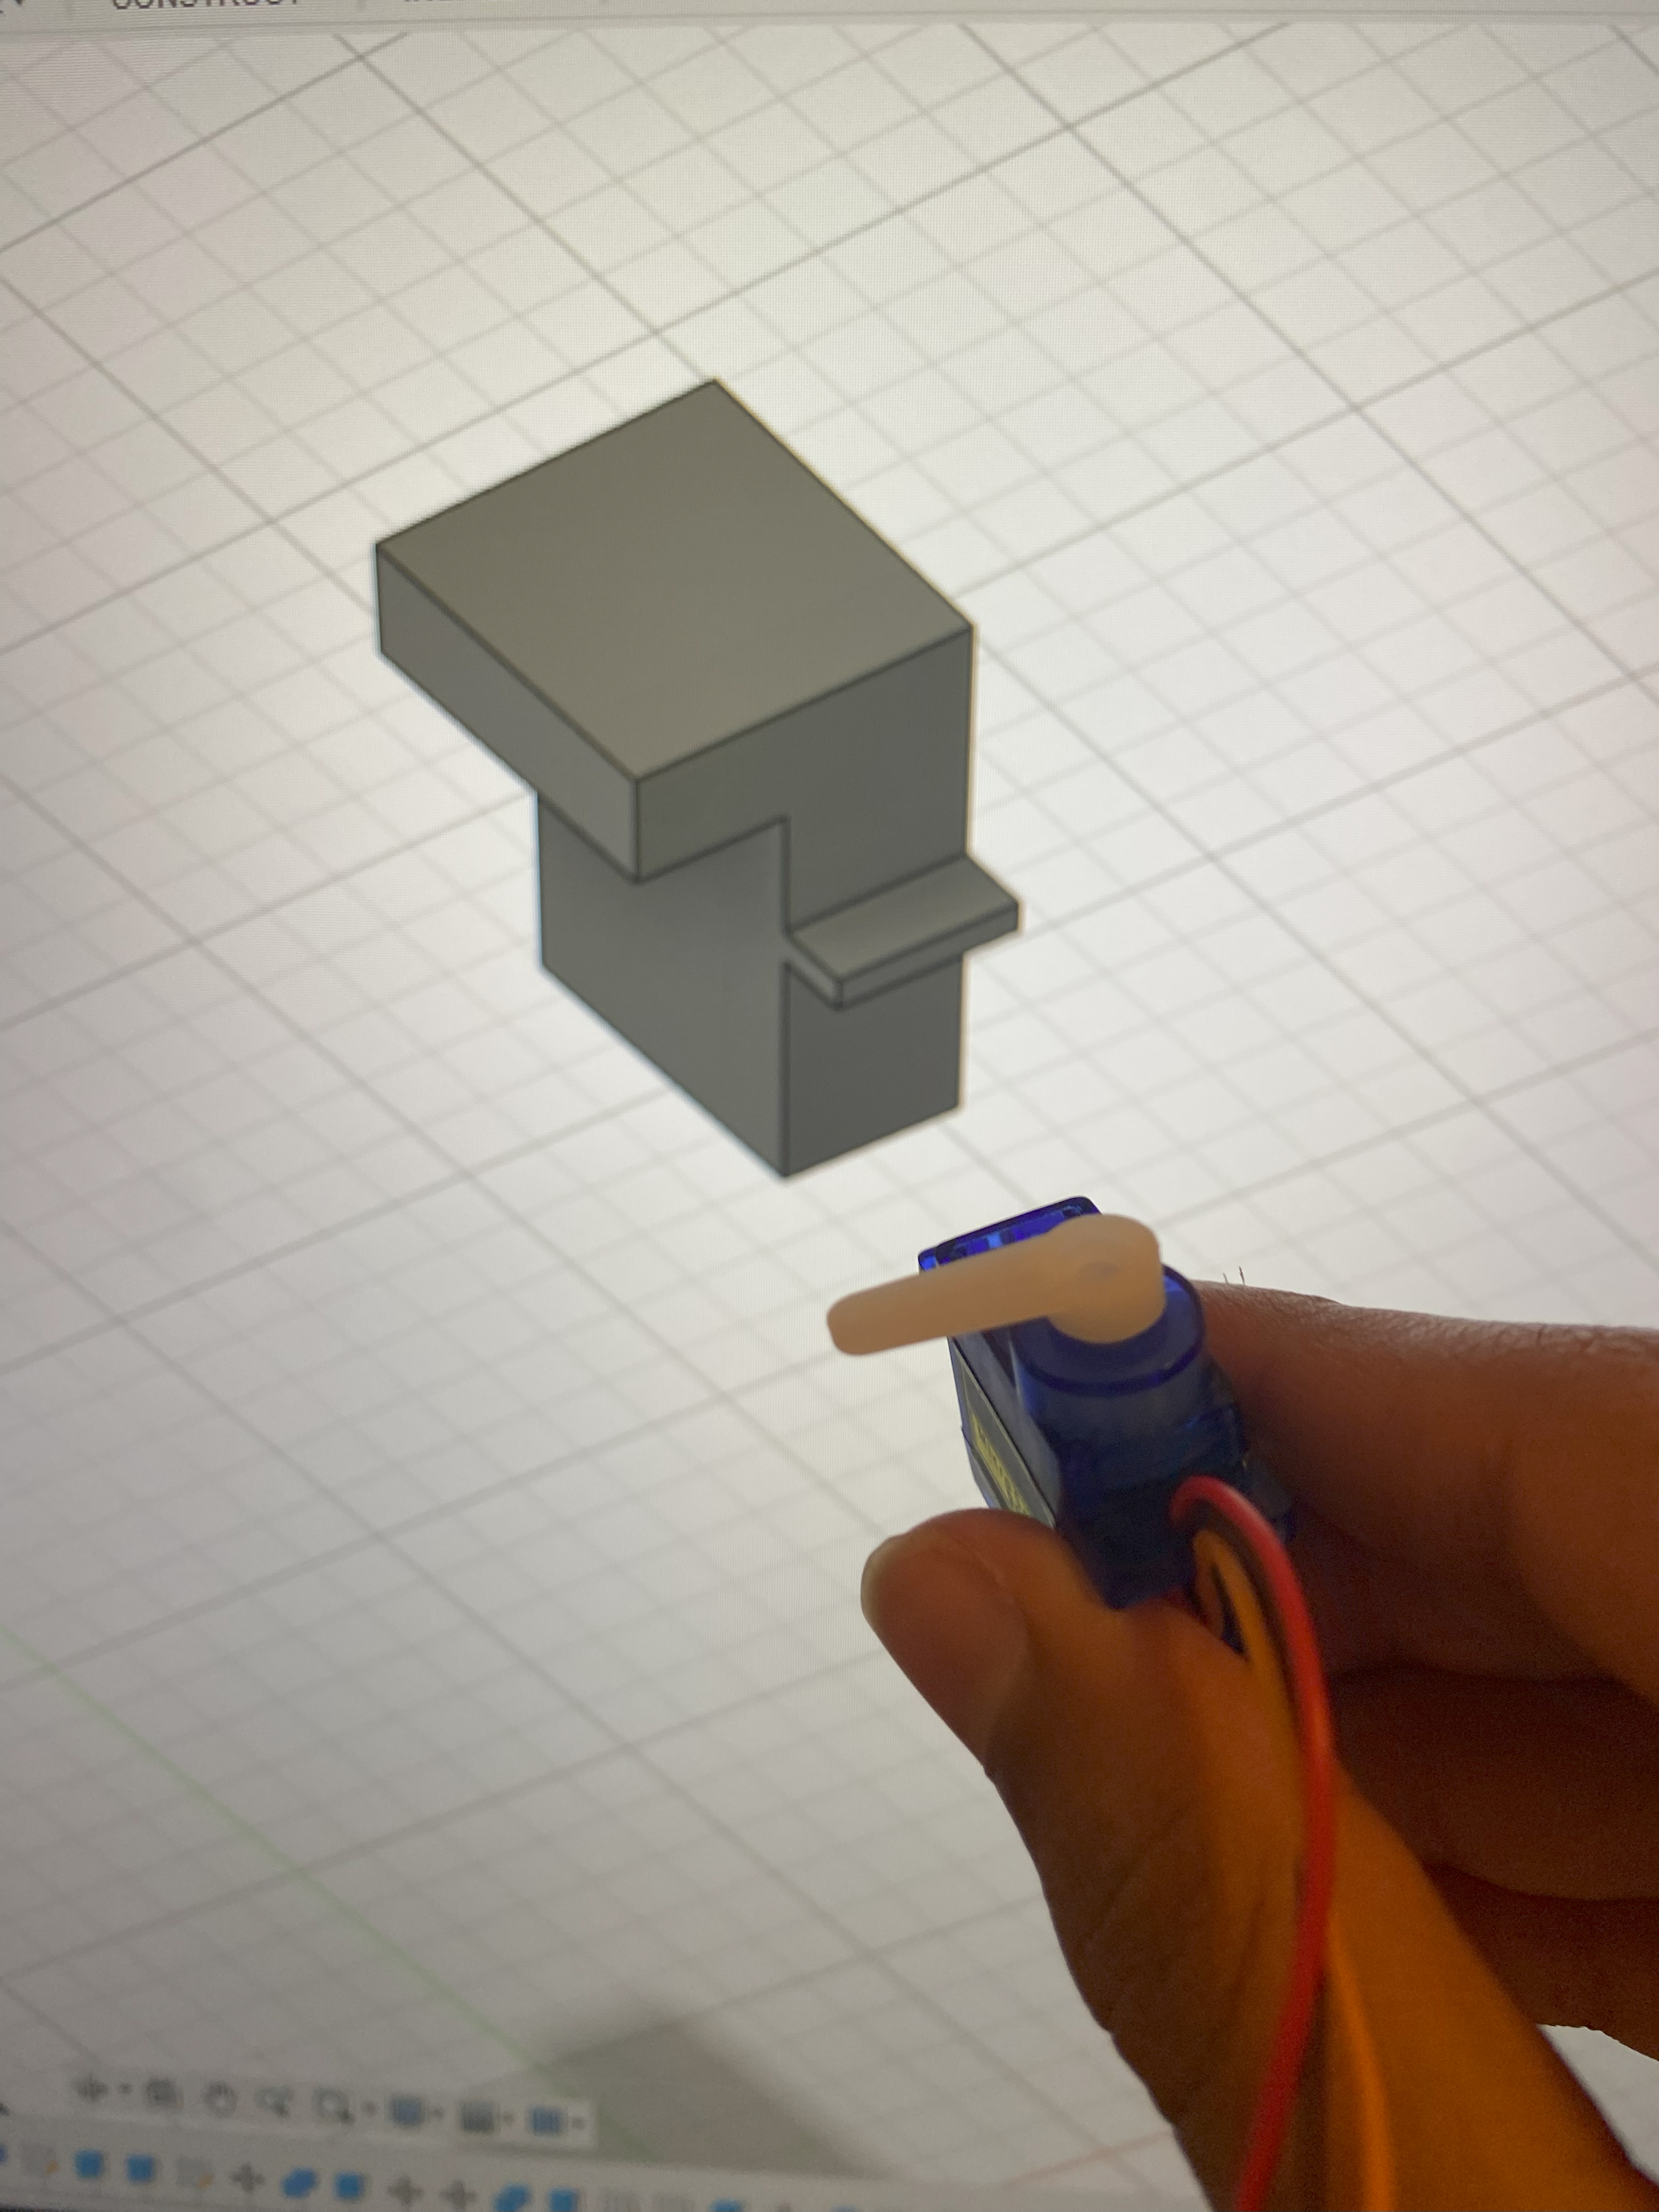
Now for the last component I need to make was the servo motor I made a sketch and did the extrusions needed and this was the result. I am kind of proud of it.
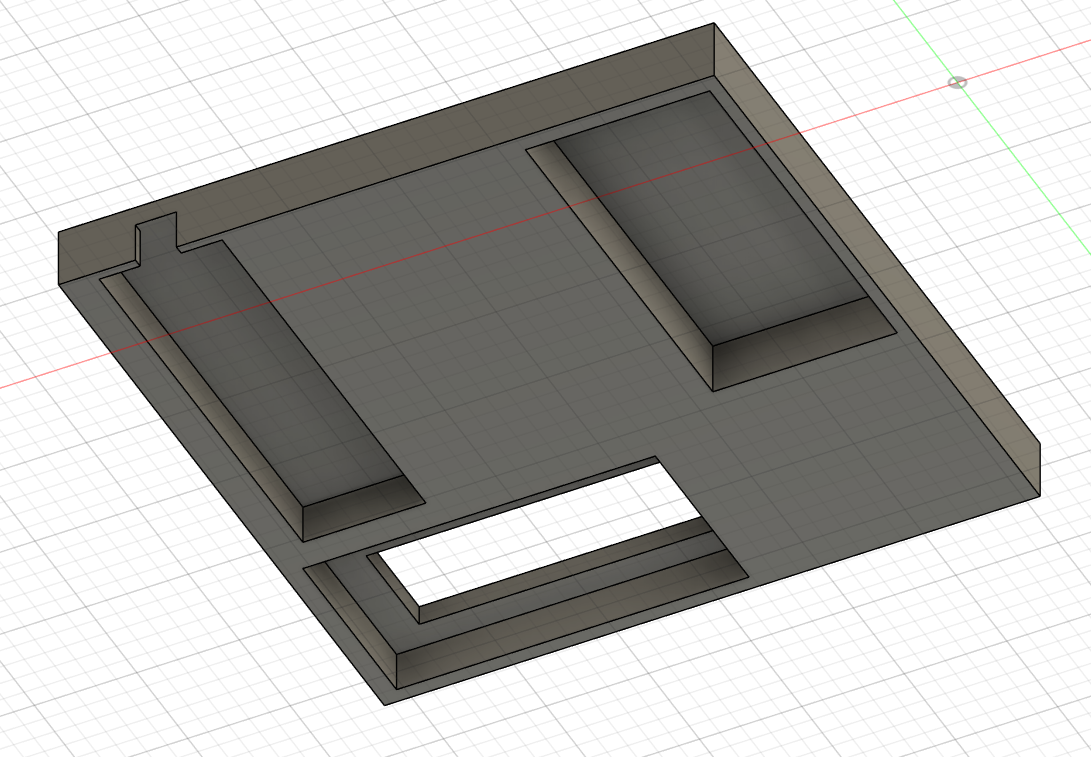
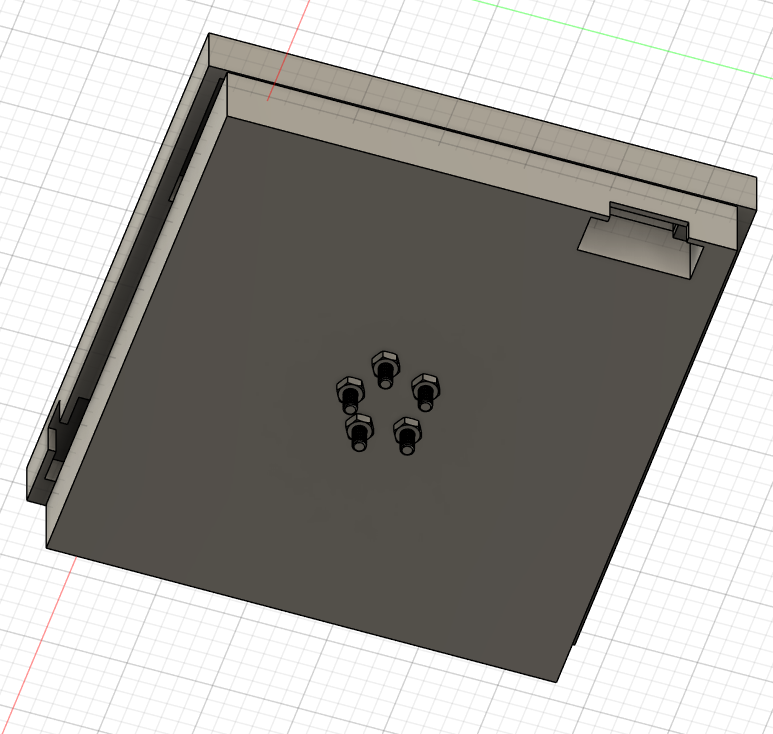
I realized that the components would most likely fall of the back so I added a back plate that would fit the safe
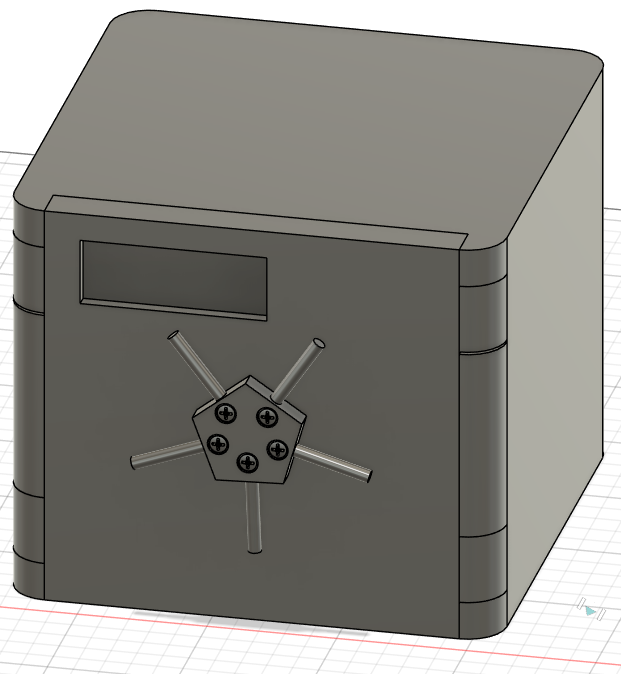
I combined everything and put it in the right spot now and this is the end product.
revisions:
Note the hole where the servo is isn't clearly visible but it is still there.
Note that I changed the servo motor sketch to allow for the side overhand to enter the case fully
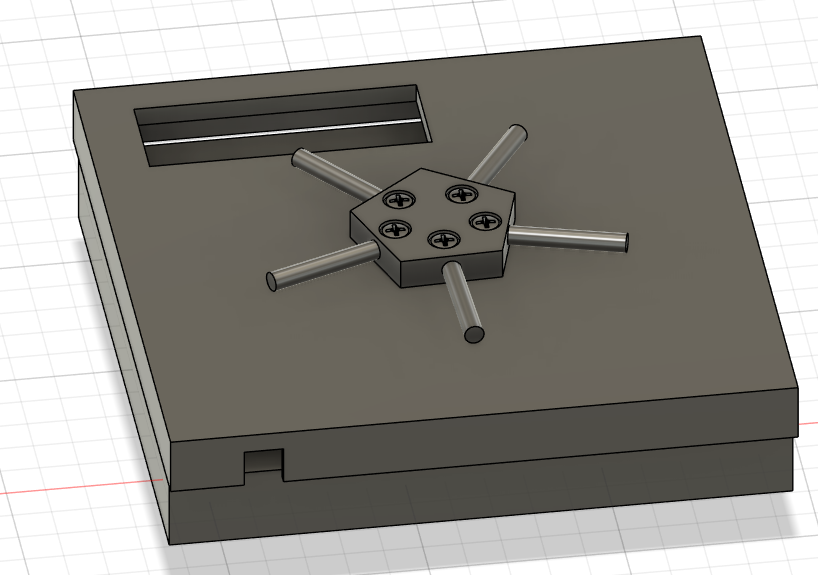
Next I also had another though. How do I keep the back from falling of? I quickly decided the screws and nuts on the back would be the best choice because they would match the safe aesthetic. This is where the hole tool really came in to use. I probably just did random stuf trying to make the holes for over 30 mins but eventually gave up and watched a youtube video about it. This was very useful. Then I added the screws nuts and also copy pasted it the nescessary amount of times for 5 screws each near a side of the pentagon.
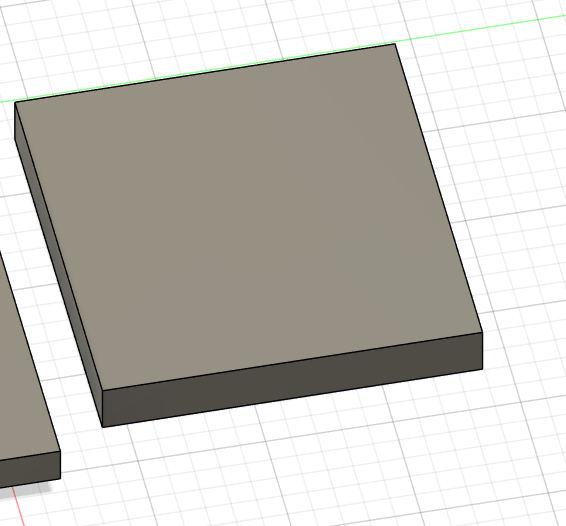
with that I thought that I was done. And I really was All I had to do now was to make a way for it to open and close. And really just not move while it was closed so I came up with and idea. I could cut of a bit of the case and add it to the front. I know its prob not the best way to explain it but :(
Note: I came back at add some space in betweent the two componenets for 3d printing errors
TOTAL TIME WORKED: 10 HOURS
----The End----
my alarm just went off, its sooo late :| <- to sleepy to add a sad face