
Button Blitz
Test your reaction time with this fun game!
Total Time Worked: 10 Hours
July 2
Time Worked Today: 10 Hours
Today I figured that instead of doing a big complex project I should do a more simpler project that I can quickly finish and get points for. So I sat down for a bit to figure out what I would do and I thought of a really fun game to make. The idea came from a movie where they were testing their reaction times so I though, what if I made this? So thats what I did.
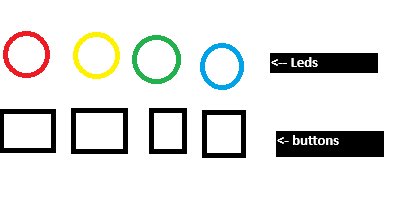
I started off by making a plan, I wanted to have a led turn on and as soon as that happens you have to try and click a designated button for it as fast as possible. I started of with a sketch of what I wanted.-->
I knew that I needed a mcu to control all of this but as it probably doesn't need that many gpio pins I went with the Seeed Xiao RP2040 (which I already had). I also decided to use a 128x32 lcd display as I already have one and they are small so it will easily fit on the board.
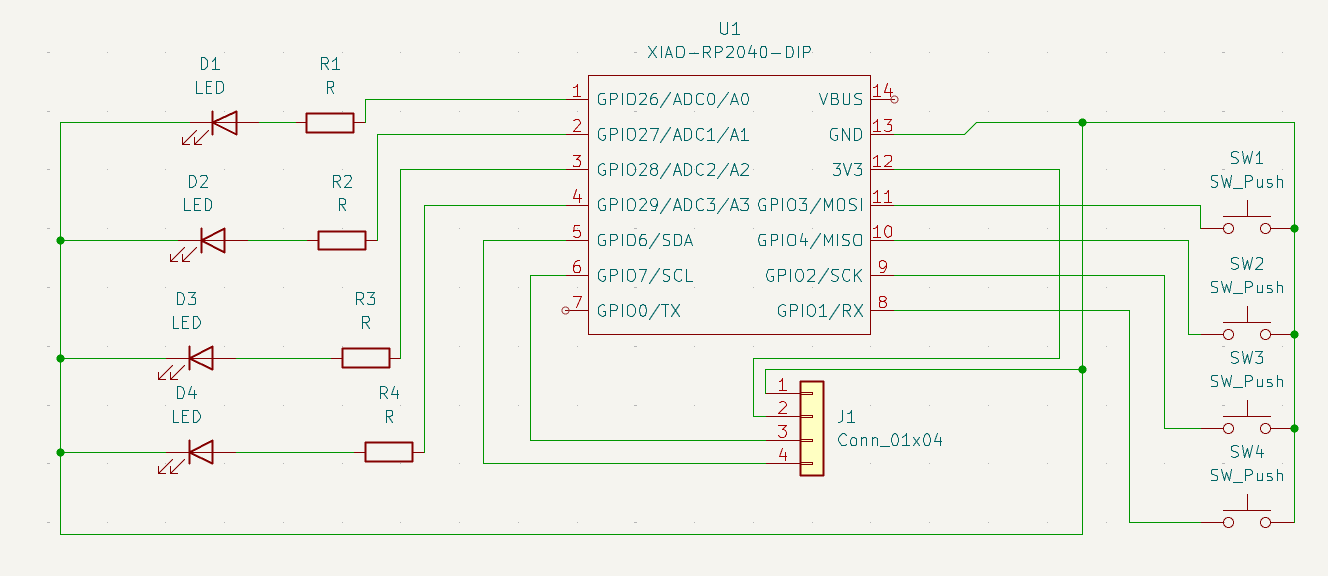
Next I made a schematic. This didn't take that long as there are not that many components. Another factor that might have helped is that the keyboard project I have done has made me do a lot of revisions on my schematic and pcd design so I feel like I am getting more comfortable using kicad.
I added a oled to show messages such as game over, your score, and the total high score. I also added resistors in front of each led to prevent the board and led from damage. I am using regualr 5mm leds and tactile buttons. <---- I actually have everthing listed above.
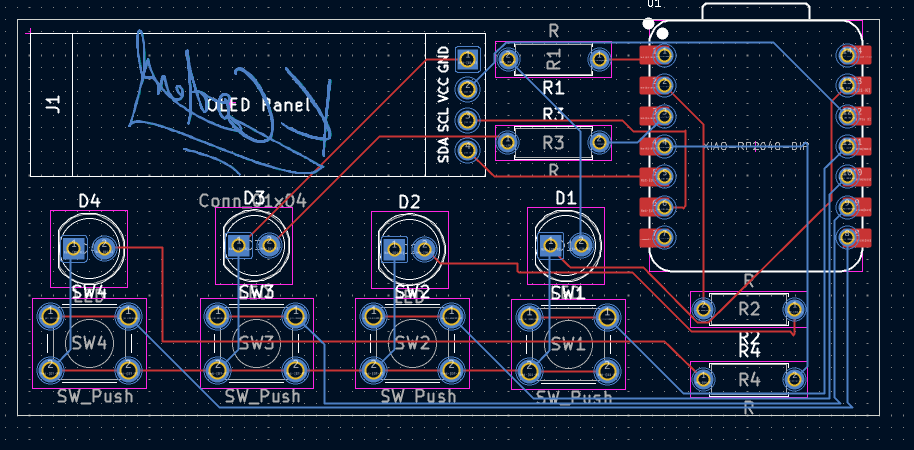
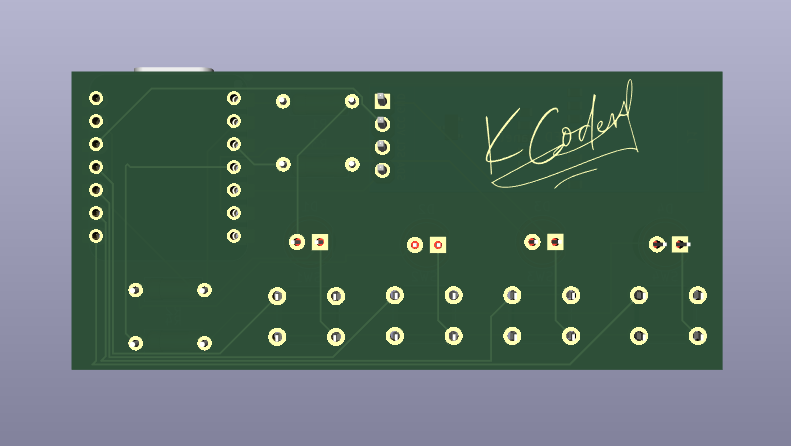
After this I assigned each one the correct footprint and moved them over to the pcb editor.
I started of by puttiing the leds and buttons in locations simmilar to the sketch I drew. Then I moved the lcd display above the leds and the xiao rp2040 to the right of it. I filled in the rest of the space with the resistors.
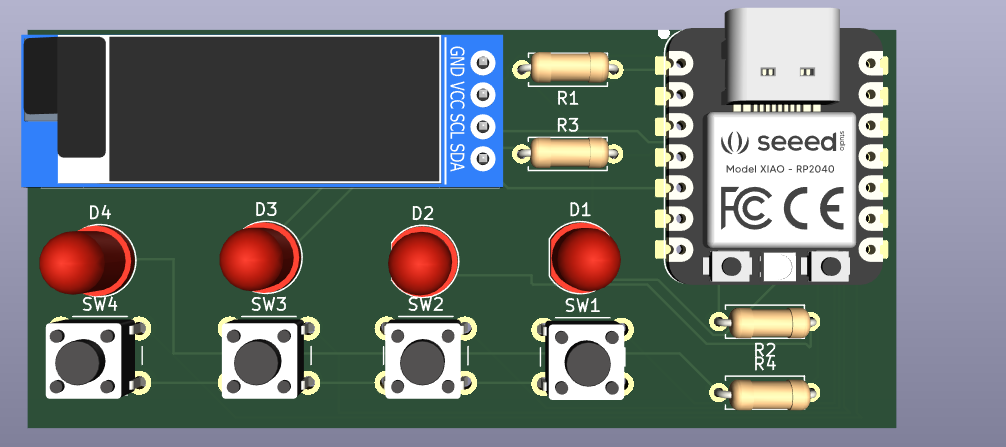
Then I quickly wired everything, This didn't really take that long becasue thee were really not that many traces to draw and I didn't even need any vias. Lastly I made sure that they all had 3d models that would show up in the 3d viewer.
After this I started with the code. I have never really coded in C++, this is why it took me so long to do this. I first started of with a simple code that would turn the led on and off from Arduino Docs. The docs were so helpful and I used them in many other cases as well.
After that I integrated 1 button into it so that when I press that button it would blink the led.
Next I added 4 leds and 4 switches that would turn on based on which switch was pressed.Just the coding part so far probably took me an hour to do.
Now all I really had to do was the lcd display part. I really wanted it to look as good as possible so I added a ton of stuff and effort into this. such as a logo on start up a score and highscore feature. And harder levels the longer you play on. But overall that was the code finished
That 1 paragraph above took me roughly 6 hours to do combined with the 1 hour for just the led and switch as well as the 1 hour need to do the schematic + pcb is equal to 8 hours. so where did the last 2 hours of today go you ask?
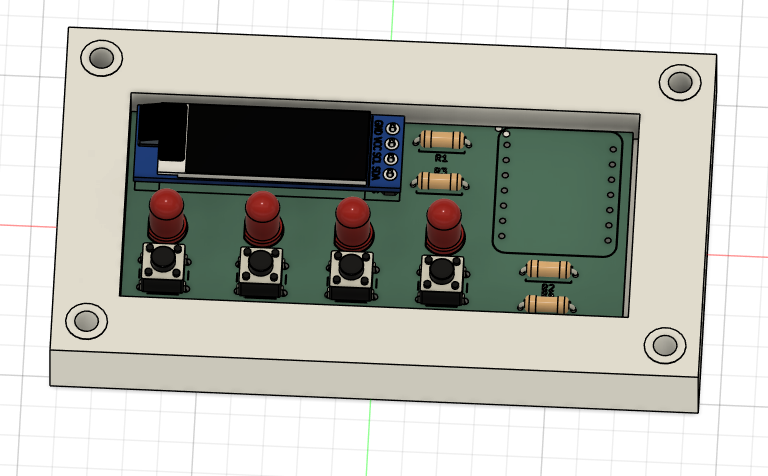
Next I started with the 3d modeling. First I imported the 3d model of the PCB
I made a simple case around it
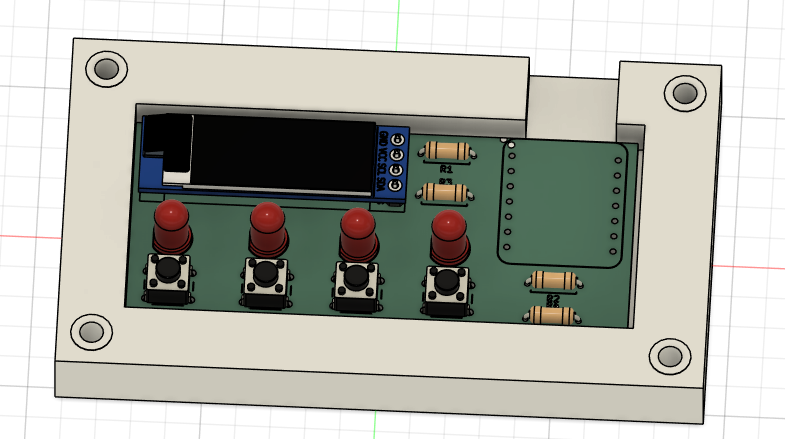
I added the top of the case

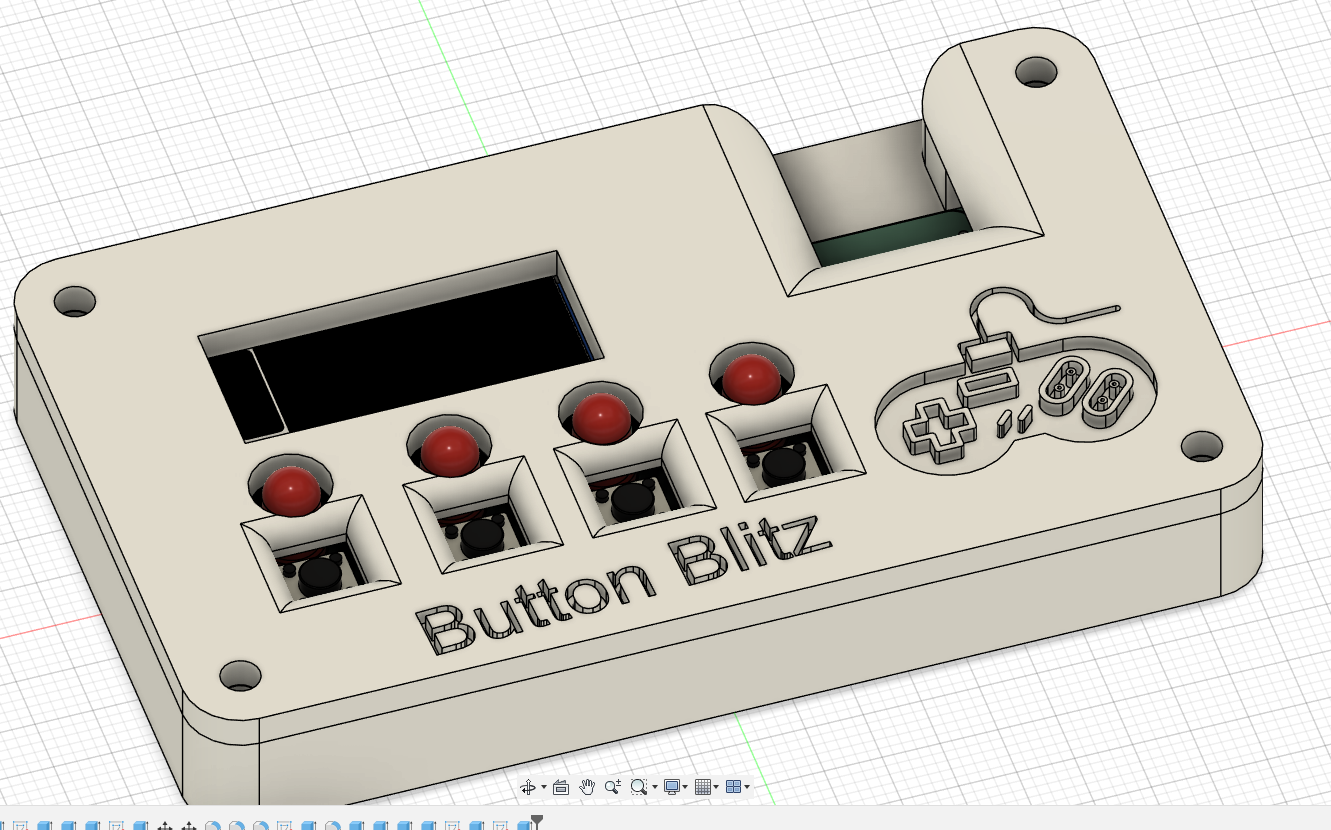
after that I added fillets to the button areas to make it easier to click and another fillet at the top of the xiao board so that I can plug it in without breaking the top. Lastly I also added some cool designs to make it look cool.
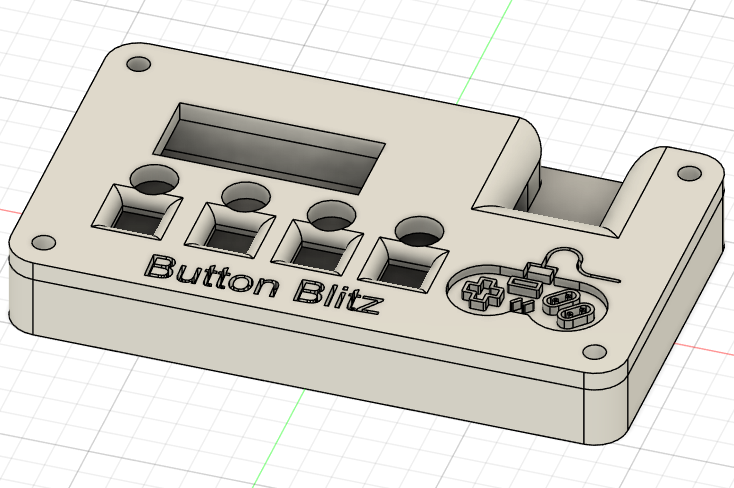
And thats the case finished
Wow, I'm done. i can't believe that I finished in 1 day. I think its pretty crazy to see how much I've improved. It took me a couple of days to make a hackpad which is not to different from this. Well I hope you like. Also I realized that I have everything Including the screws to hold it together so I only need money to print the pcb.
bye
Time Spent Today: 10 hours