
June 6th: Sketches and sketches!
I made a whole lot of sketches before even going to CAD also of course research of the type of tinywhoop that i want and the components and also the sizes of everything.
So first i immediately went to Rotor riot's website because i had already seen that mini drone they have called bubito and i really liked how it looked and then looked more into other whoops and builds so i also found this frame i liked so i started to draw some sketches on my notepad so here are just the first 2 sketches
 sorry for terrible image quality this was taken with my webcam
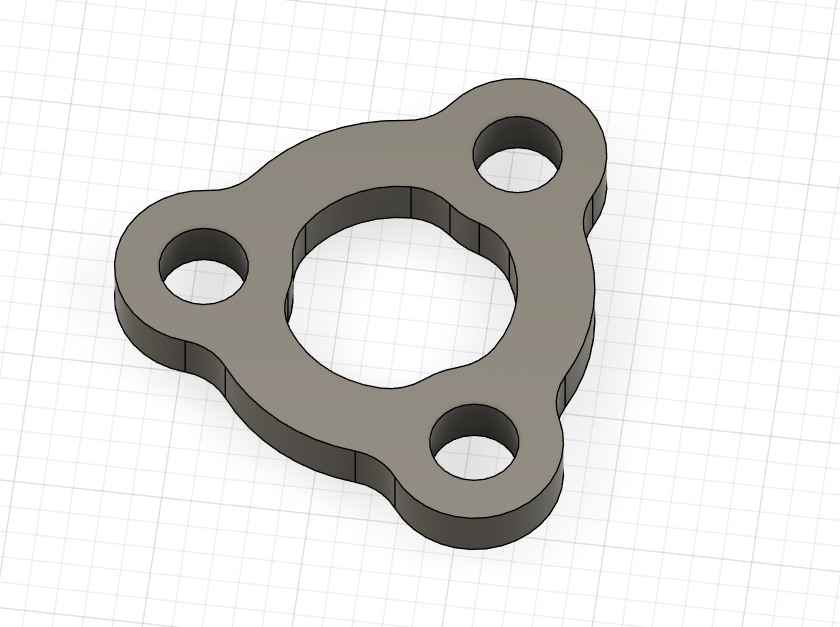
but yeah then i moved to CAD and i made a simple motor mount with the mounting pattern of the 6.6mm that the motors have. And the motor mount design was inspired by the fractal 75 frame.
So yeah this is the motor mount i made

I know the sketch is really messy but my brother taught me a way to make it way neater so in the future im going to use that!
Total time spent: 2h
June 7th: Making the real CAD model!
So i started by trying to make a rough sketch in CAD of the whole frame but it was too hard to start making it from almost 0 so i went over again to my sketch book and make these 2 drawings
the one on the right was my final design i really like how it looks

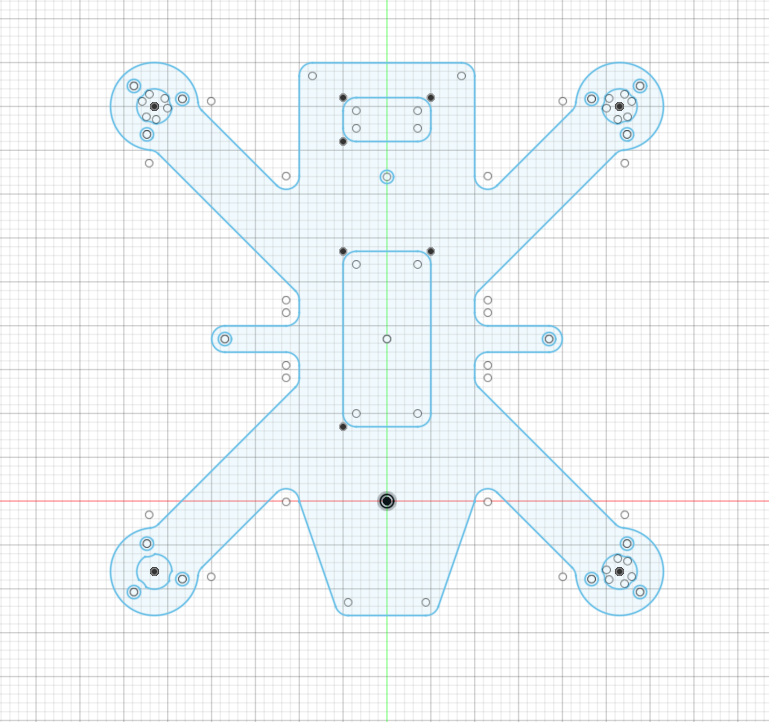
So after these two drawing i was able to make the CAD sketch way better so yeah this is how it turned out

I went more like the design of the bubito frame design but with my own stuff like touches and stuff yeah i really like it!
So then after i started to actually make the arms and the arms are 45dg and they are in a X so they intersect perfectly and make a X but yeah also i made that

I'm really happy how this is turning also this gets me really excited to then build it! then i rounded the corners in the sketch changed a bit the front and added holes so that it then gets lighter (im changing the holes so that they are totally different)

Total time spent: 3:30h
June 9th: Almost Ready! + printed prototype
So i started by taking the old holes and adding just some holes for straps so that i can attach the battery but then it looked like the arms where too weak because of the holes so on slack i asked what people thought of it and @Ben Park simulated the frame for me and that helped a lot and the holes can stay there ty @Ben Park!


With knowing this i went on and made more changes!
Made the top part of the frame! still working on it but pretty happy with how it turned out I added also holes for the strap on top so that you can choose to use the battery on top of the drone or on the bottom. I also 3D printed a little version 1:1 scale and its so tiny but i think thats what it makes it so cool. then i added some 3D models of the components that i found and looks soo cool actually im so excited!


Total time spent: 4h
June 9th: Remade the Frame!
So today i remade the frame with the things that i already knew but like its true to its original design i just remade the sketch so everything is a bit more clean still i changed a few things and i like this version more also 3D printed it its really cool
Total time spent: 1h
June 12th: Mounts!
Today i started making the camera mount and the antenna mount and they are looking pretty good i took inspiration on some mounts that i saw on the internet. Then i made these renders and printed some test pieces and they work pretty well.


Total time spent: 3h
June 19th: Had to remake part of the frame.
so i realized that the actuall props i'm planning on using on the drone would not fit and would just hit in the frame so yeah that was a bummer. So i had to remake lots of things and actually kinda like it more like how it turned out now its also a squished X instead of a true X but yeah there is not much i could have done to make the props not hit.
here is how the frame turned out its not yet really ready but yeah

also i realized that its cheaper to buy a prebuilt tinywhoop for the pieces its actually cheaper because the prebuild already comes with motors, flight cotroller, camera, props. so i need to see if it actually is better because like that i could just dismantle the prebuilt and take the parts and add them to my frame.
Total time spent: 3h
July 7th: Tottally new design!
Becasue i did not like all the designs that i was getting i decided to just go back to the drawing board and really decide the type of frame that i want so thats just what i did! i found a desingn that i like! finnaly it has already been sometime that i touch on this project by im happy that im doing it again!
So i went to Fusion and worked a while making the frame and its exactly as i want it!
| Frame | Frame sketch |
|---|---|
 |
 |
Yeah so i'm really happy with the frame and because its done i moved on to the canopy oh yeah forgot to say im now making a 3D printed canopy and the camera mounts on that i think its really cool the design that i went with its really similar its from where the idea came from but from the betapfv air65 and 75 canopy type it was farely easy to make something that worked so i first made a paper mockup which suprisingly the first version worked! ofcourse the sizes were wrong but the general shape was exactly how i wanted it to be, so i made still a few versions out of paper and then moved onto the cad and then printing! yes im printing this in PLA verry thin but still pla so the first versions i just printed out of 3 layers and i could just bend it onto place but then after sometimes it was still too stiff and would just break so i had the briliant idea of putting it in hot watter! i had seen a video a while ago of someone just bending pla with hotwater so i made the print a bit thicker now like 4 layers just to add a little strongness but it worked really really well so i did still quite a few versions like adding a system where i can change the camera angle with just a few holes its really cool and workes also really well
Heres a few photos of the cad model
| Canopy | Canopy sketch |
|---|---|
 |
 |
i have a video here if you want to see how it turned out i dont have photos of it when its folded https://hc-cdn.hel1.your-objectstorage.com/s/v3/d1ed1e1b700cc91764713f827c0f319424741f68_img_5182.mp4
Total time spent: 6h
July 9th New name! and a few changes to the canopy
So i decided to go with the name firefly idk why but i just liked it more then BRUV-mini
Also made a few changes to the canopy you probably cant see anything becasue its still very similar but with a few reinforcements so yeah already printed out the new version and works well!

Total time spent: 0:30h