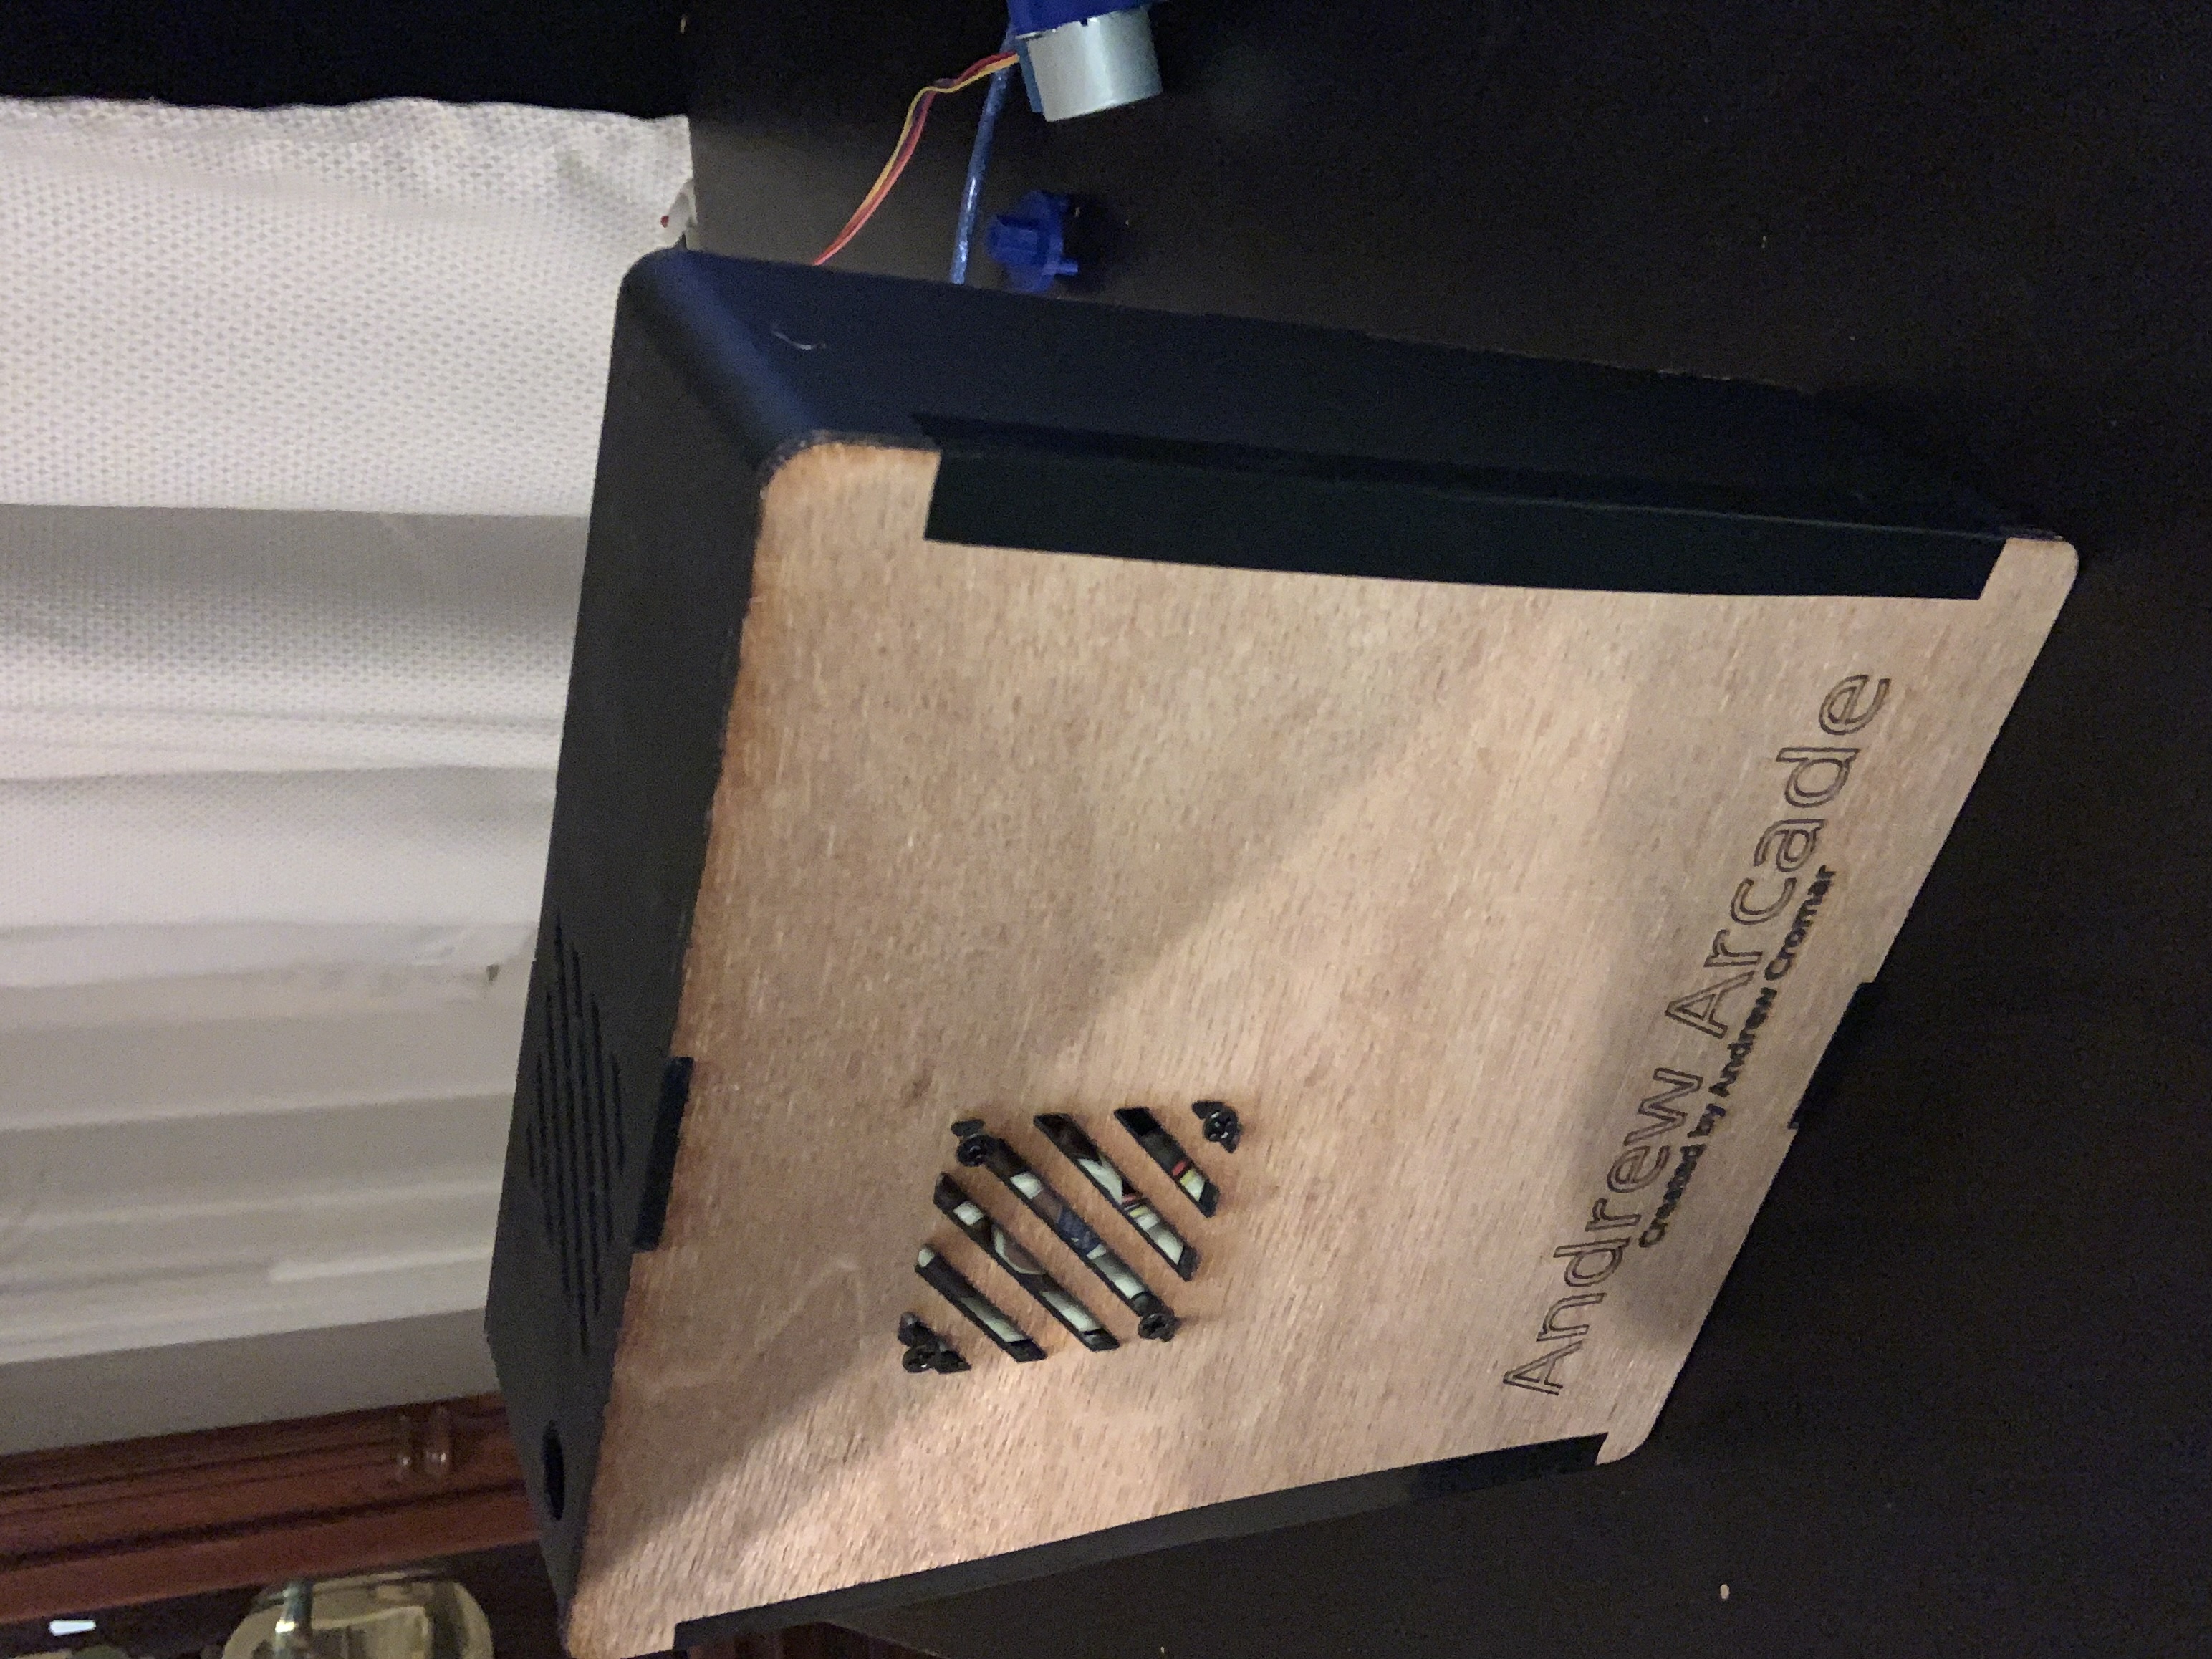
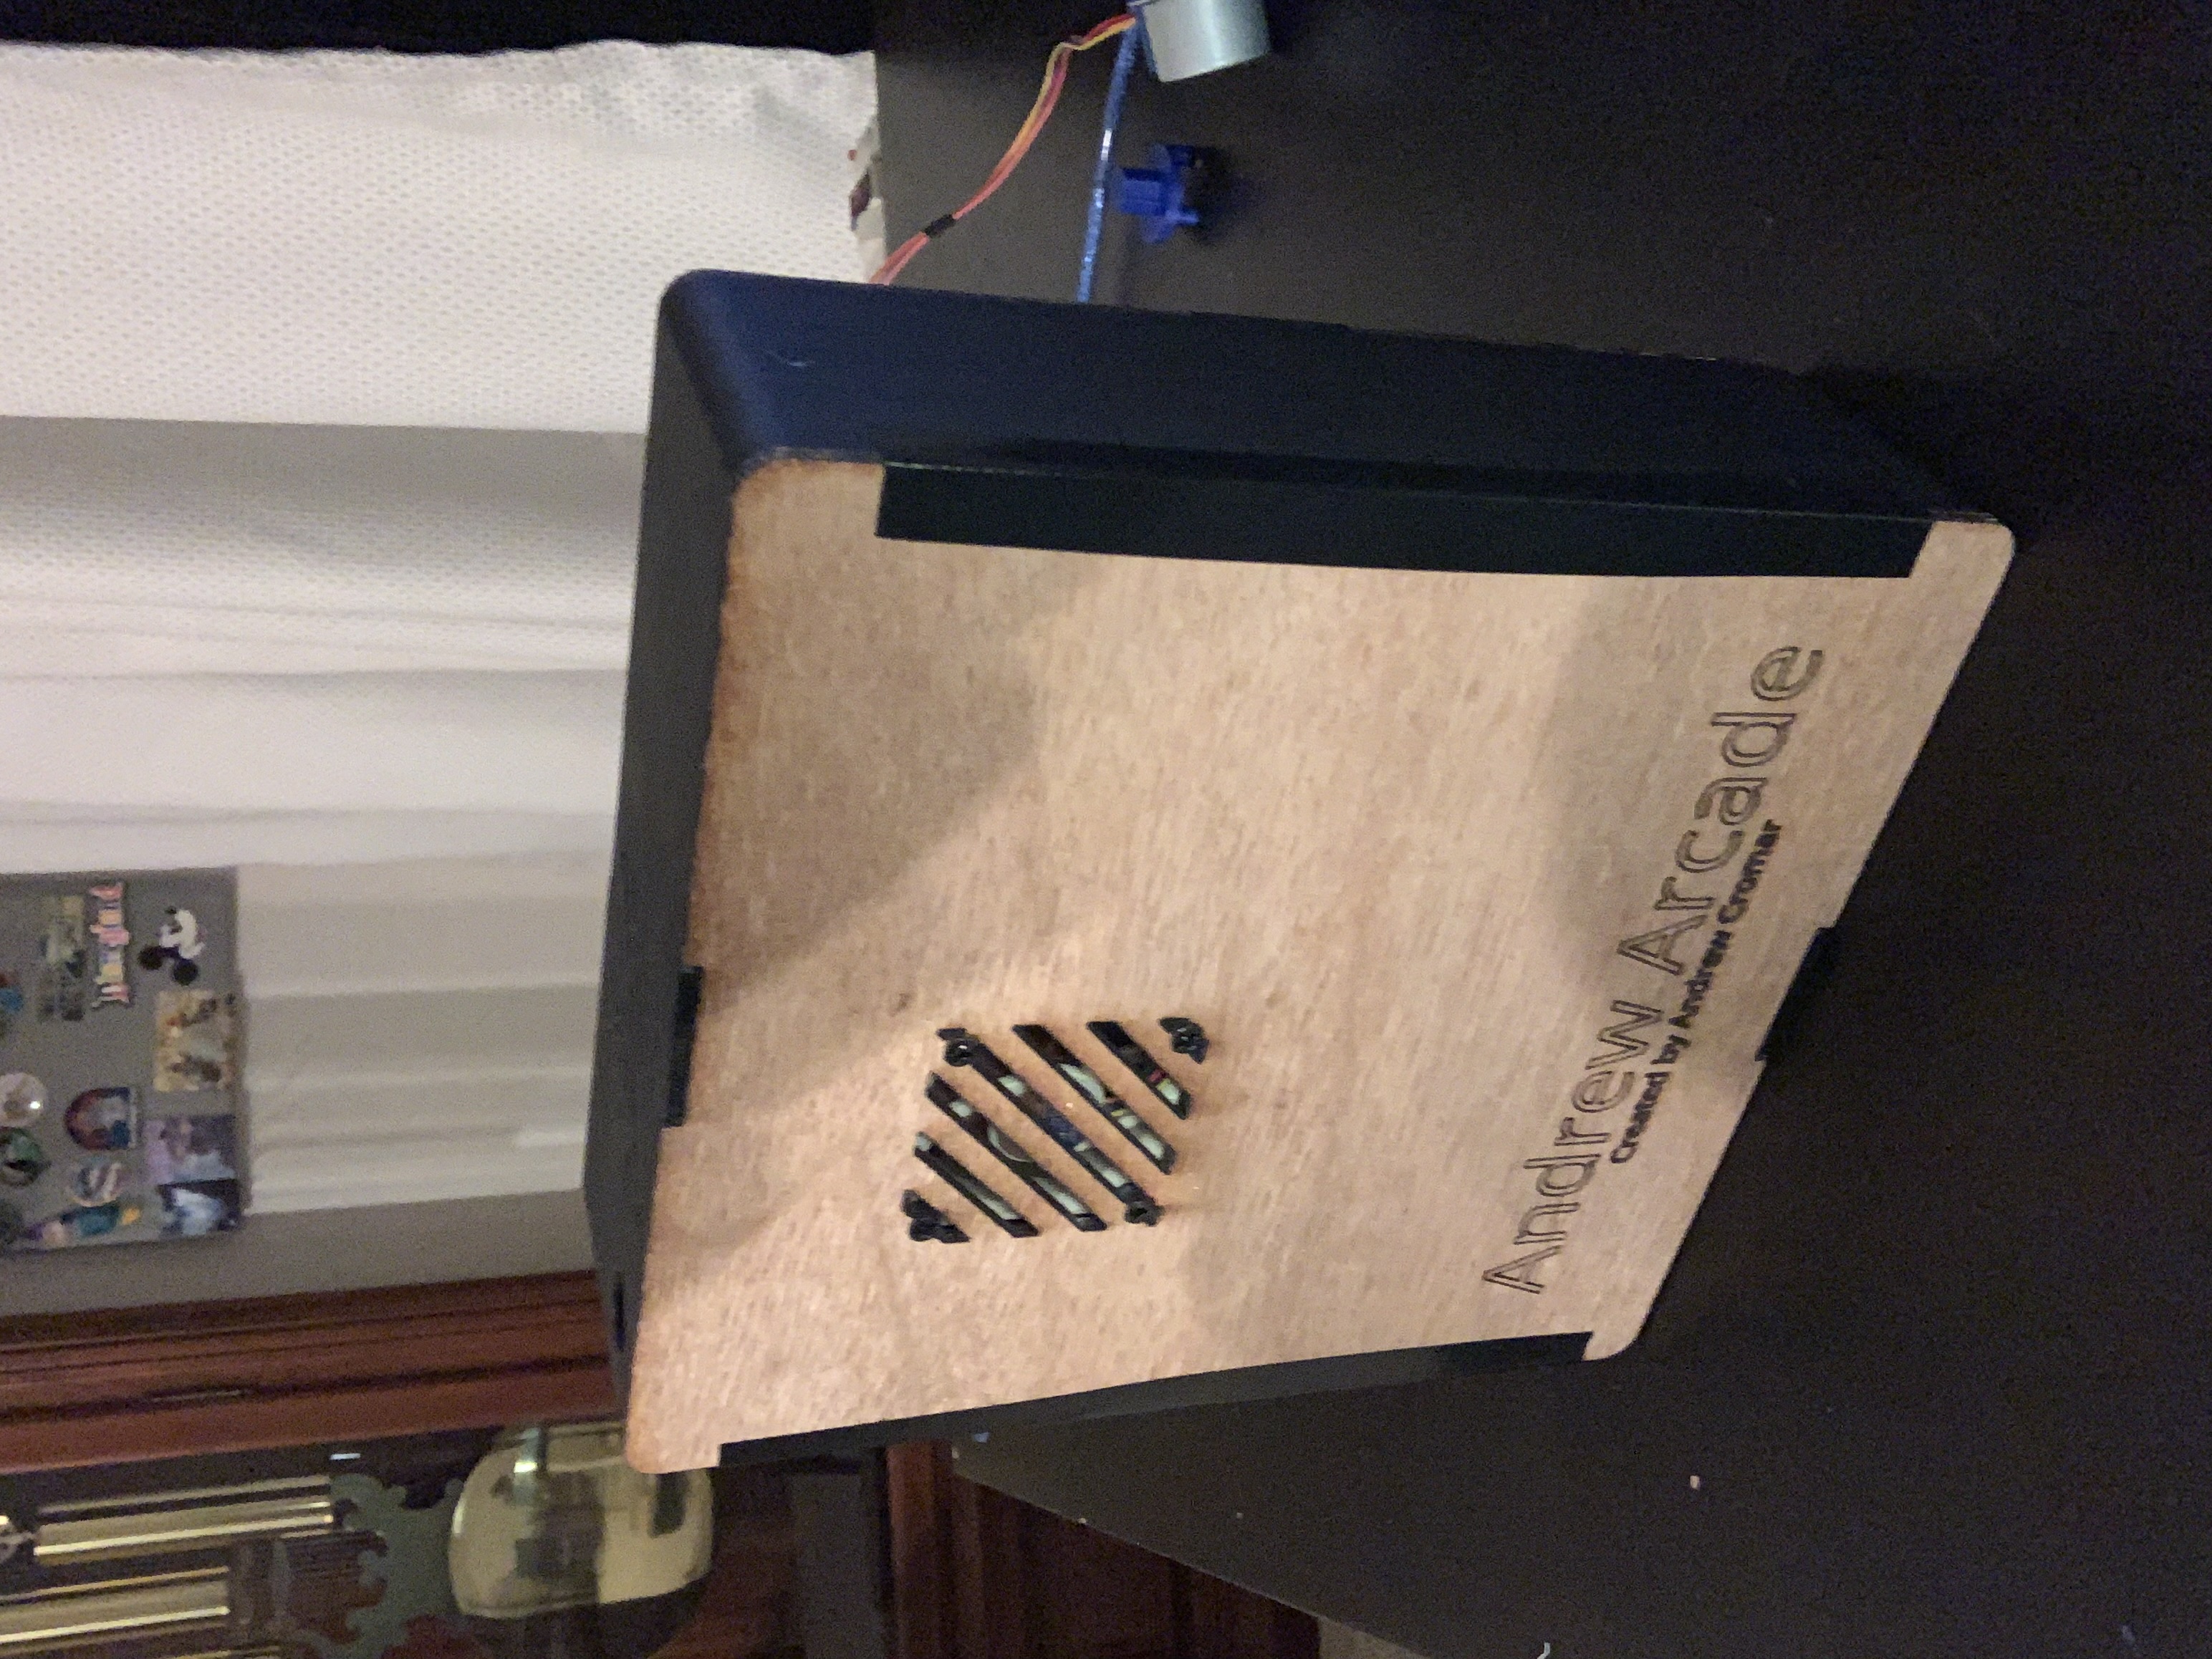
Andrew Arcade
Created by
[Andrew Cromar]
• Started on May 22, 2025
A custom game console designed to run Unity Games.
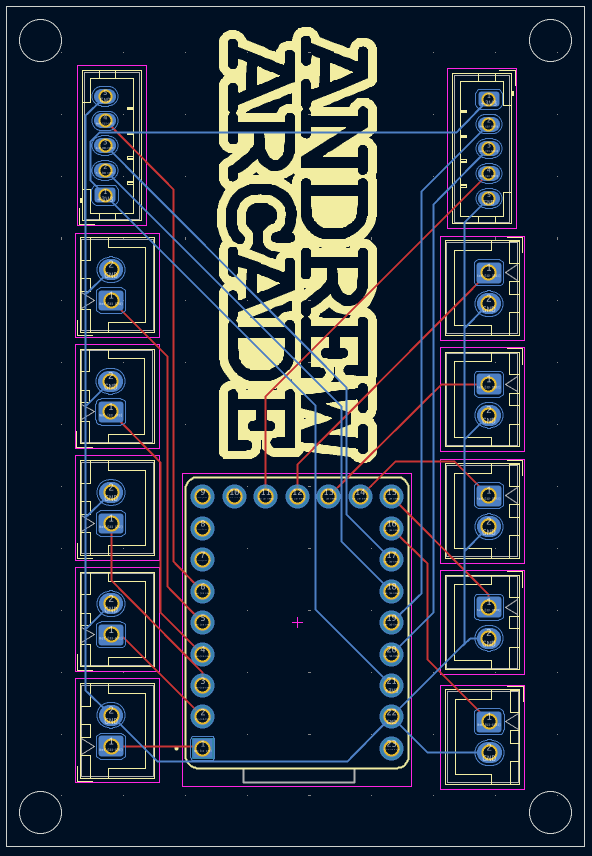
July 21th: Redesigned the PCB to be smaller.
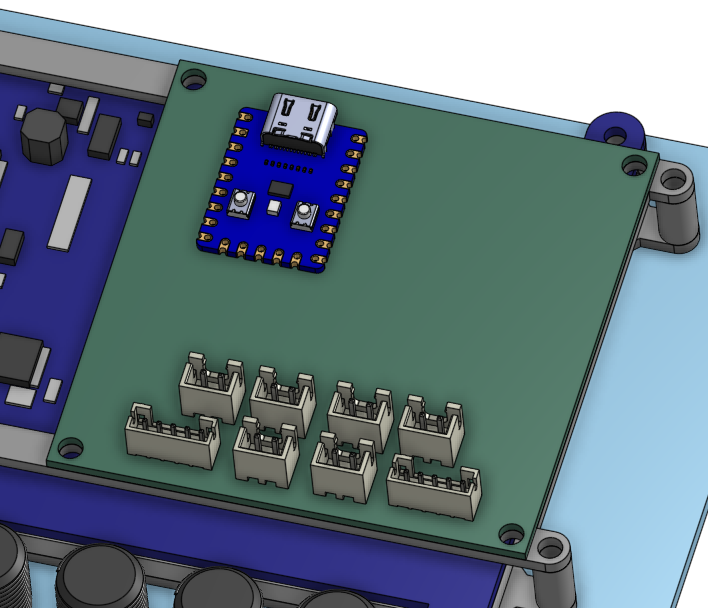
- I had to move the rp5 over a bit so I needed to make the pcb smaller.
Total time spent: 2 hours
June 25th: Made a few updates to different parts.
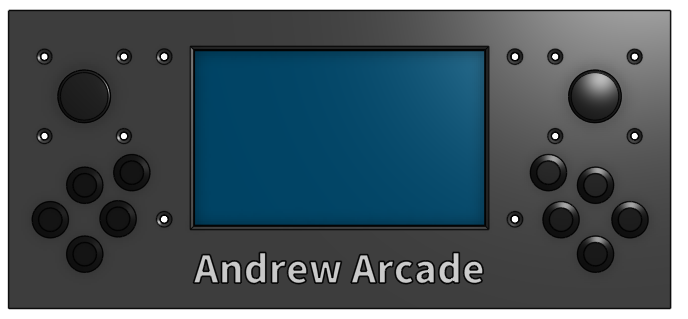
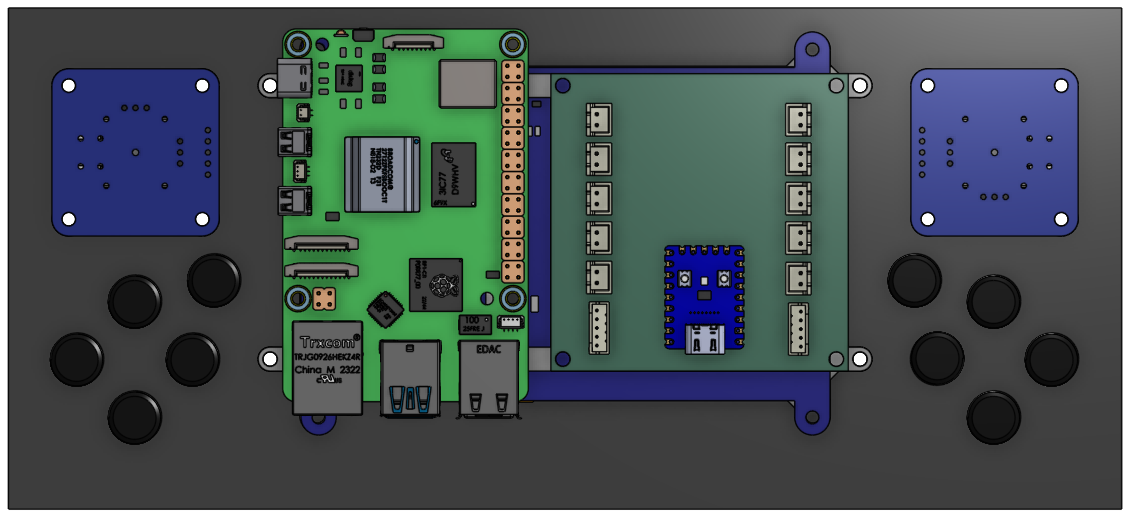
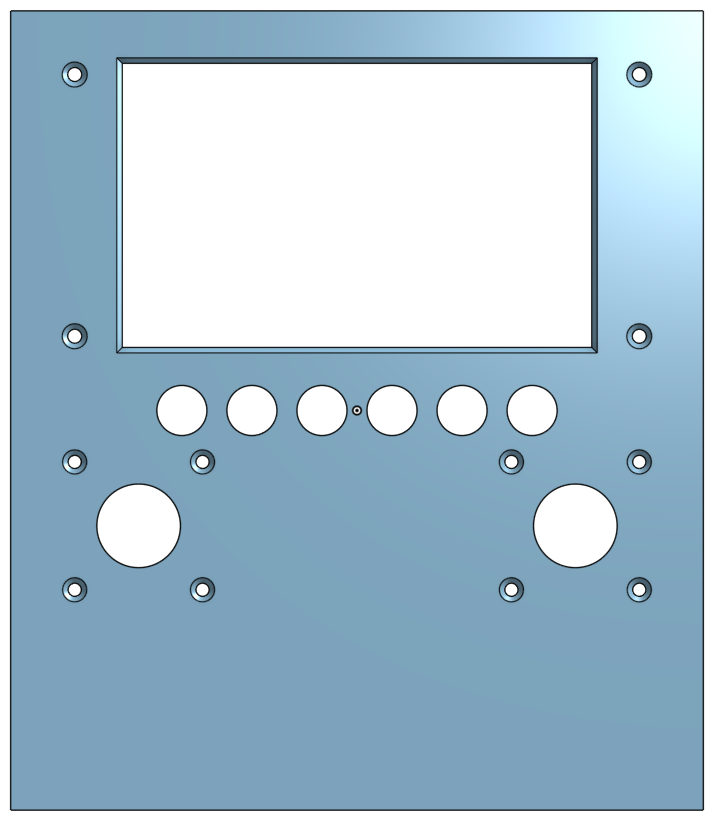
- I updated the layout of the front panel.
- I still am not 100% happy with where the +/- buttons are but It's good enough for now.
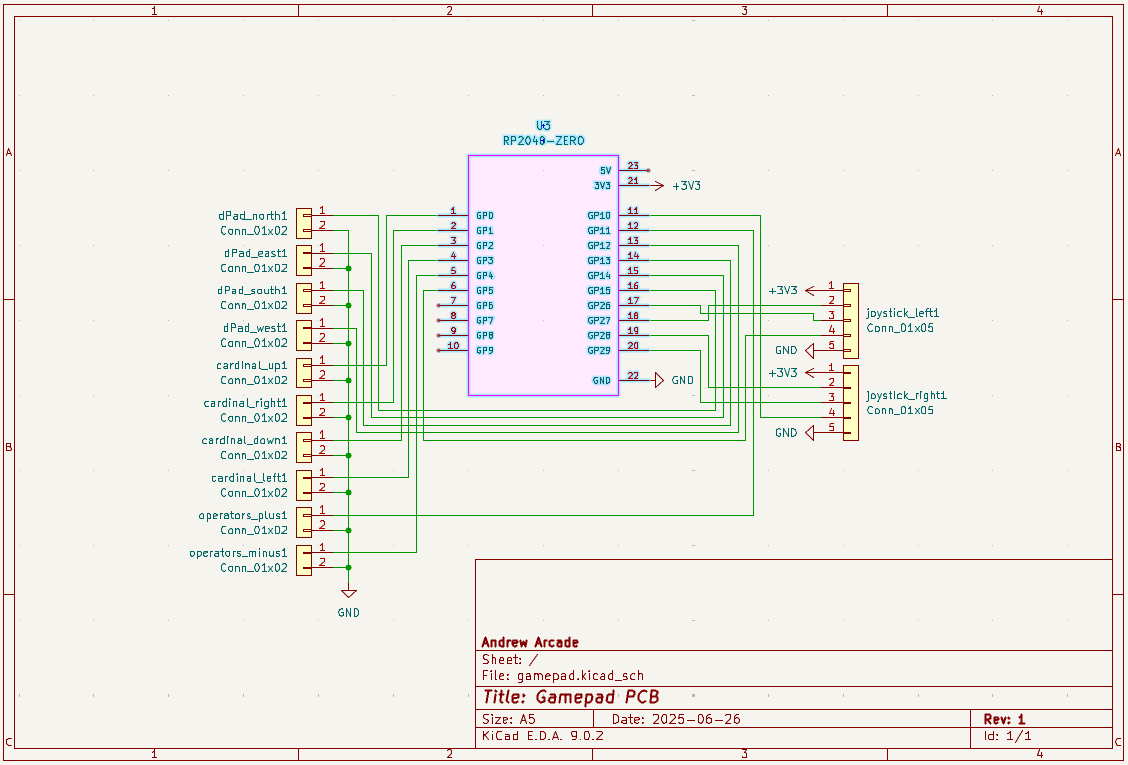
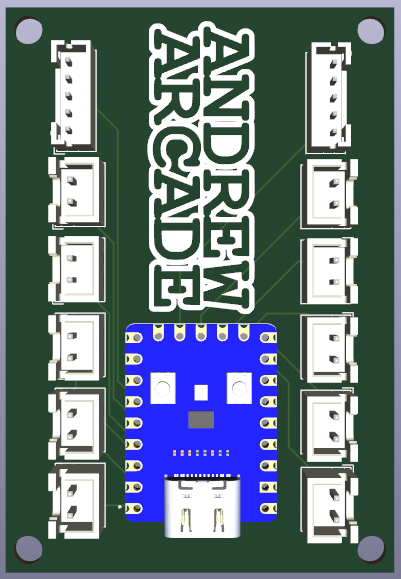
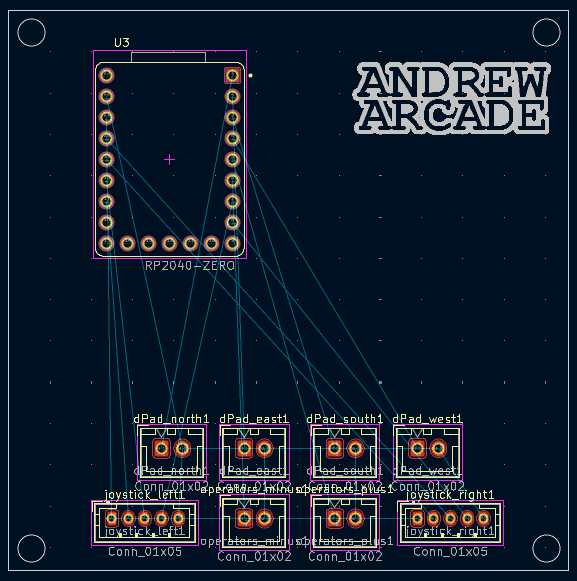
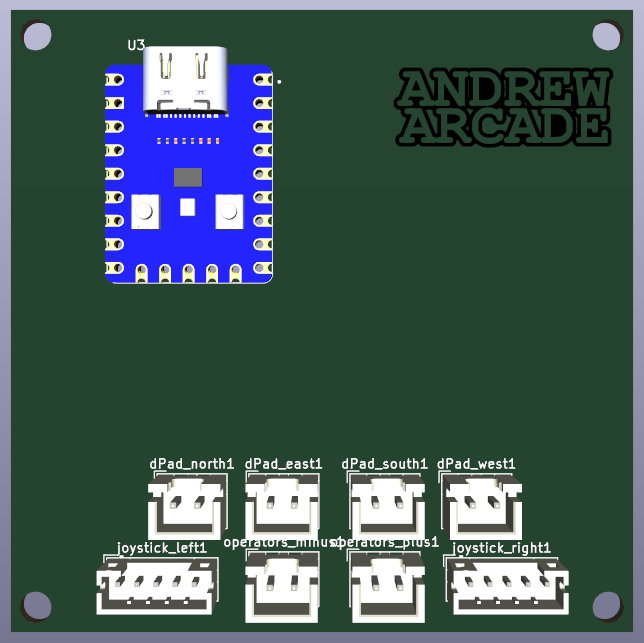
- I updated the pcb to work with all the buttons and to have more ideally placed connectors.
Total time spent: 2 hours
June 4th: Decided to switch to a Waveshare Zero.
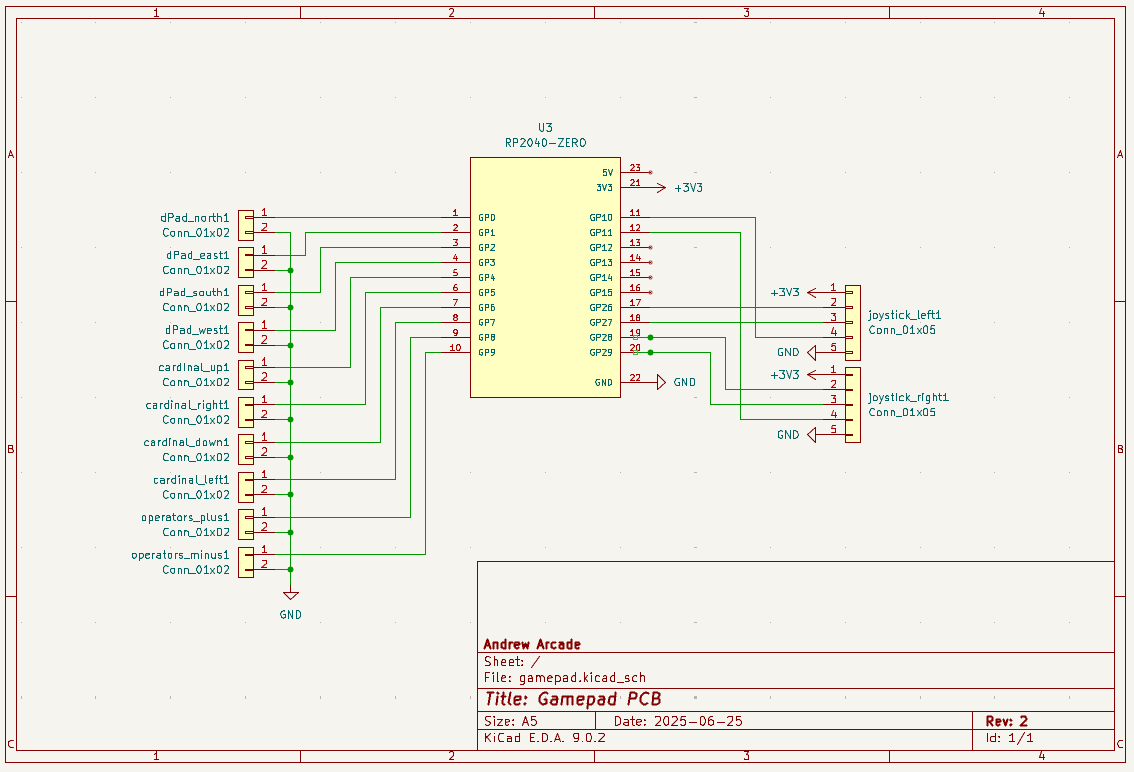
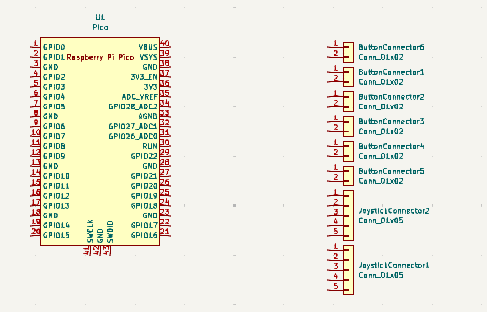
- I wanted to use two joysticks for my project, but the Raspberry Pi Pico didn’t have enough analog pins. So, I switched to the Waveshare 2040 Zero, which uses the same RP2040 chip as the Pico but provides 4 analog pins, enough for both joysticks (2 pins each for X and Y on both the left and right joysticks).
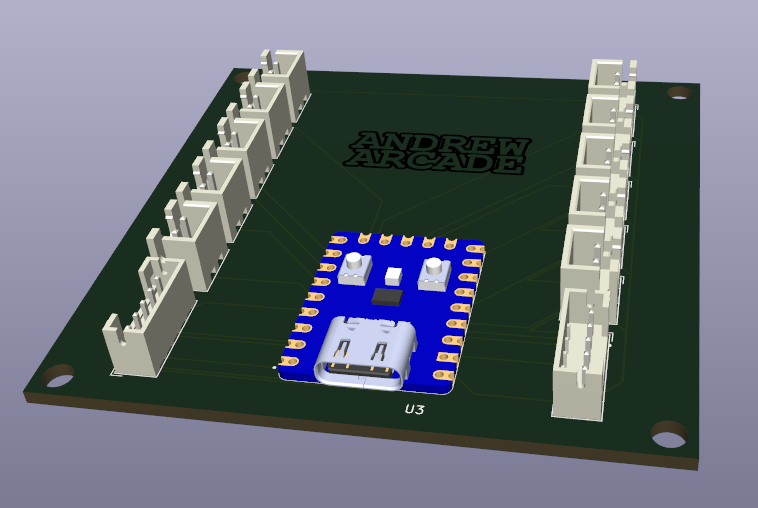
- I updated the PCB design to use the new board. This involved finding the correct footprints, symbols, and a CAD model for the Waveshare 2040 Zero.
- I’ve updated the schematic, but I haven’t finished routing the PCB traces yet.

Total time spent: 1 hour 30 mins
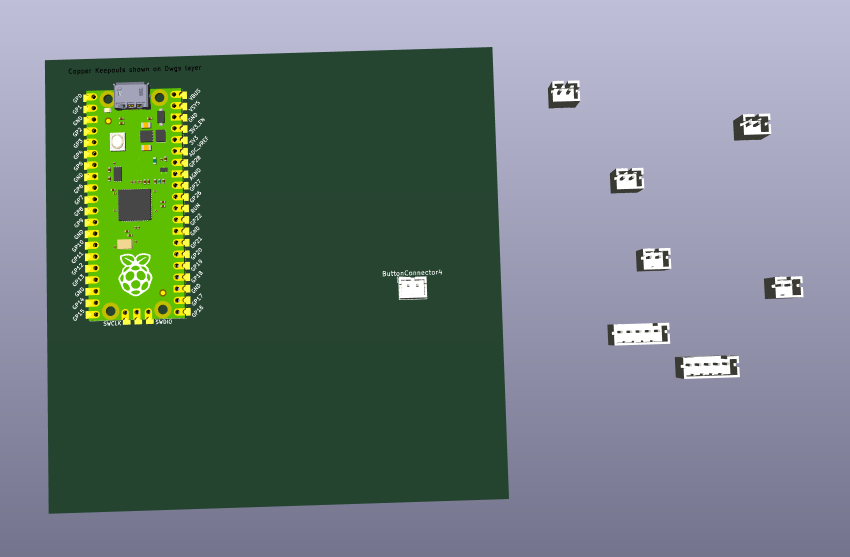
May 30th: Made some progress on the PCB.
- Continued developing the gamepad PCB:
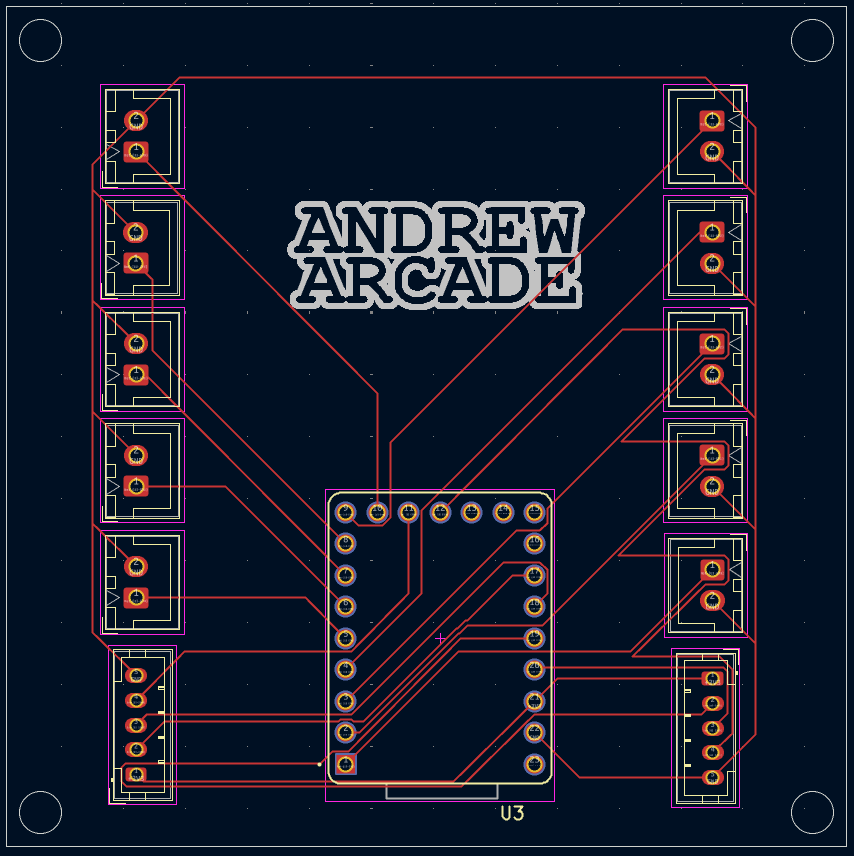
- Located and added the necessary KiCad component libraries.
- Connected all components together in the schematic.
- Finished routing all the PCB traces.
.png)
.png)
.png)
.png)
Total time spent: 1 hour 15 mins
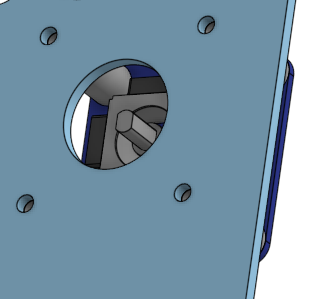
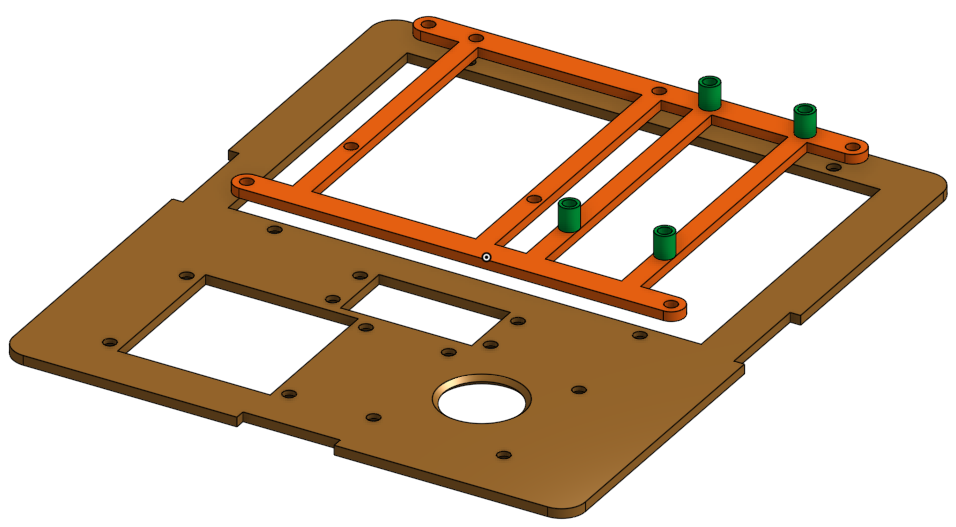
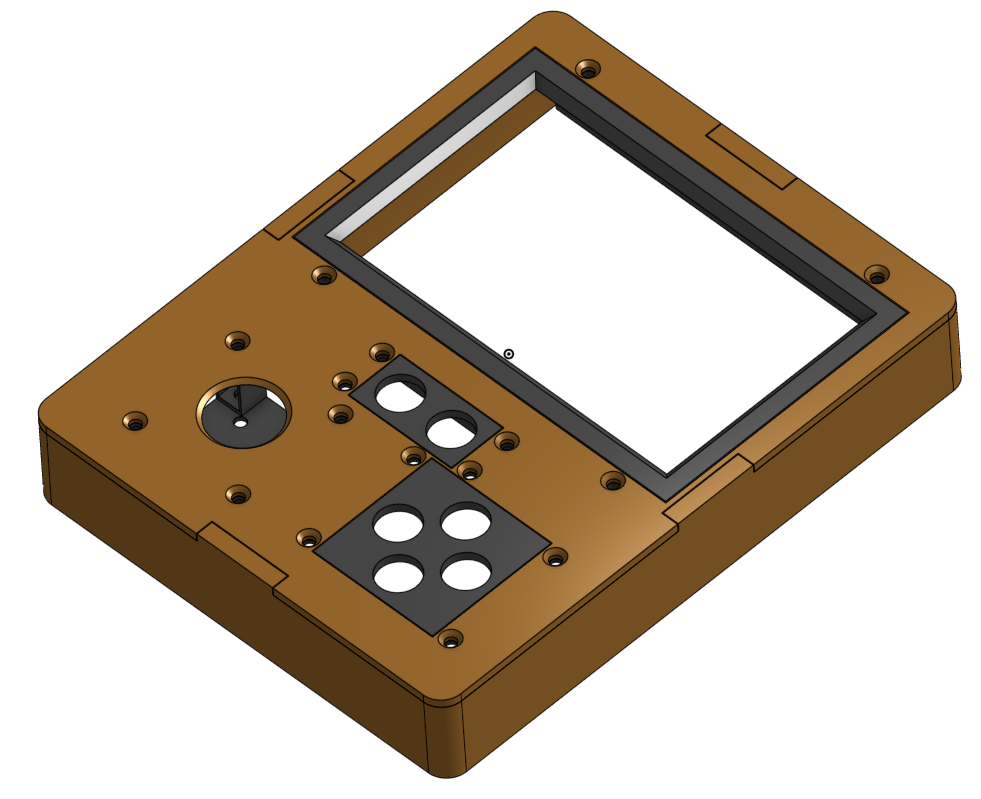
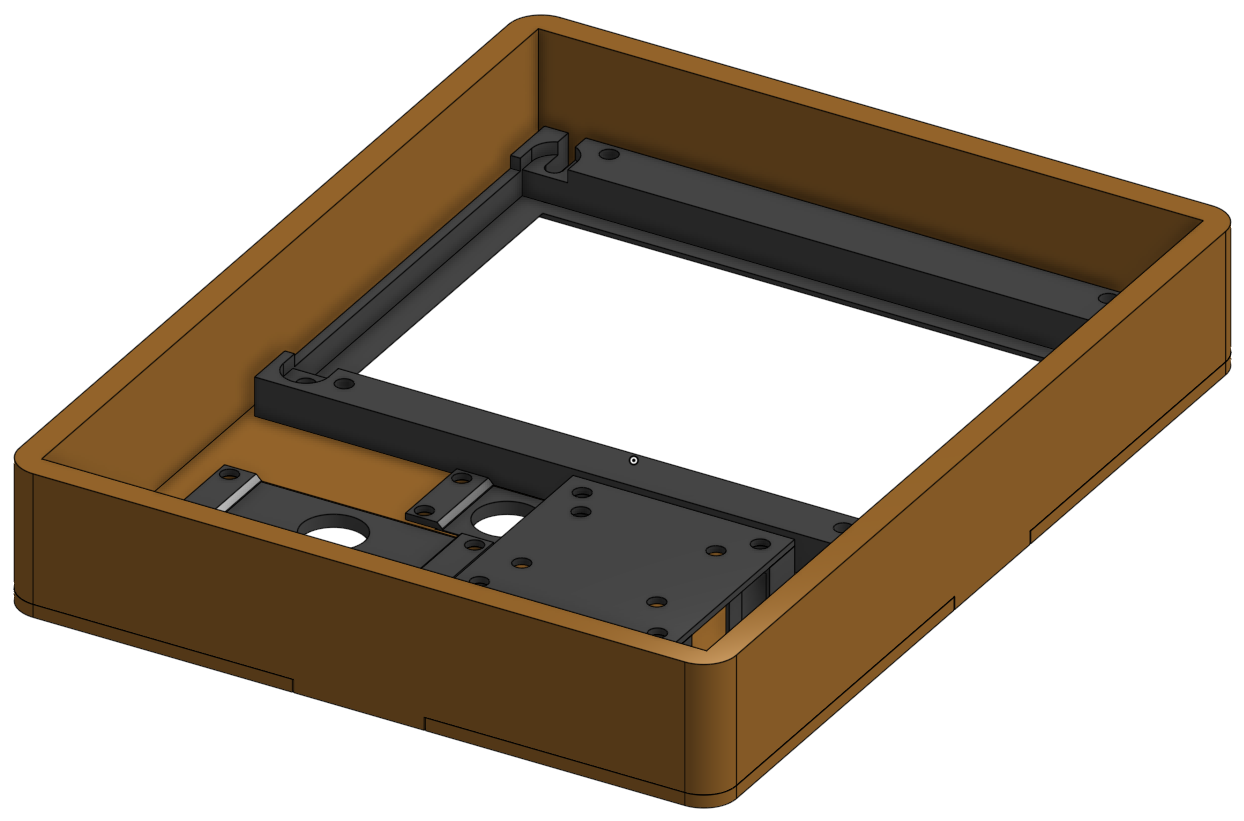
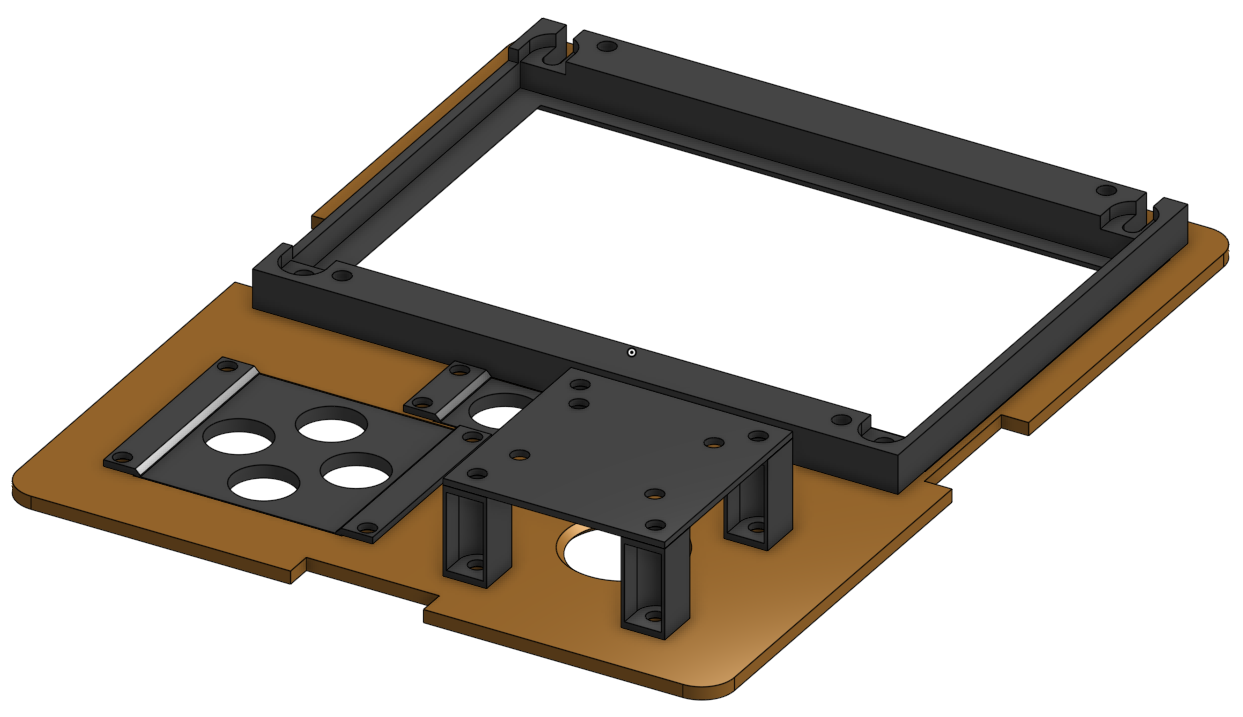
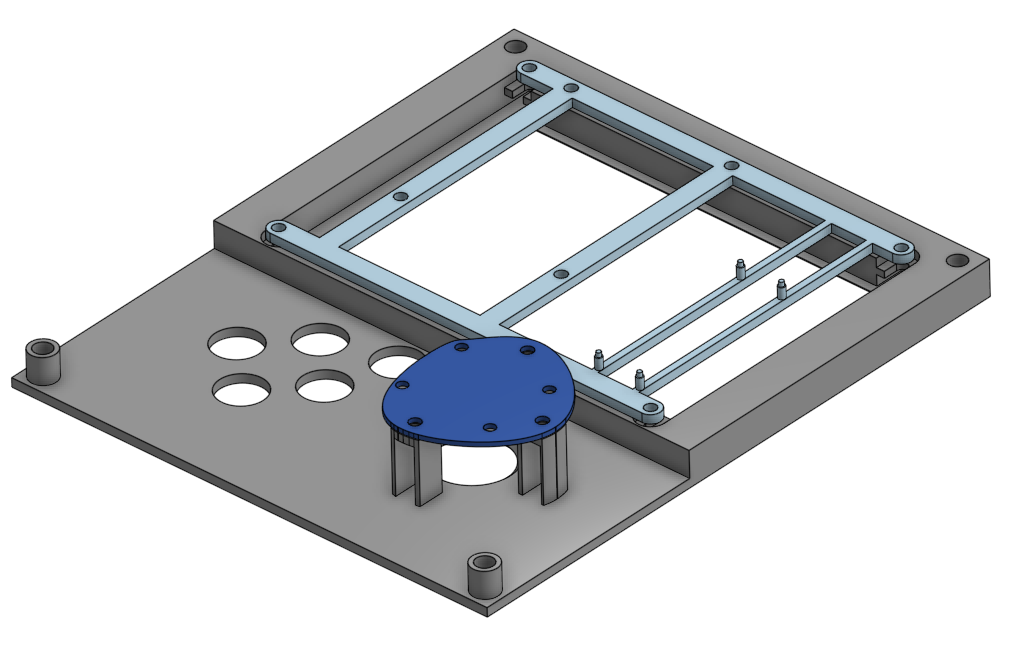
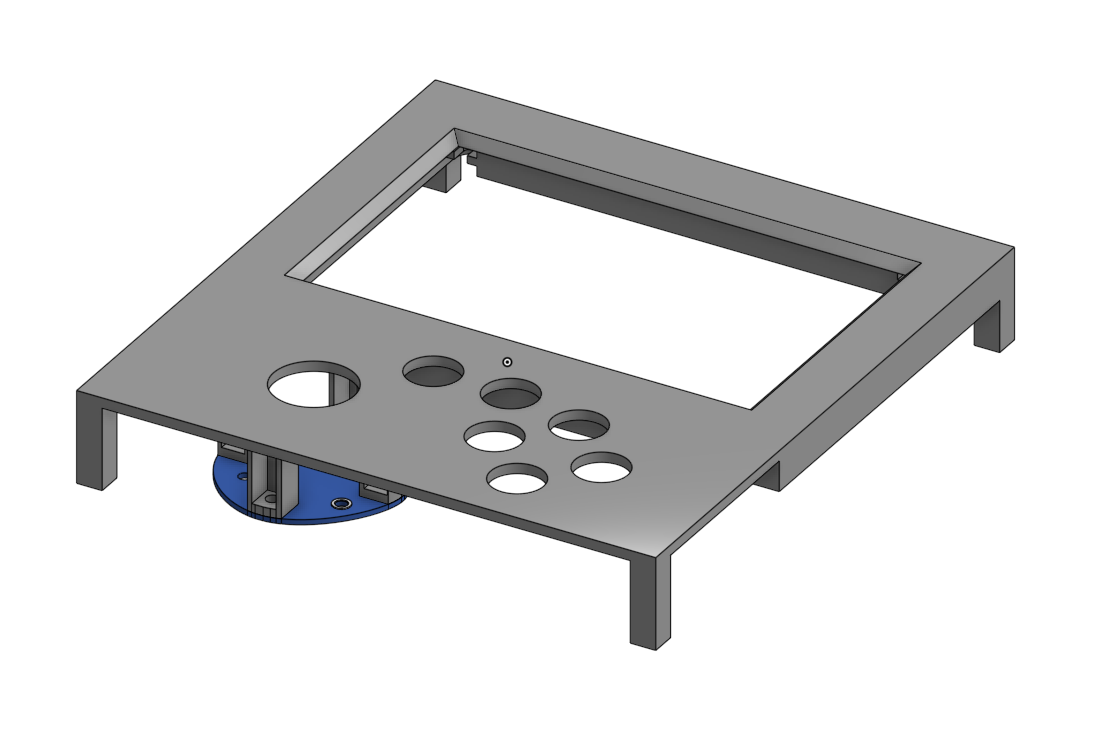
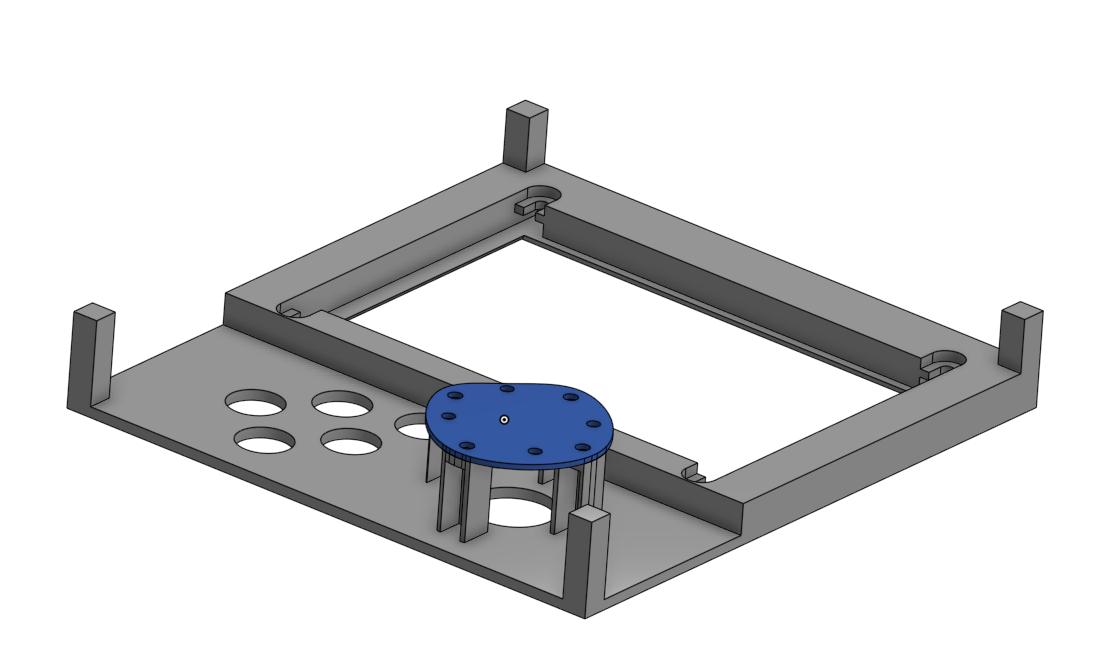
May 24th: Worked on the cad model.
- Creadted a front panel for everything to mount to.
- Button positions are not final.
- Created parts to hold the joystick module to the front panel.
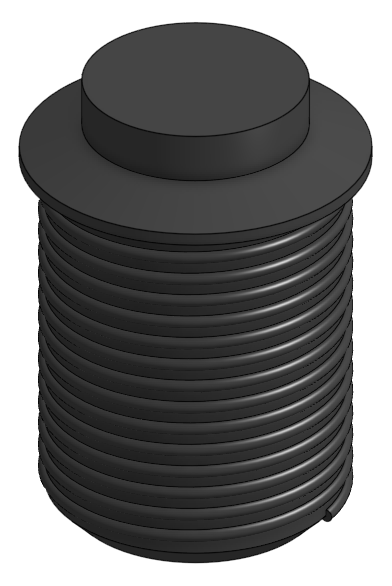
- Created a button to be used in the main cad assembly.

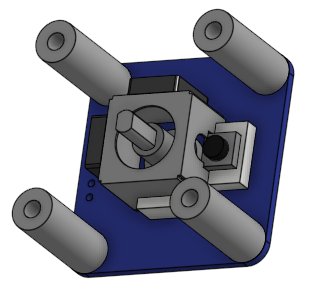
Total time spent: 1 hour
May 22nd: Started work on the gamepad PCB.
- I'm still new to KiCad but I'm starting to learn how to use it. I want to make my project more clean and organized.
Total time spent: 1 hour
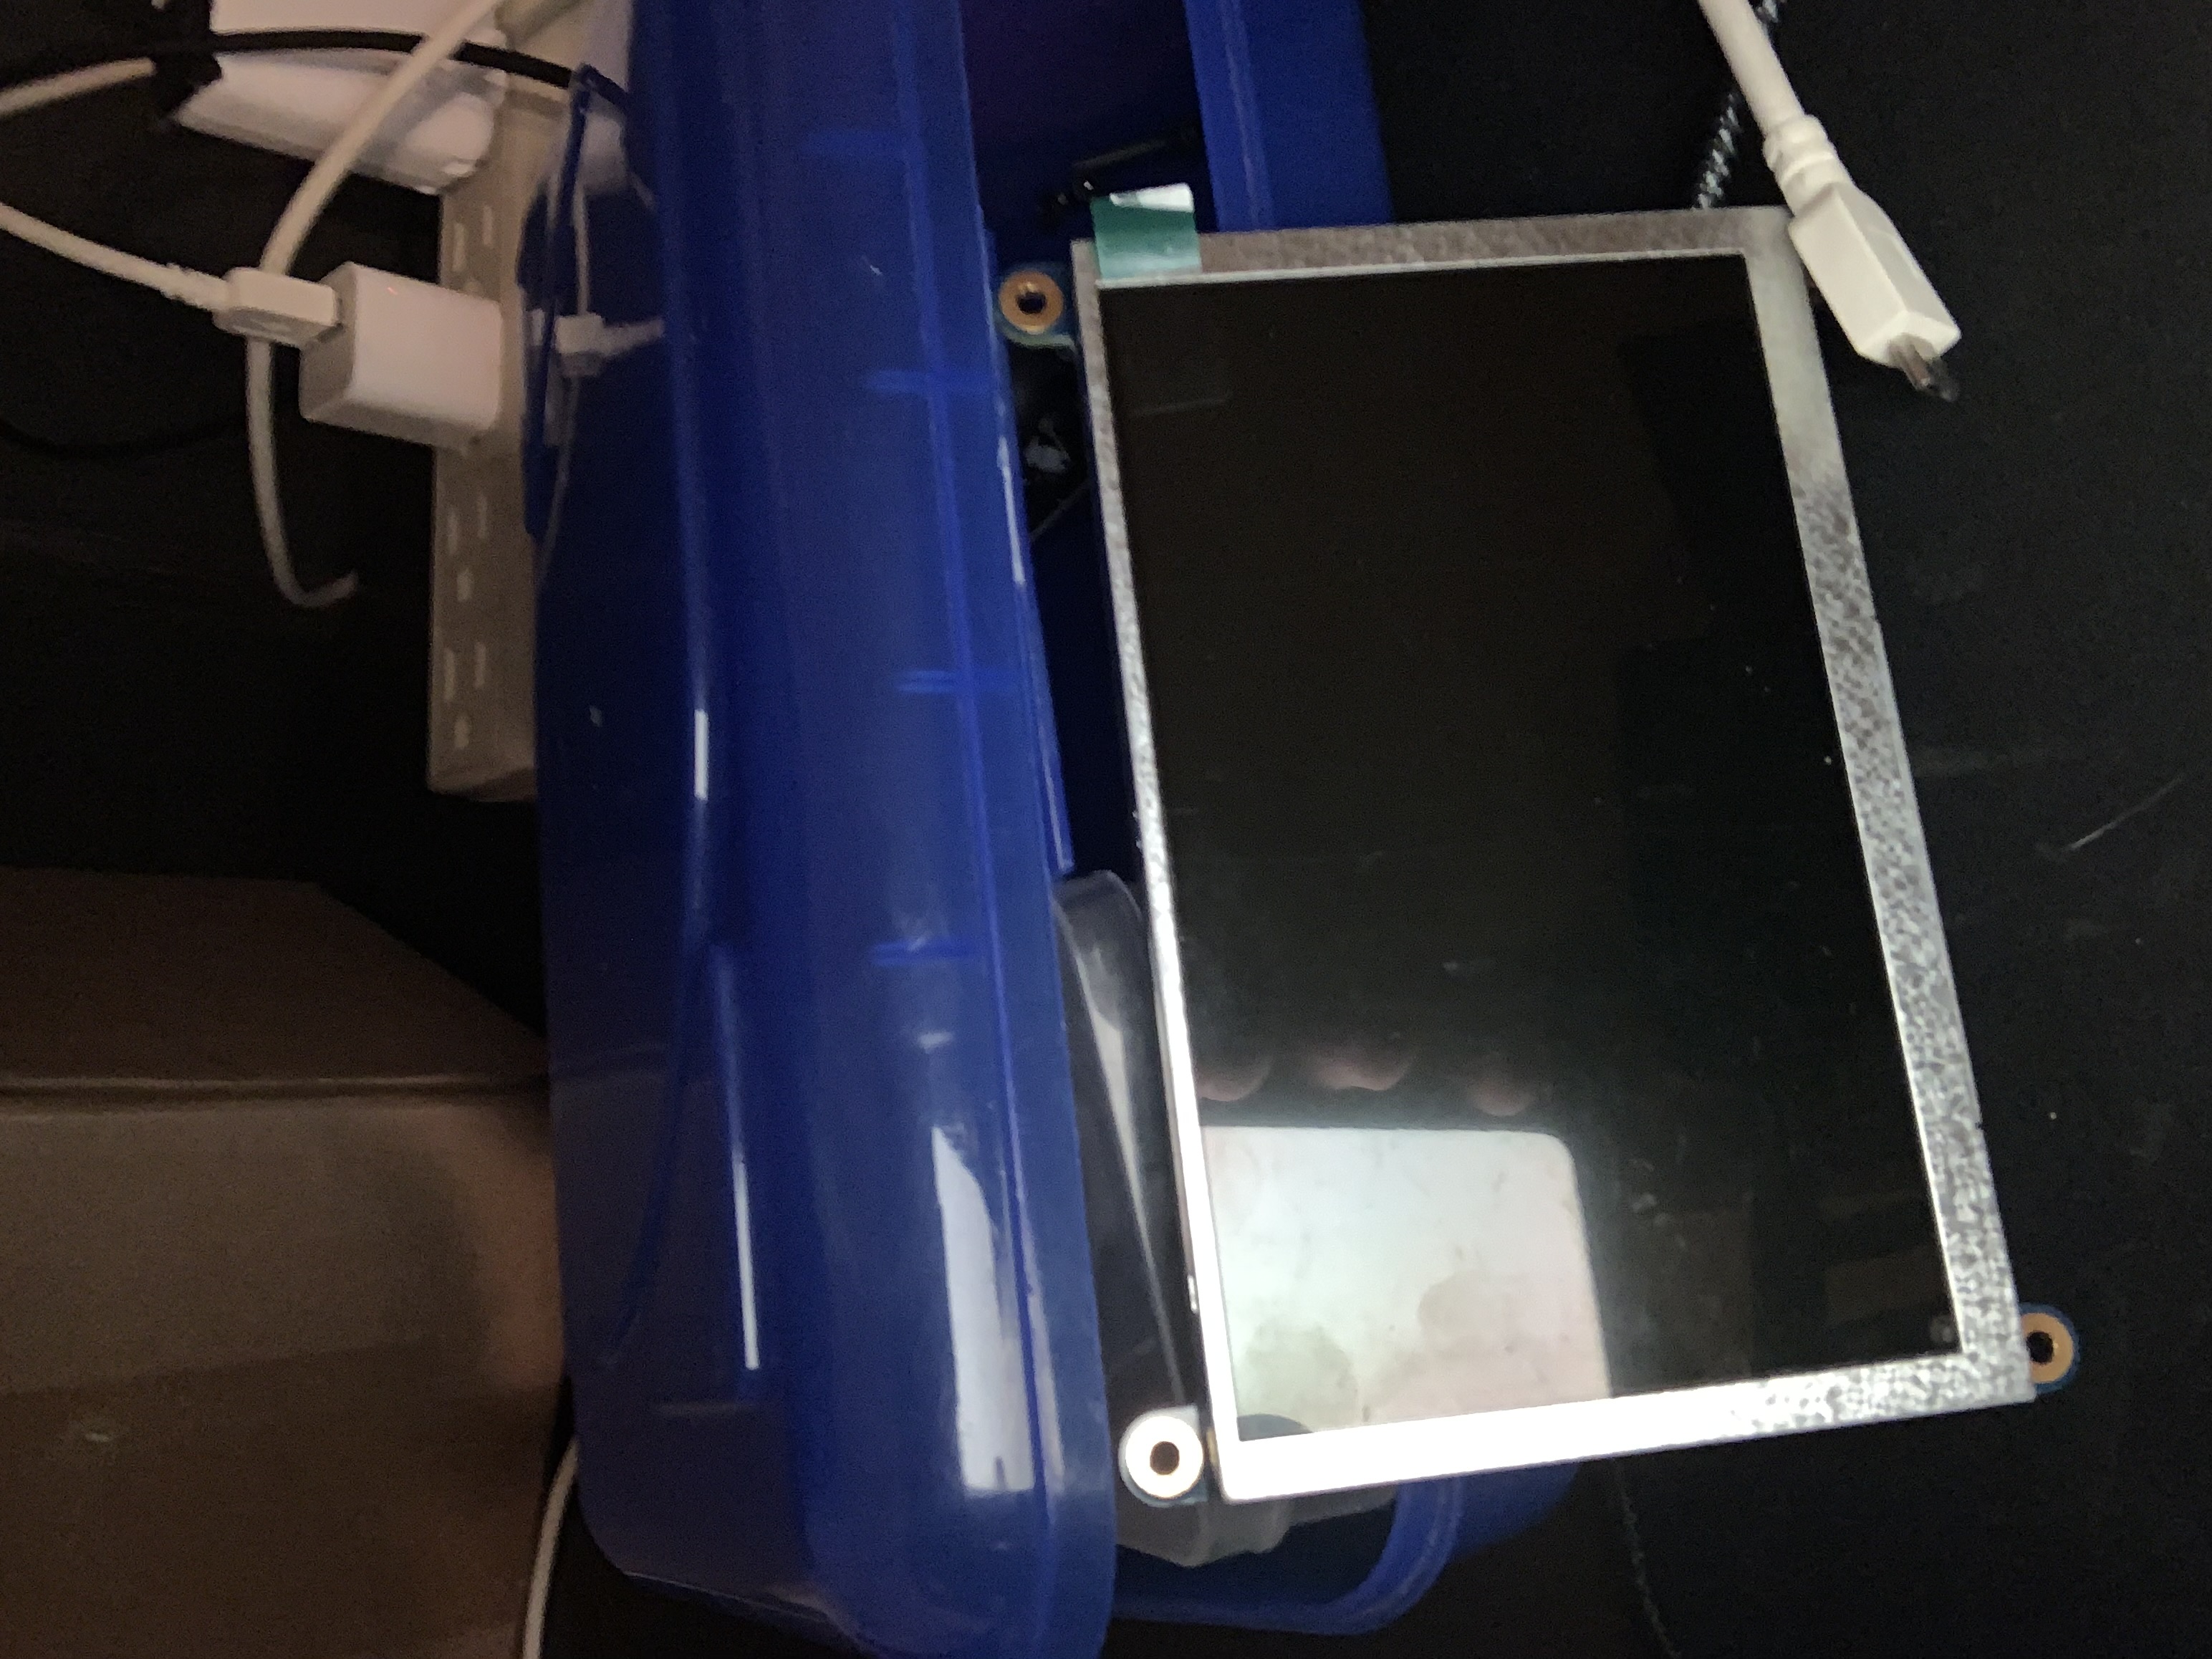
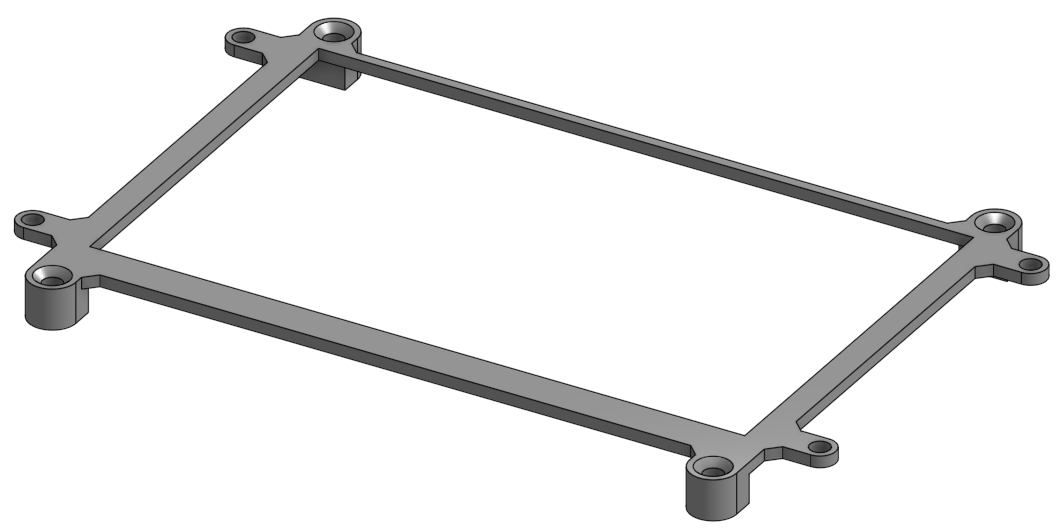
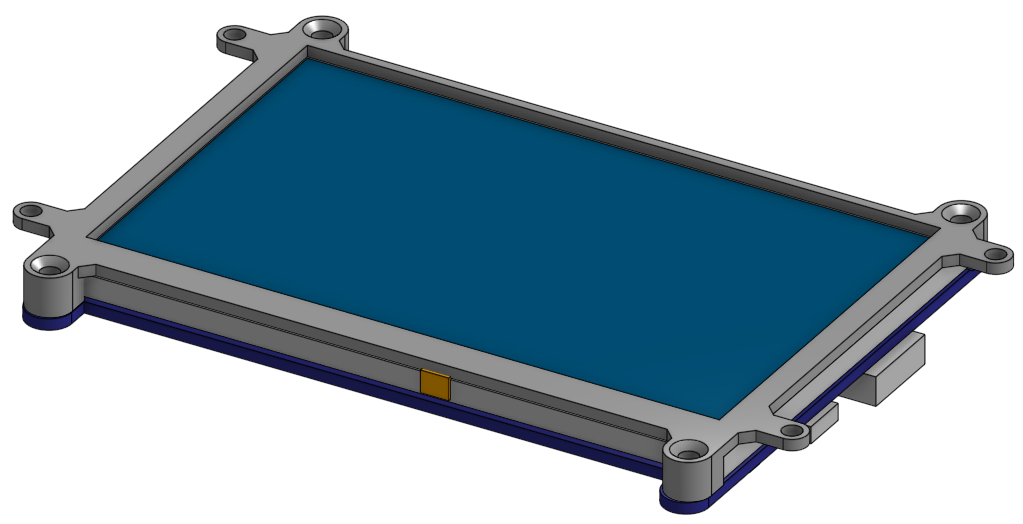
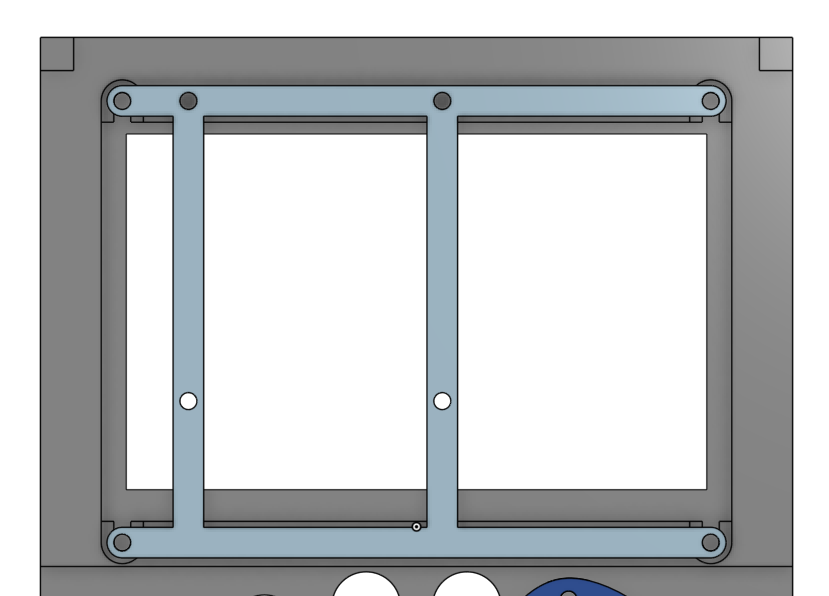
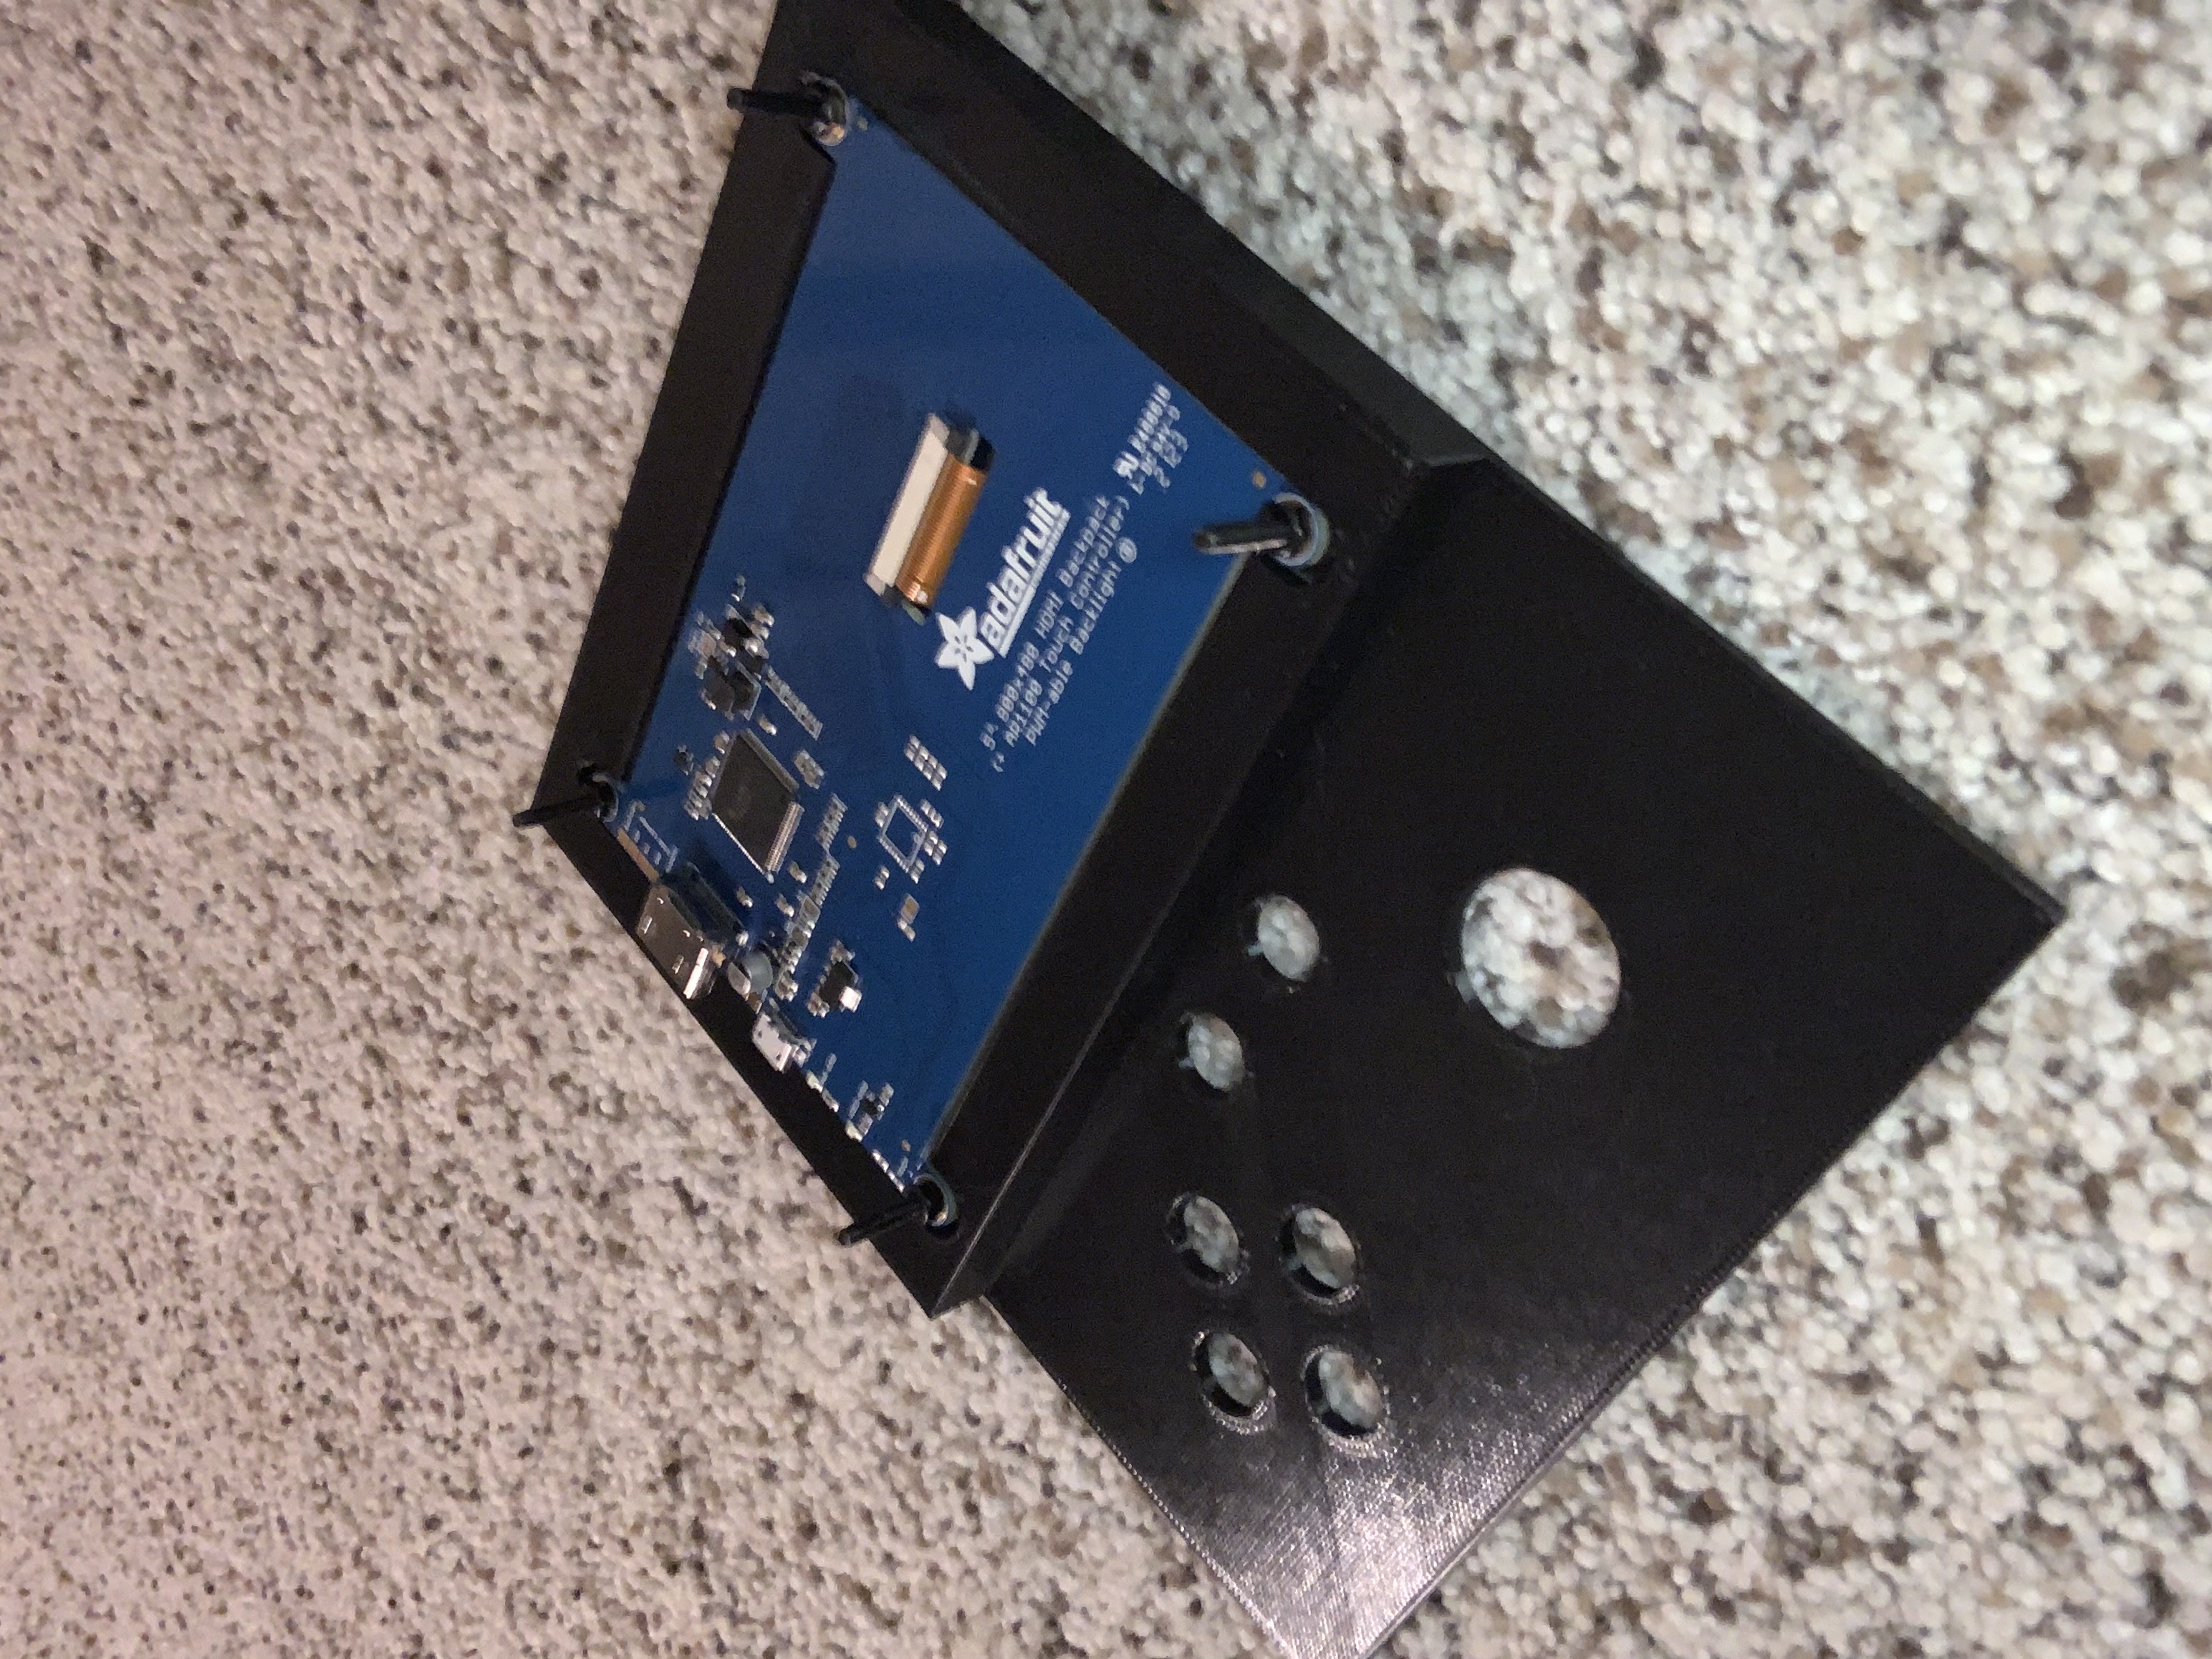
May 21st: Designed a screen mount.
- I designed a mount in onshape to hold my screen in place and have nice holes for mounting.
Total time spent: 1 hour
old stuff from v1
Jan 23, 2025: FINISHED!!!!
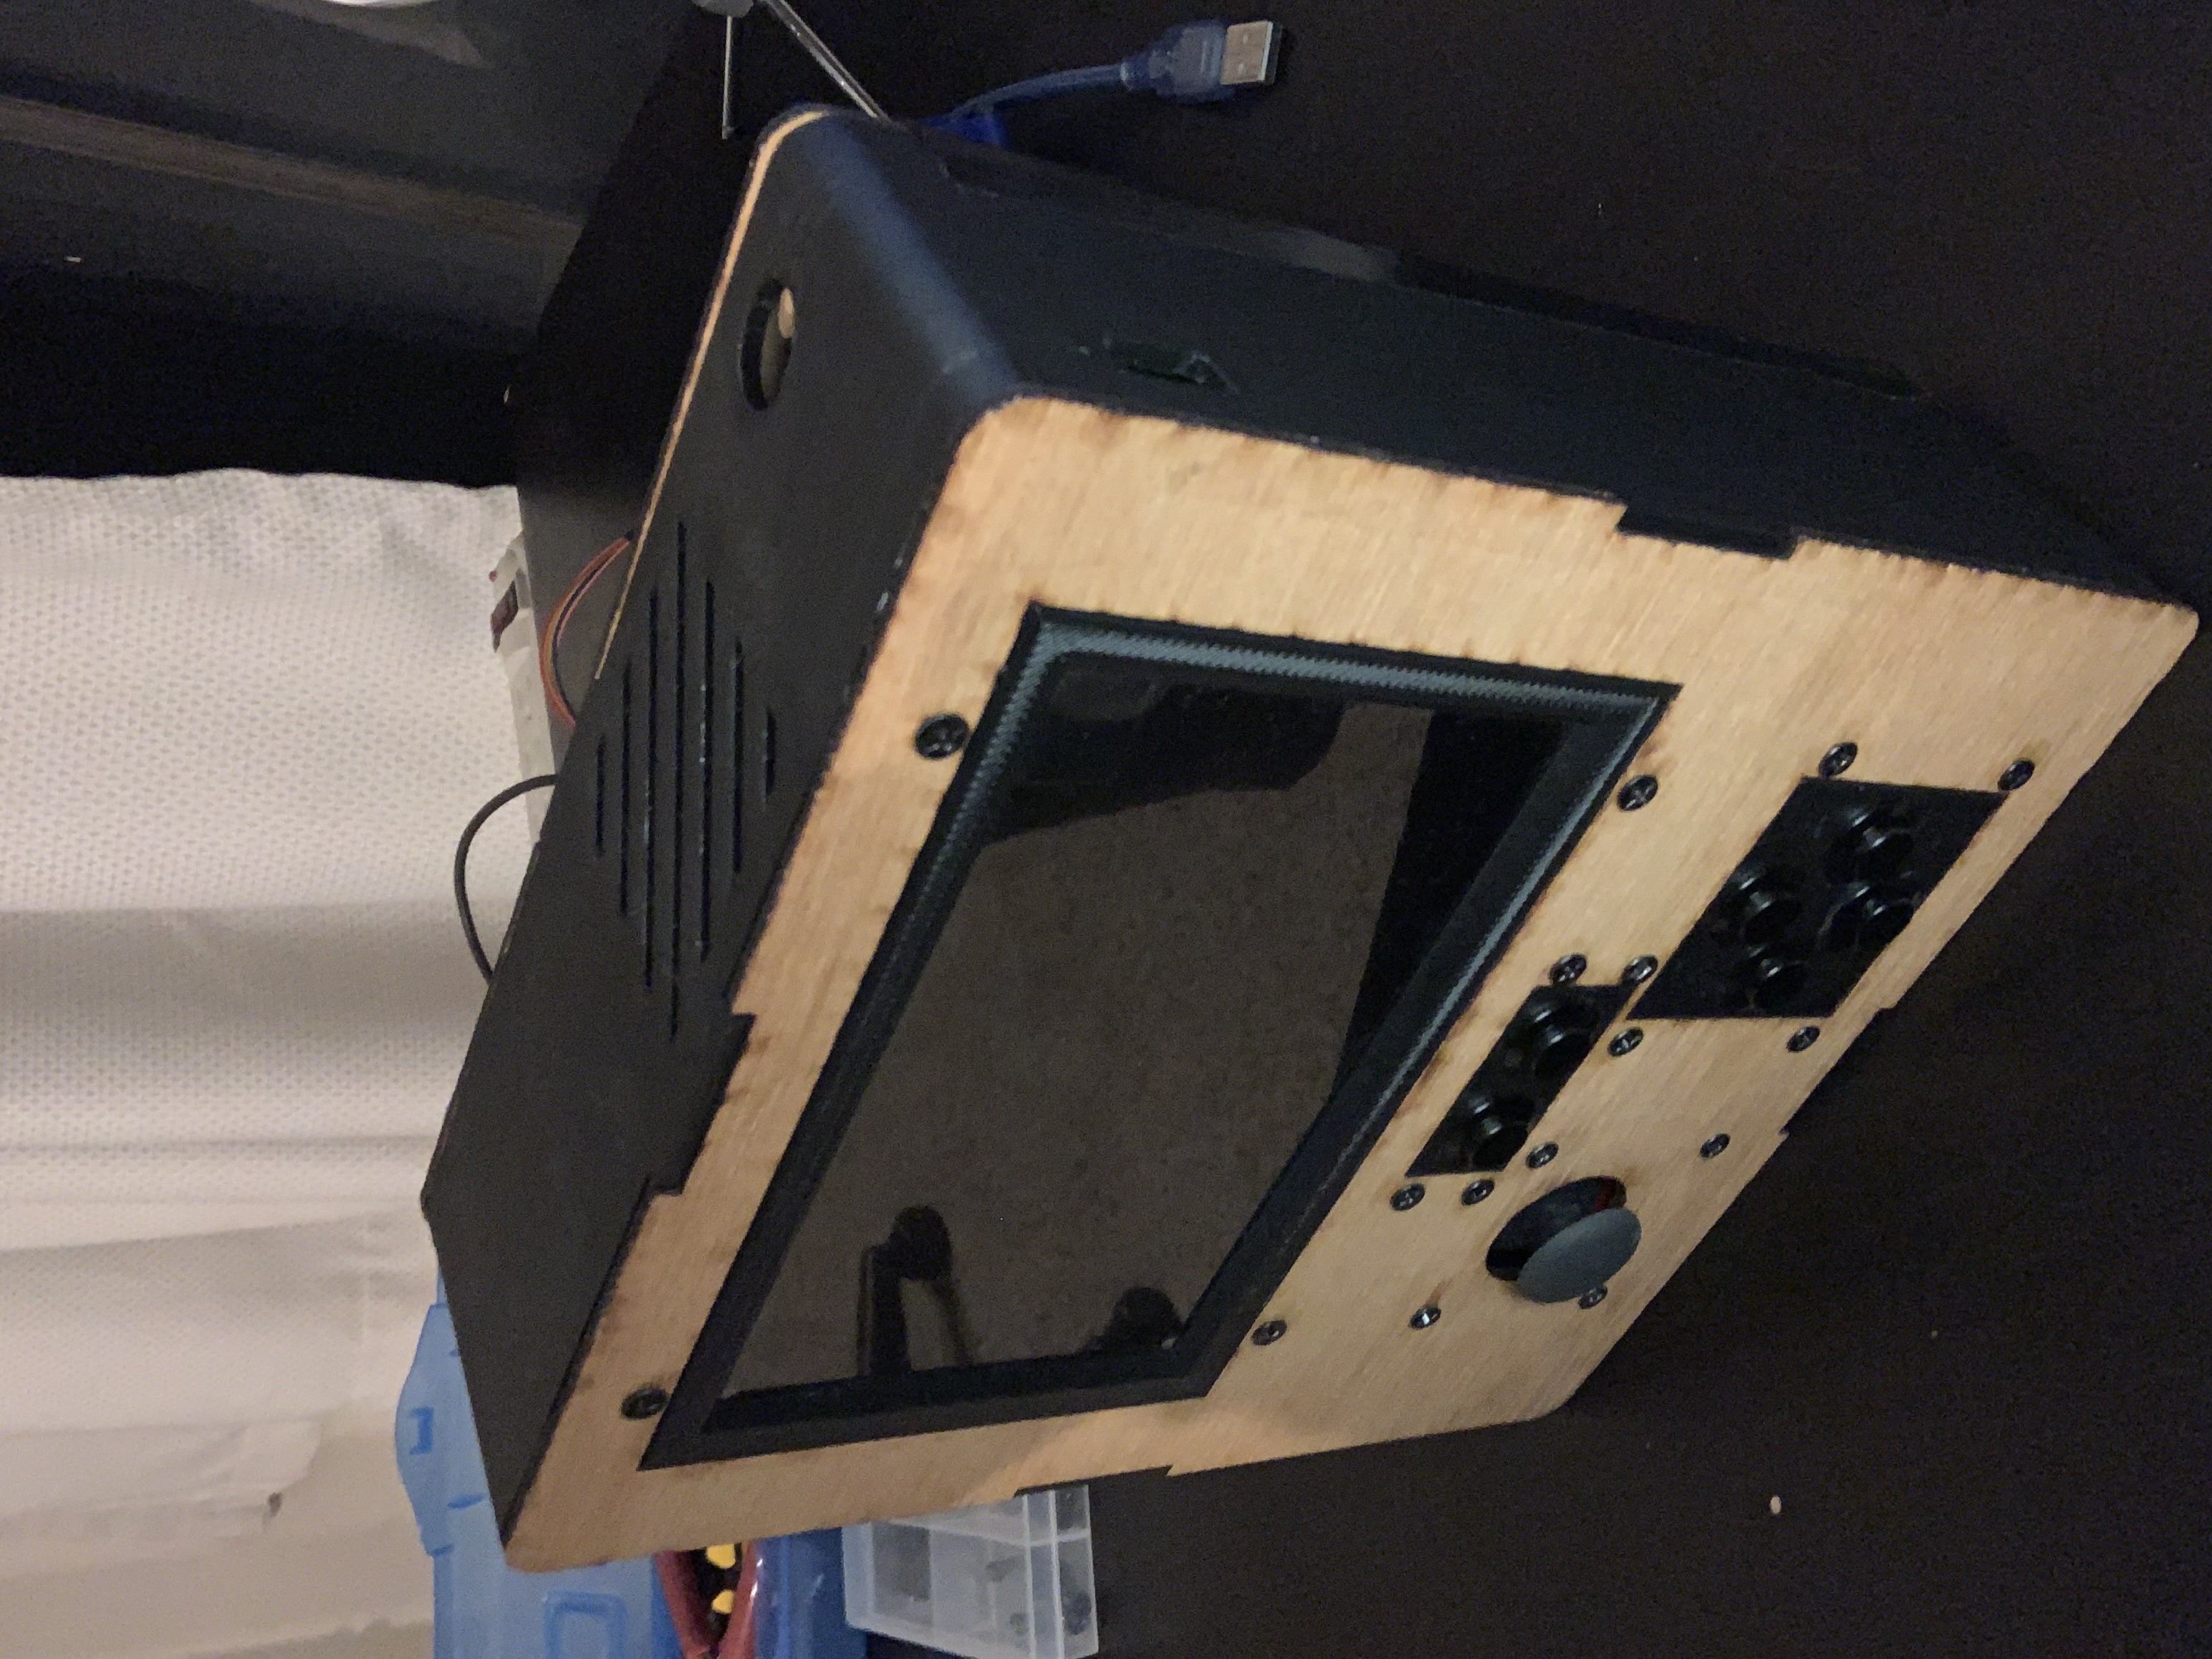
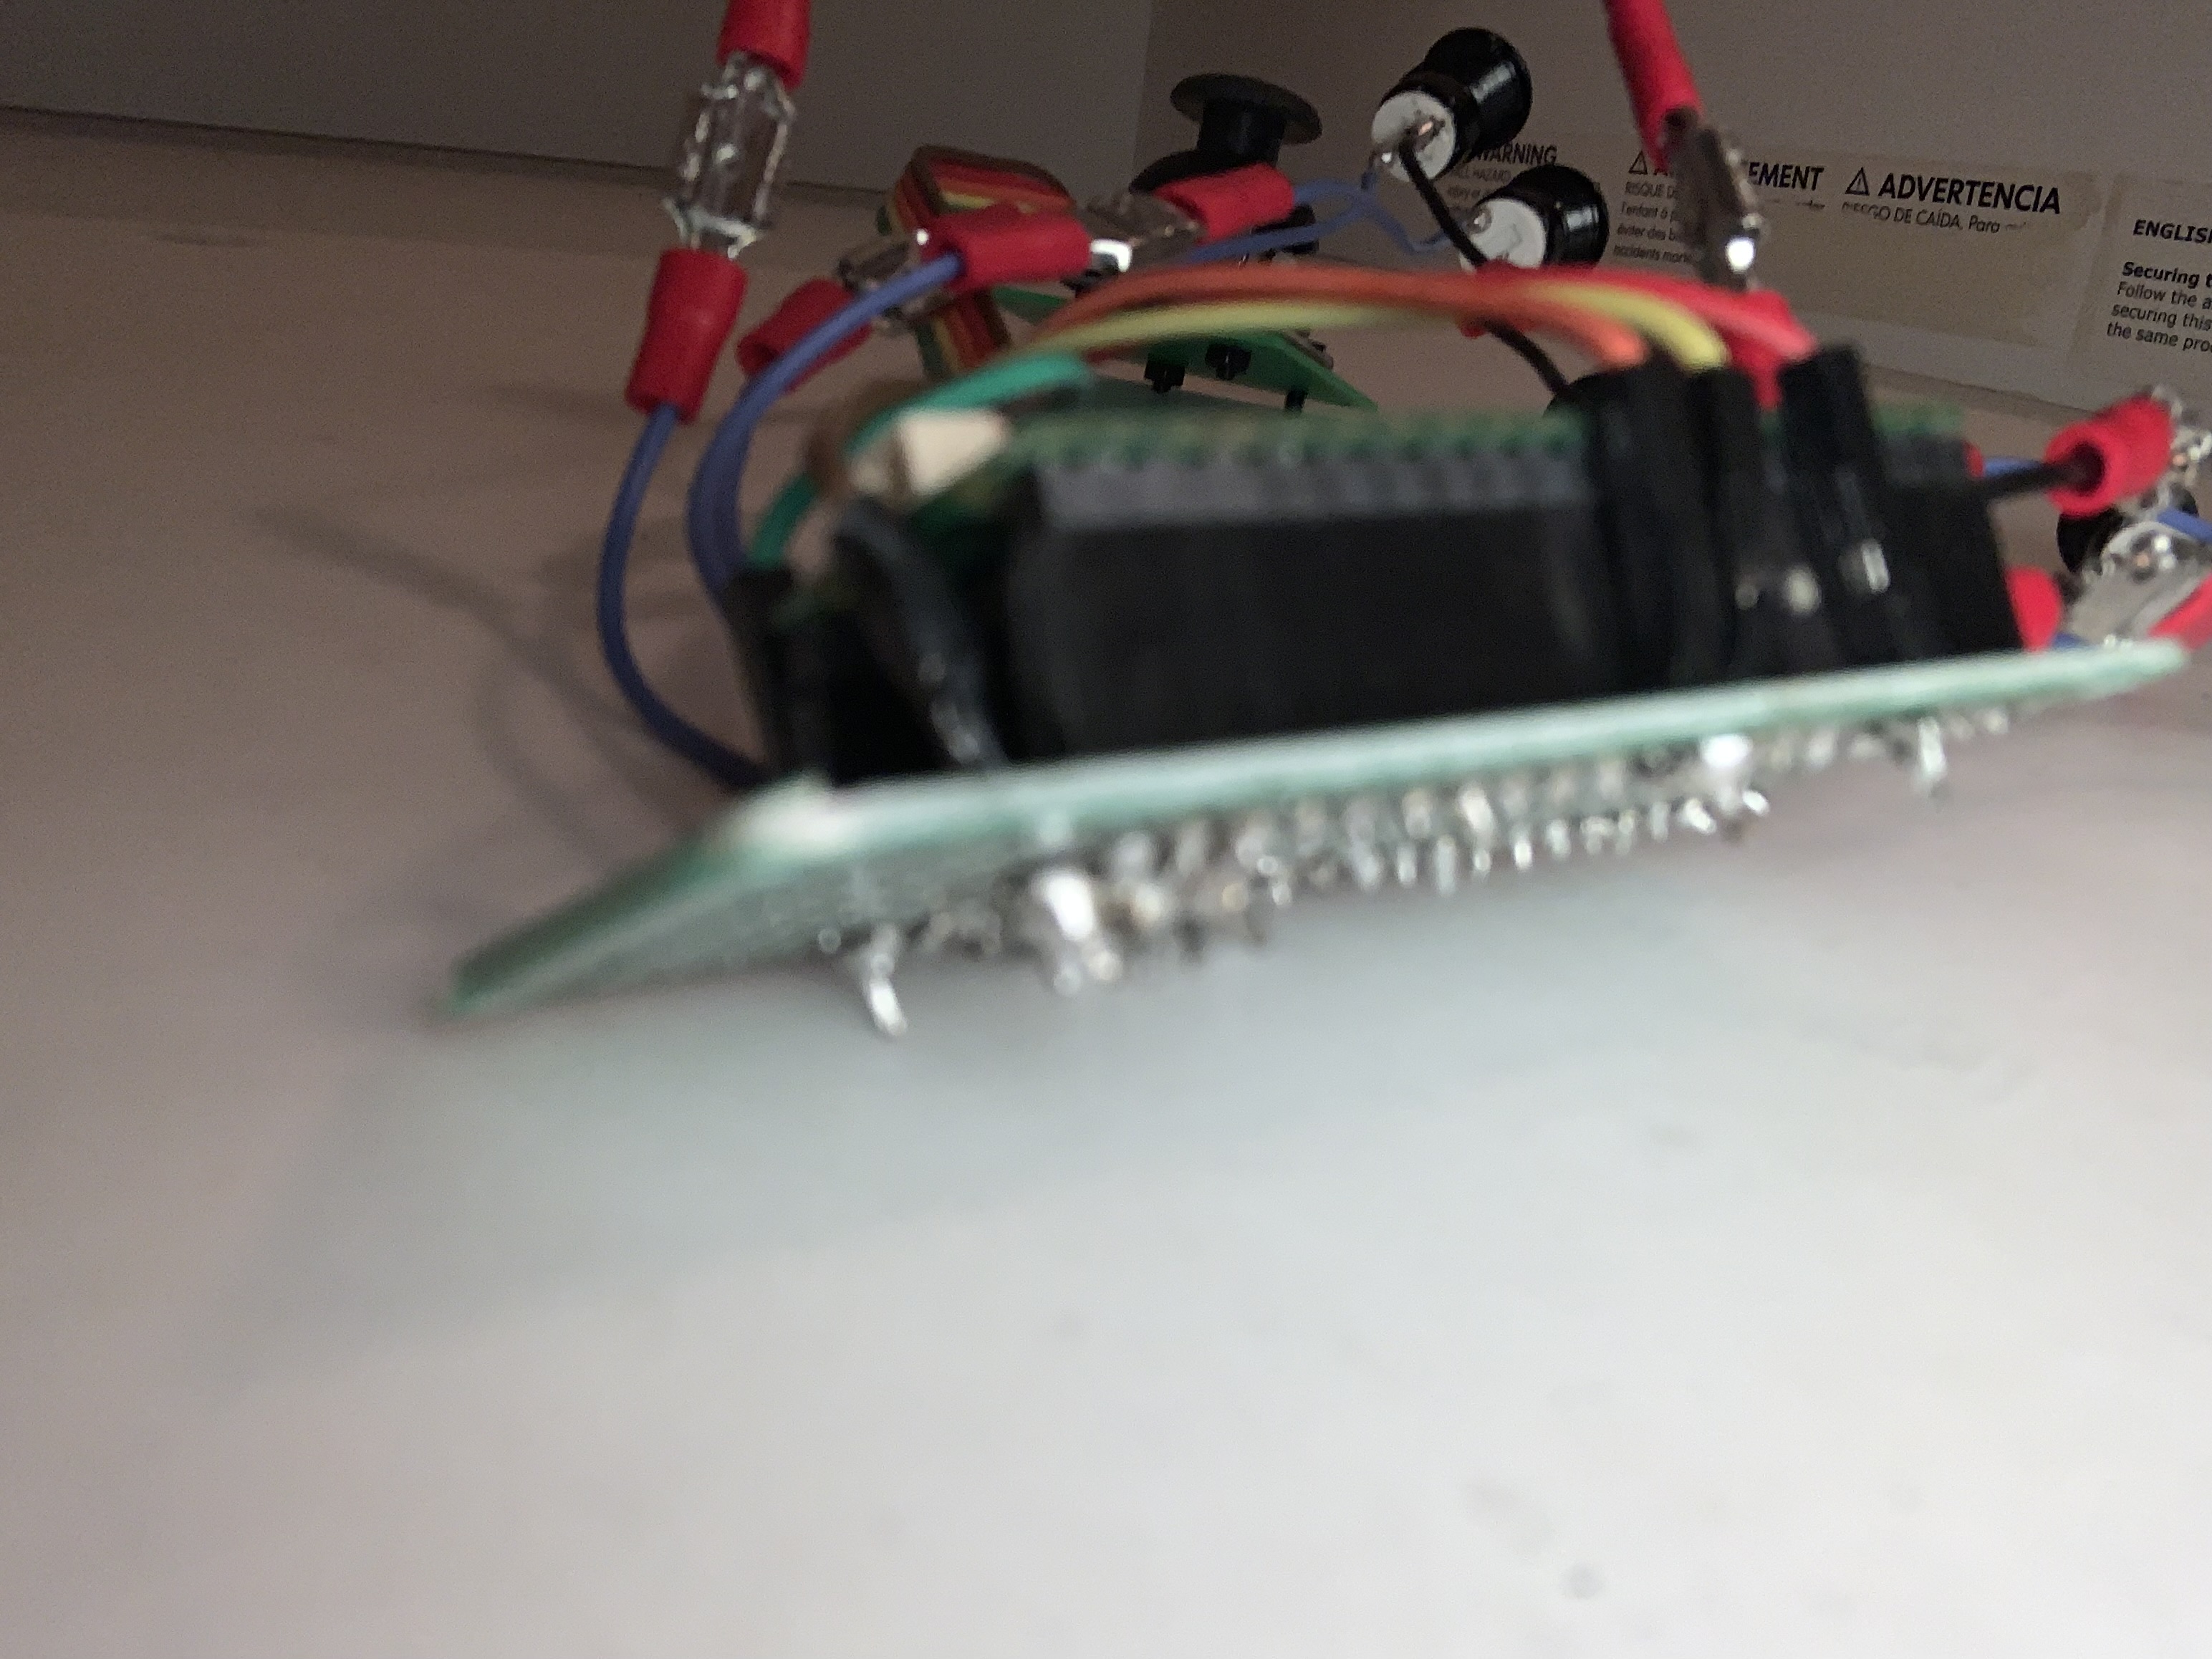
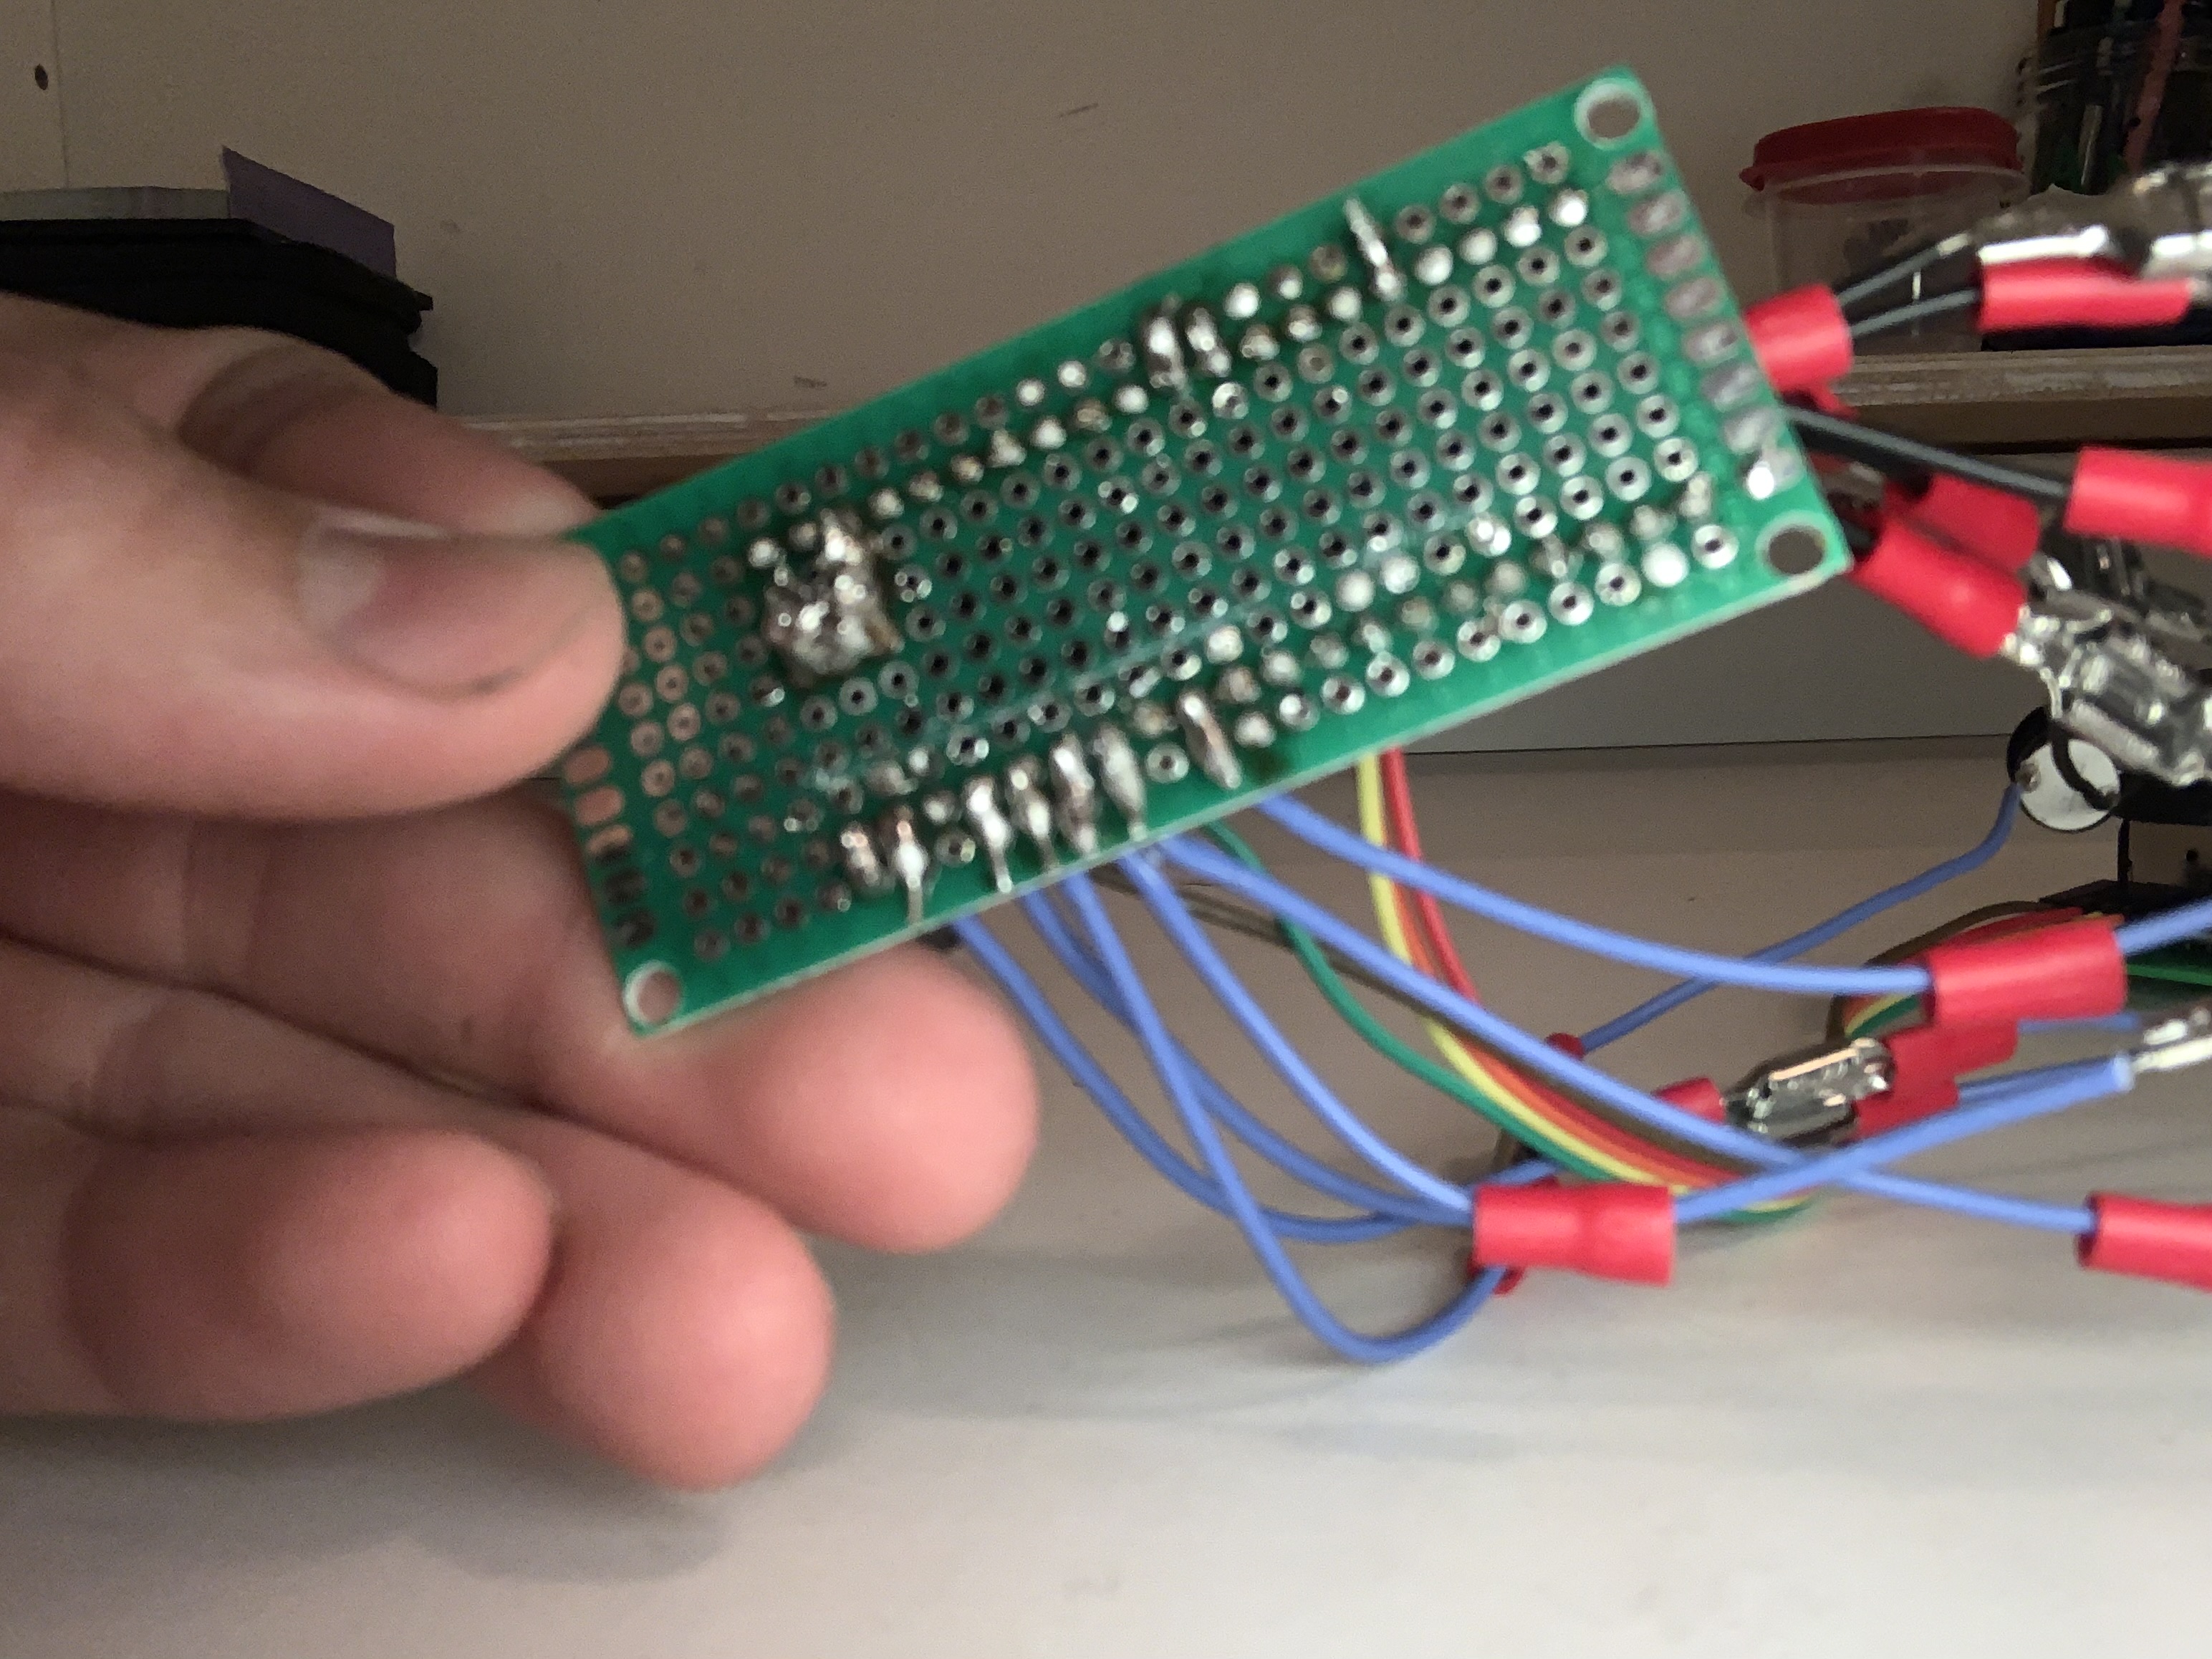
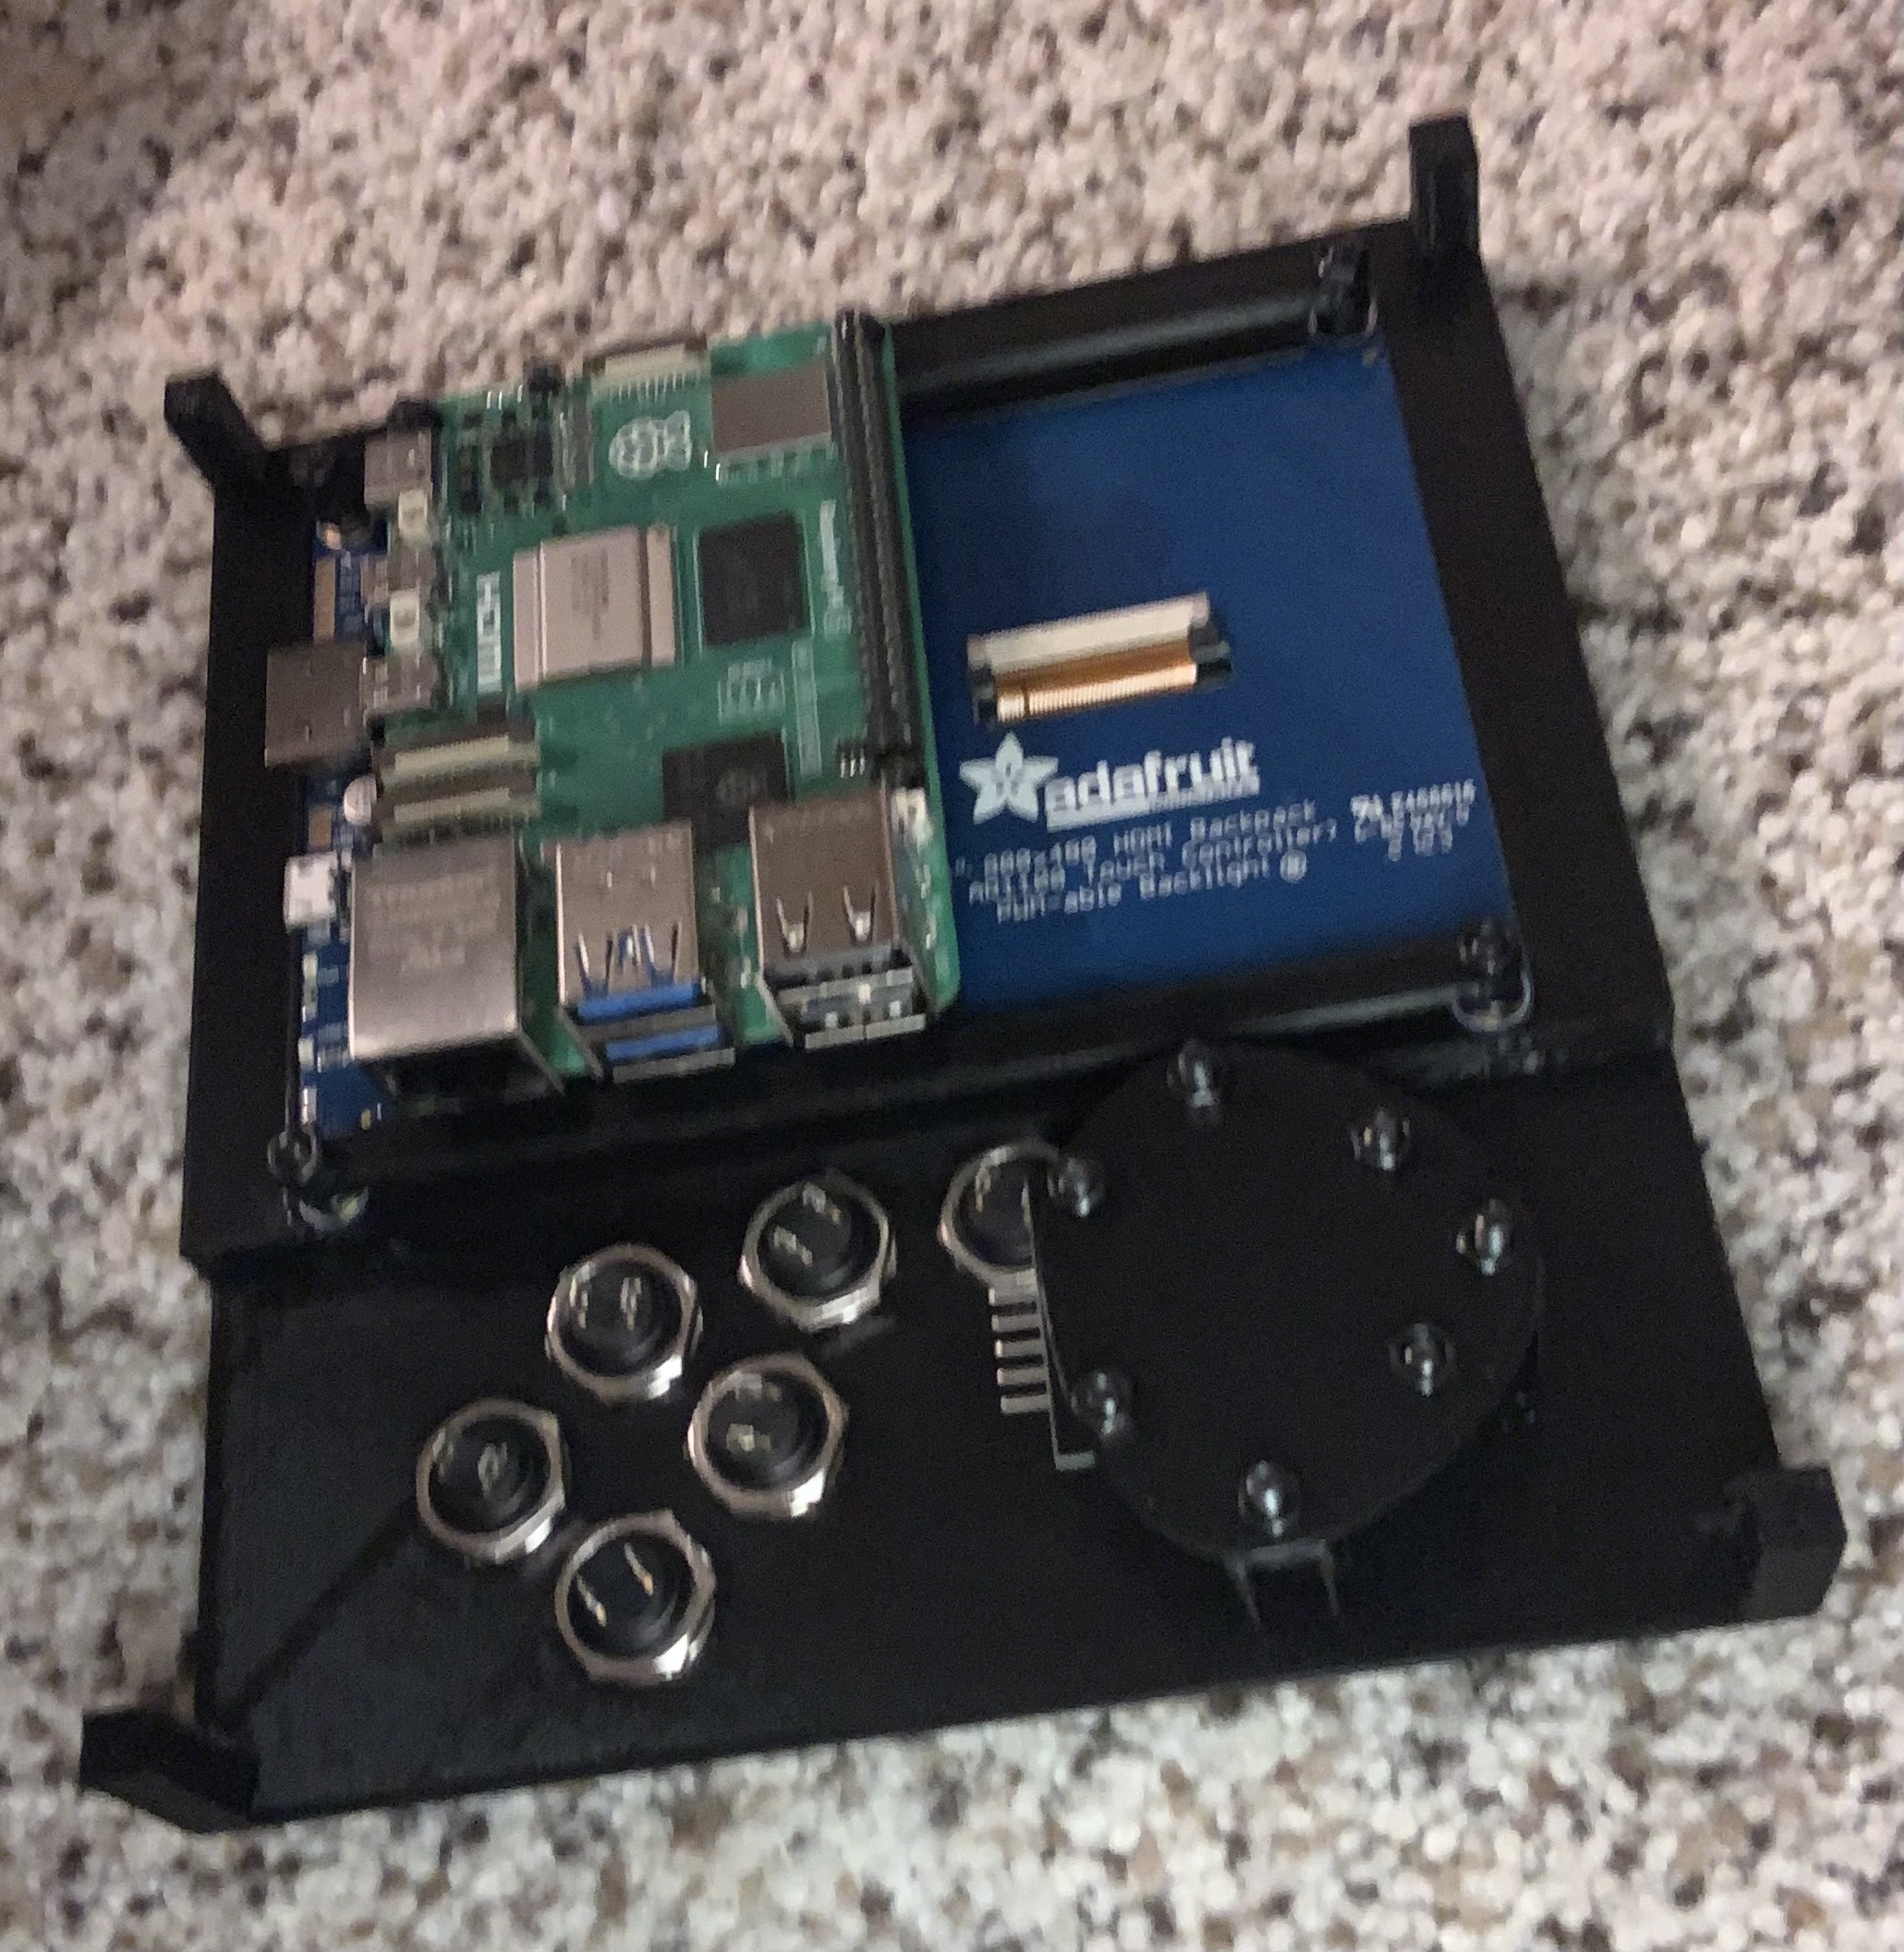
Jan 23, 2025: Beginning assembly!
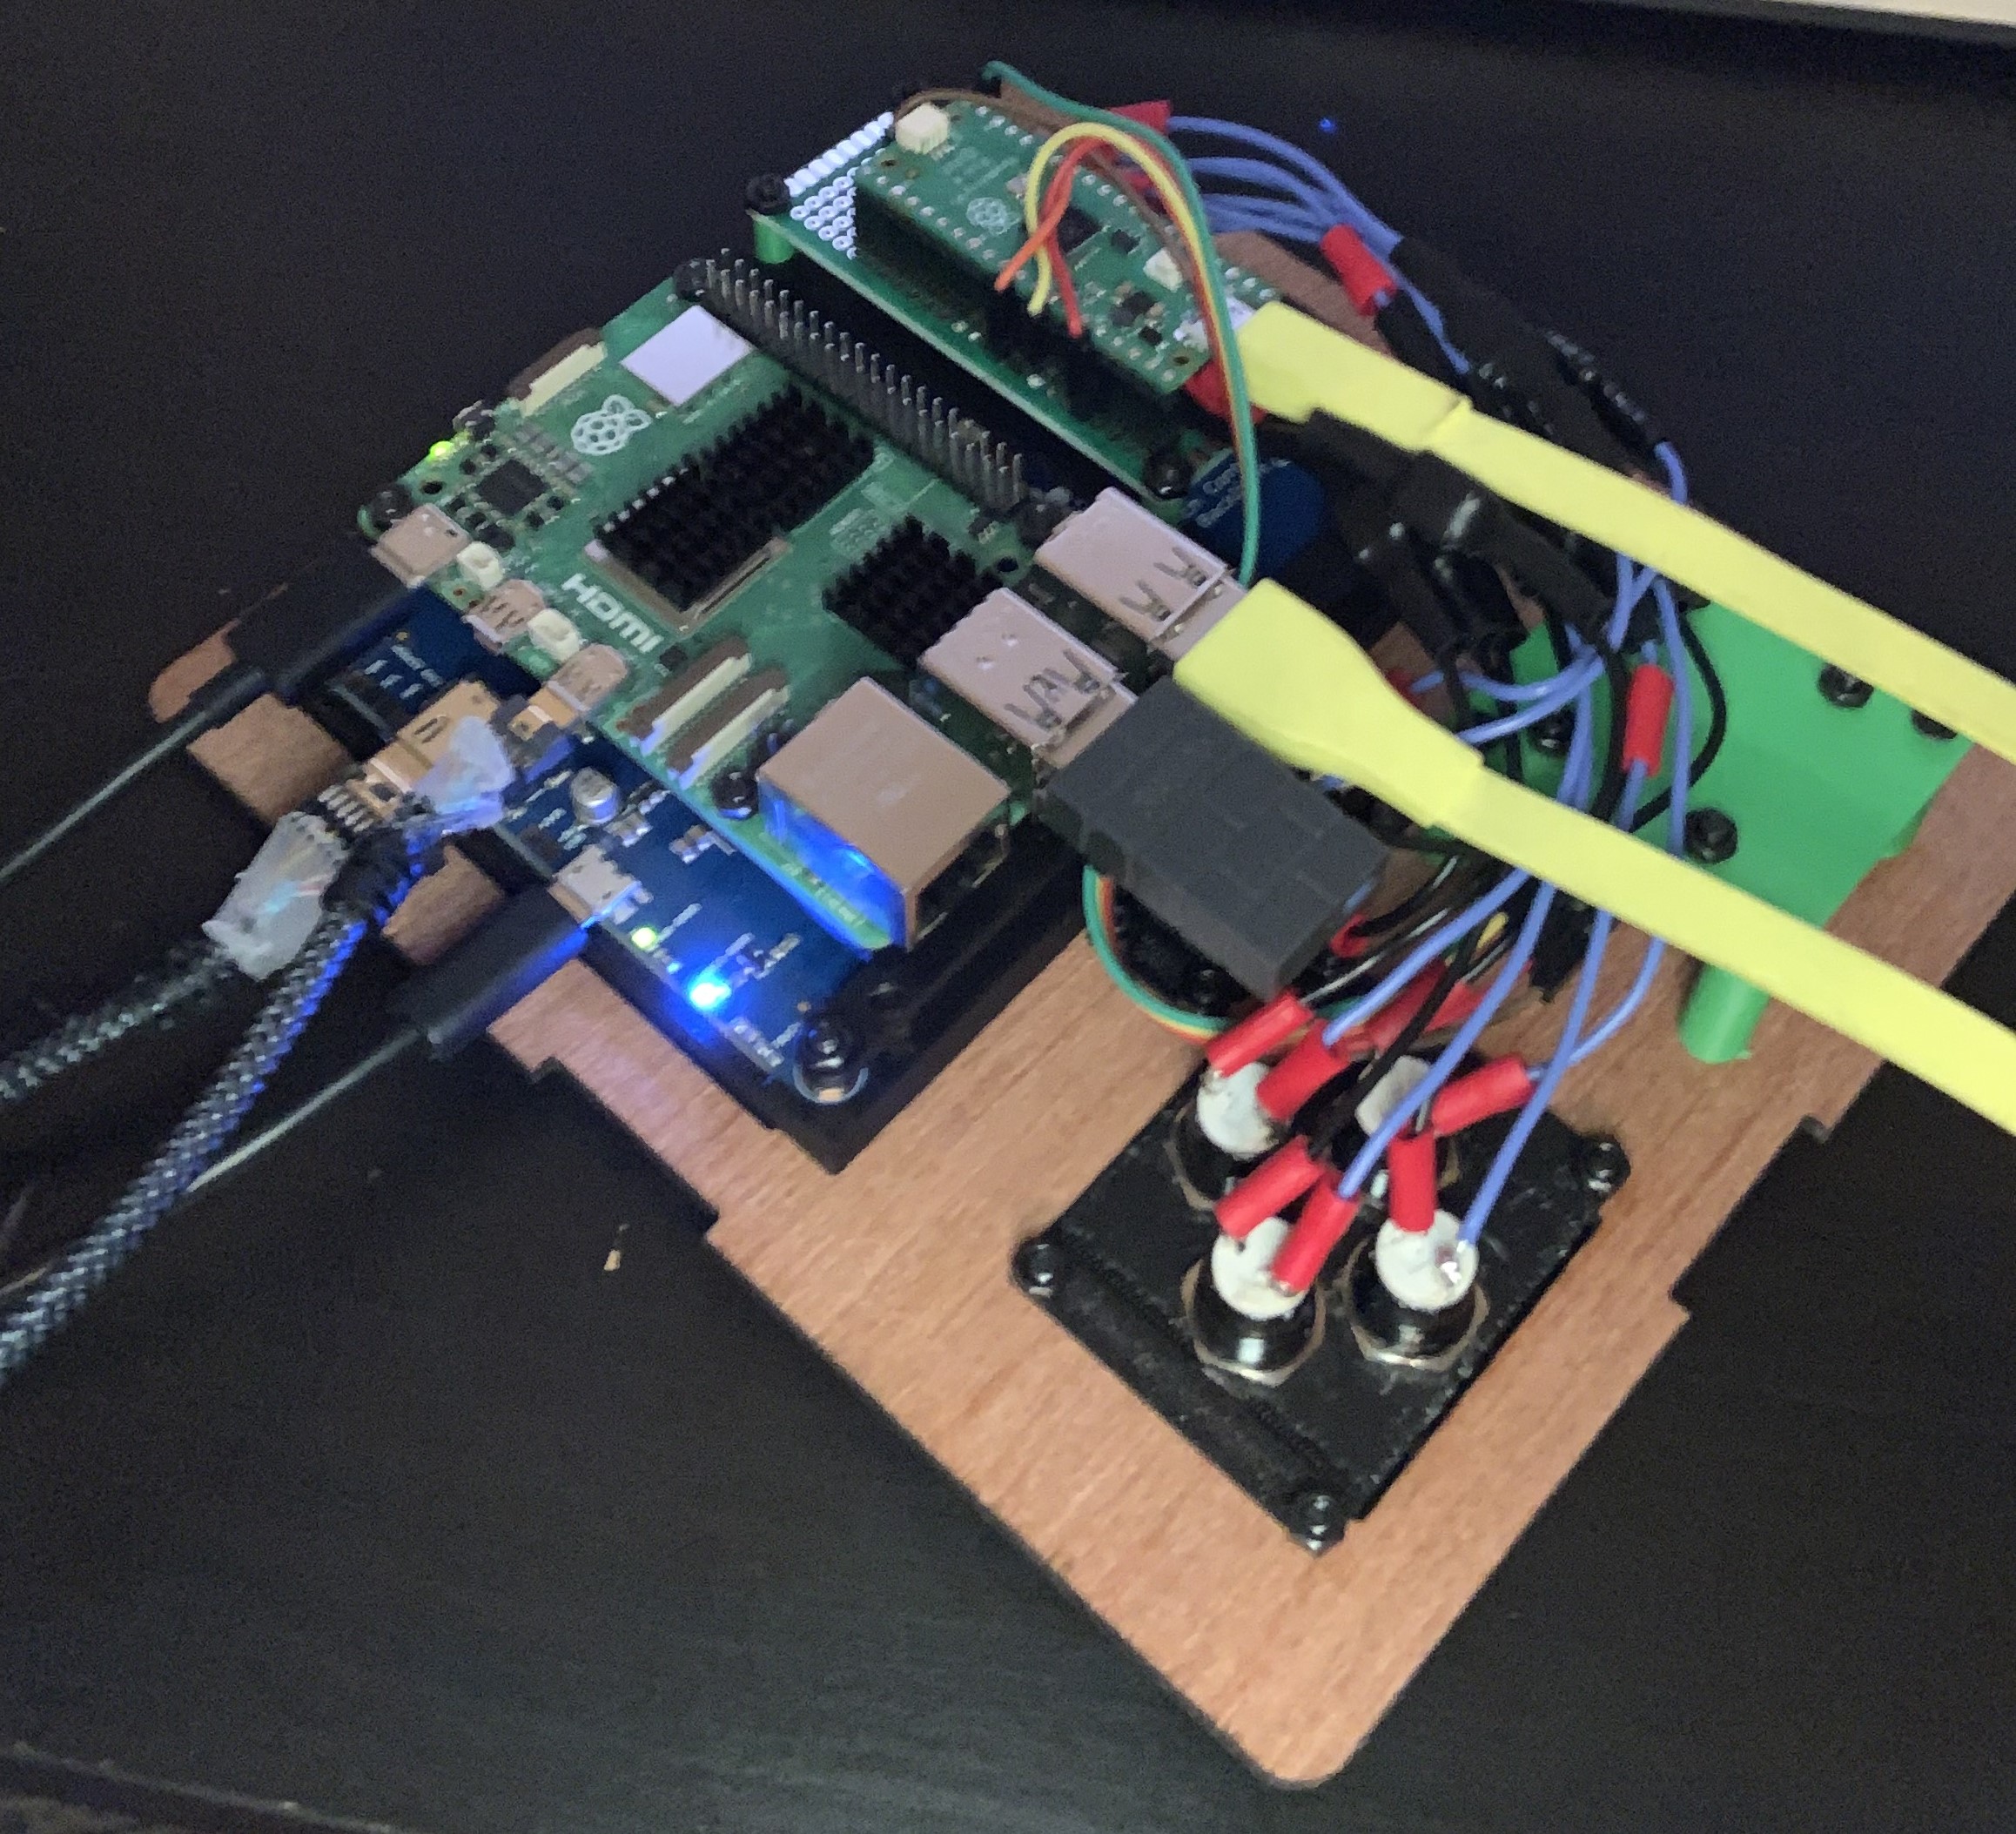
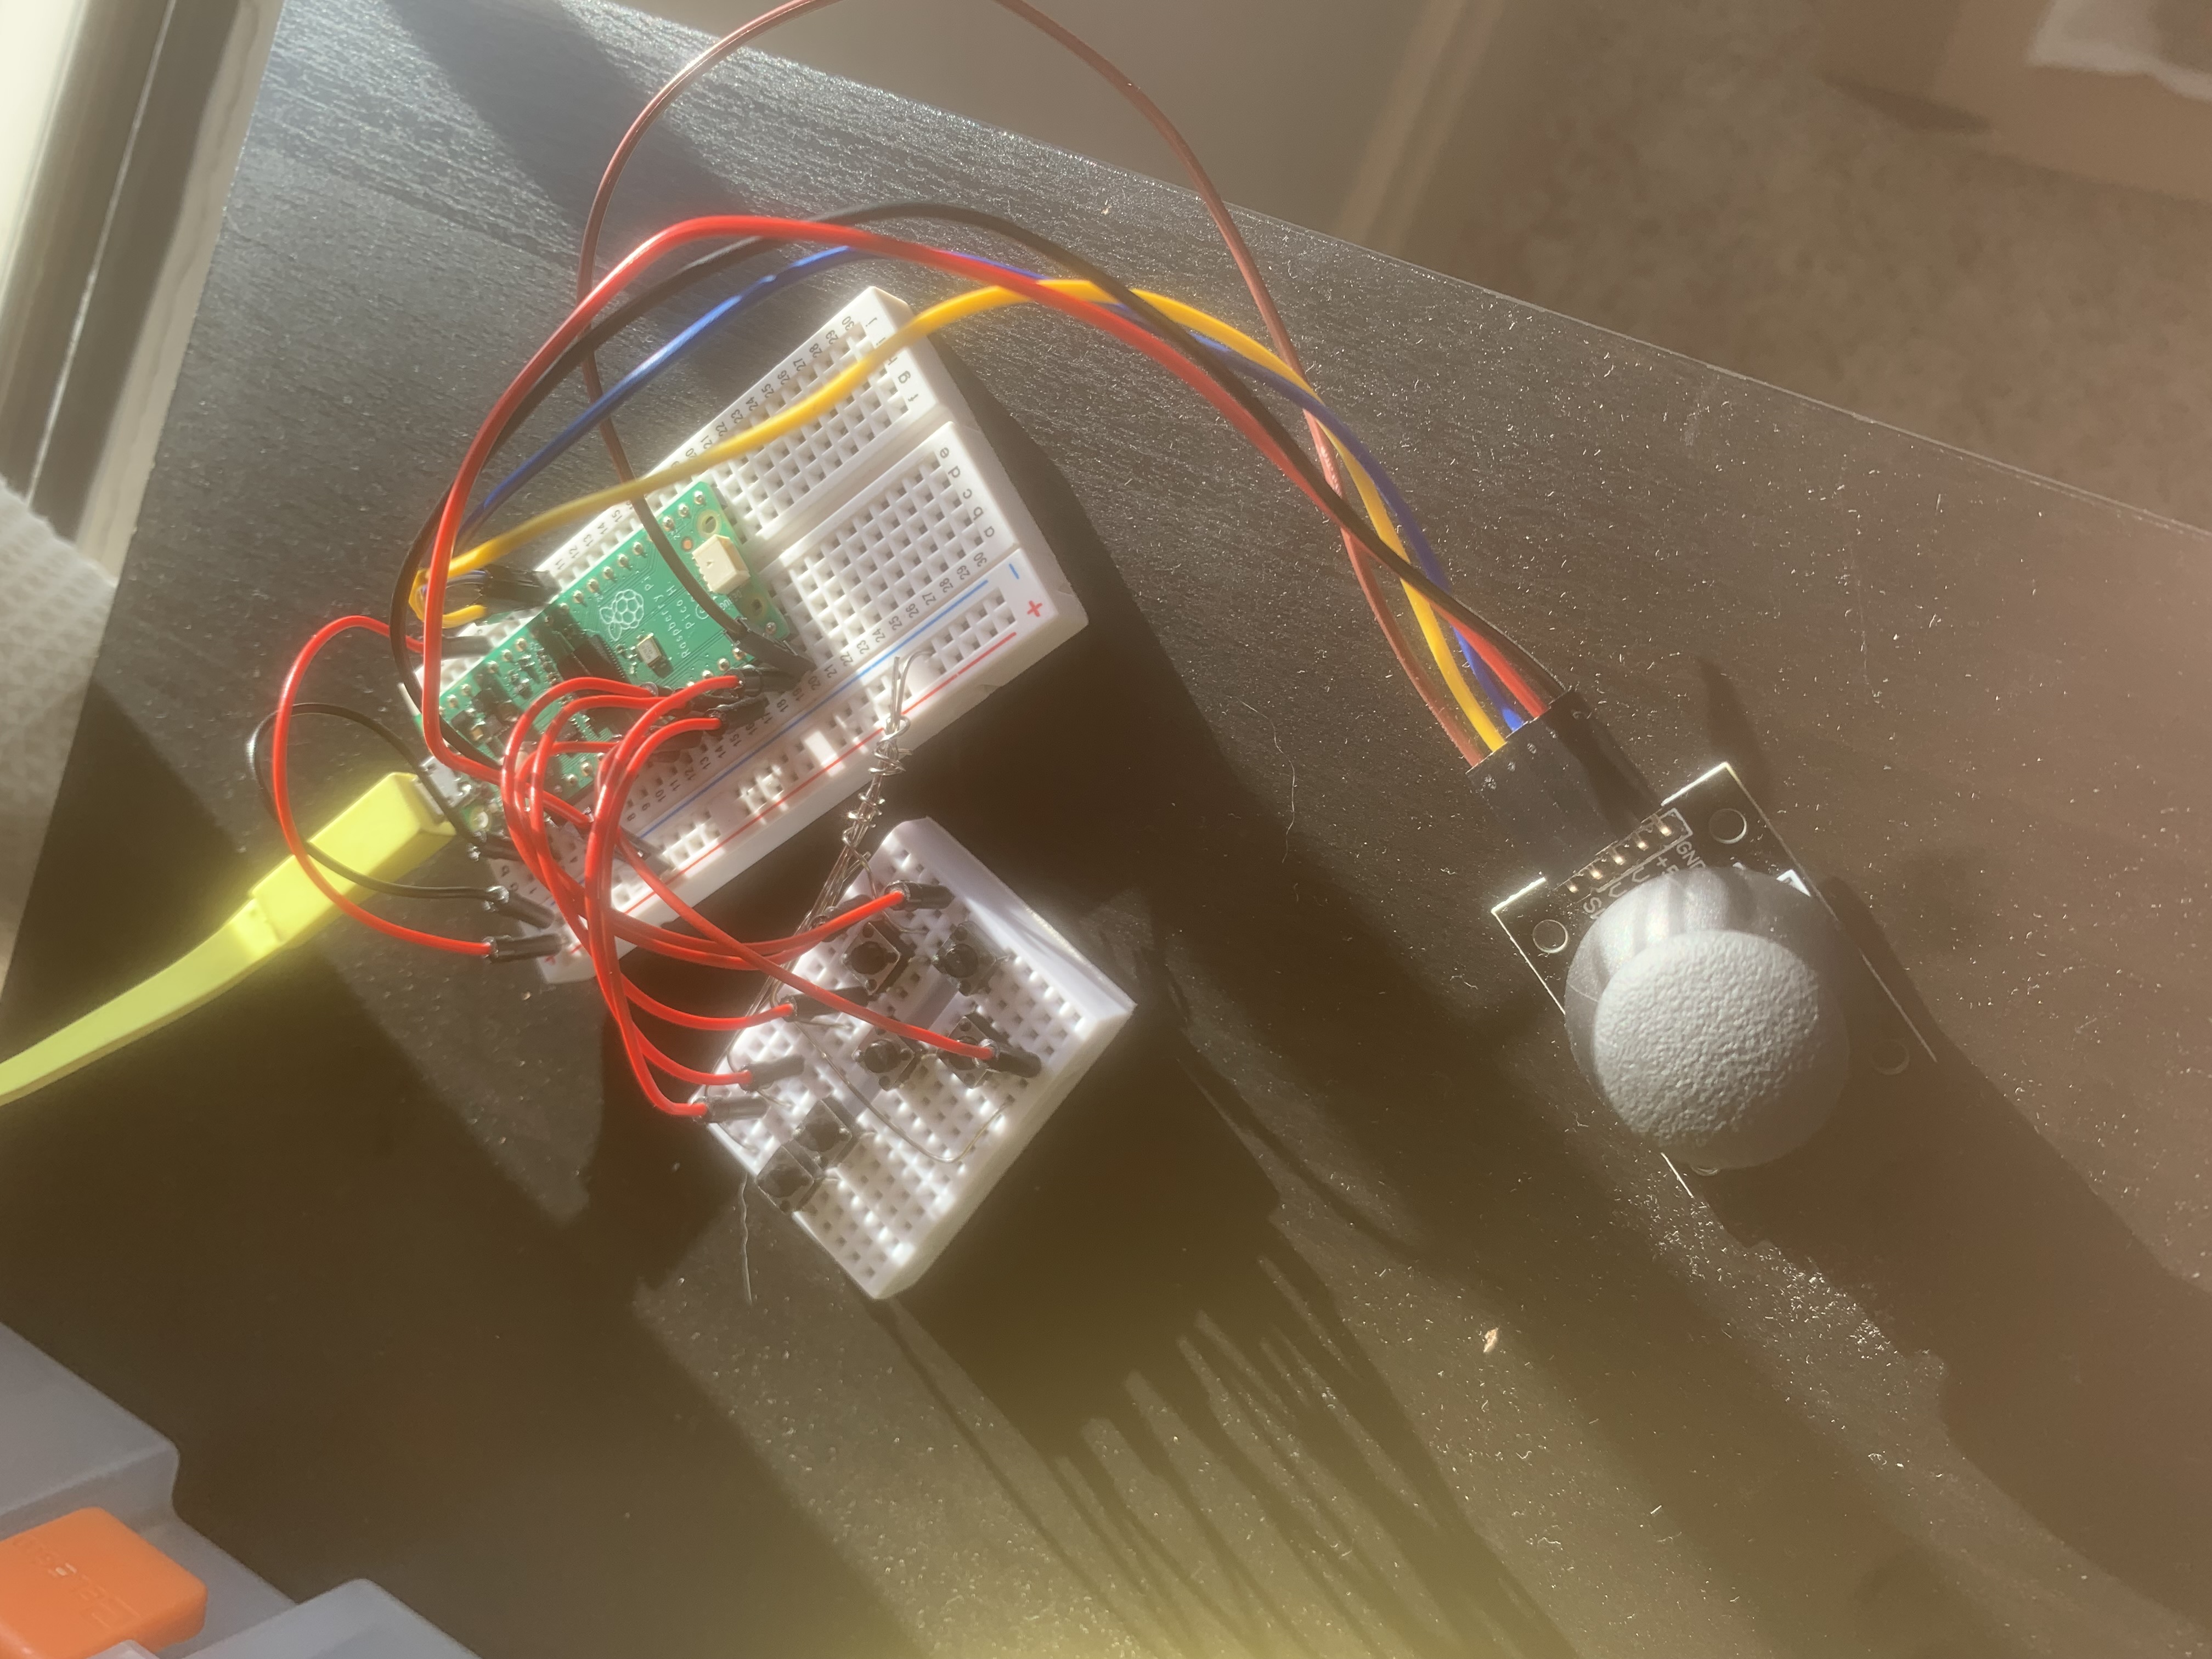
Jan 22, 2025: New controller setup.
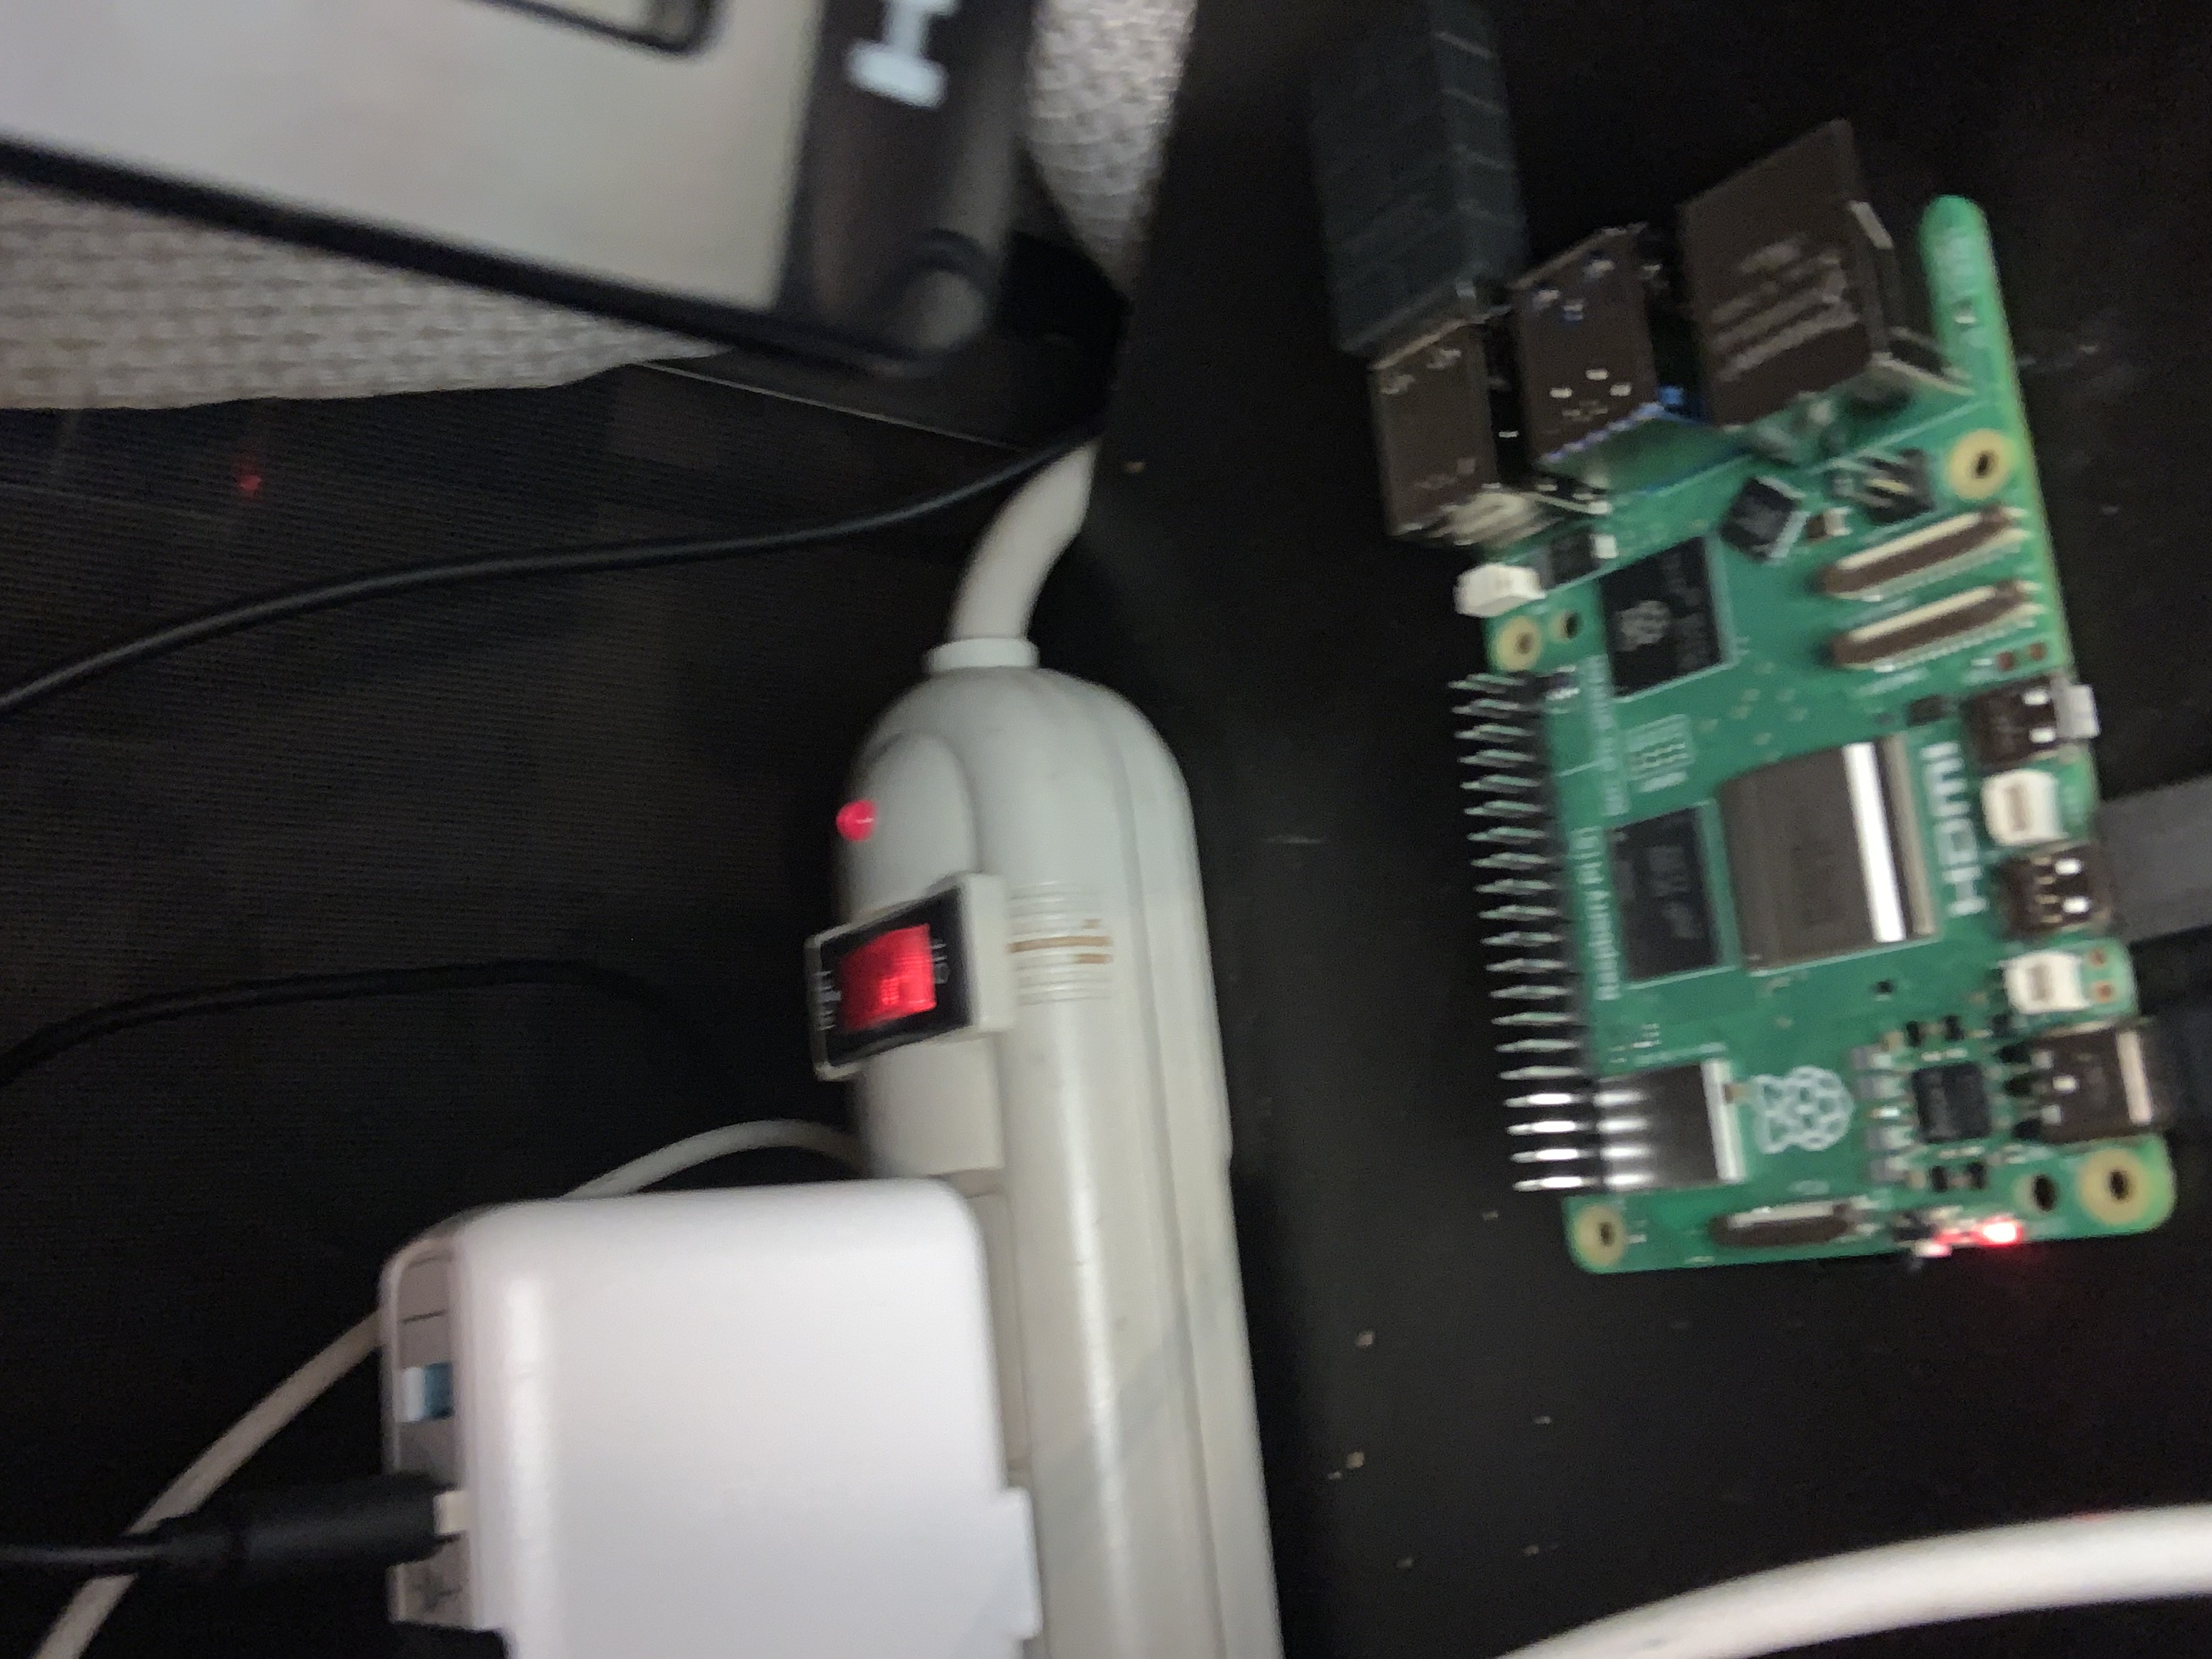
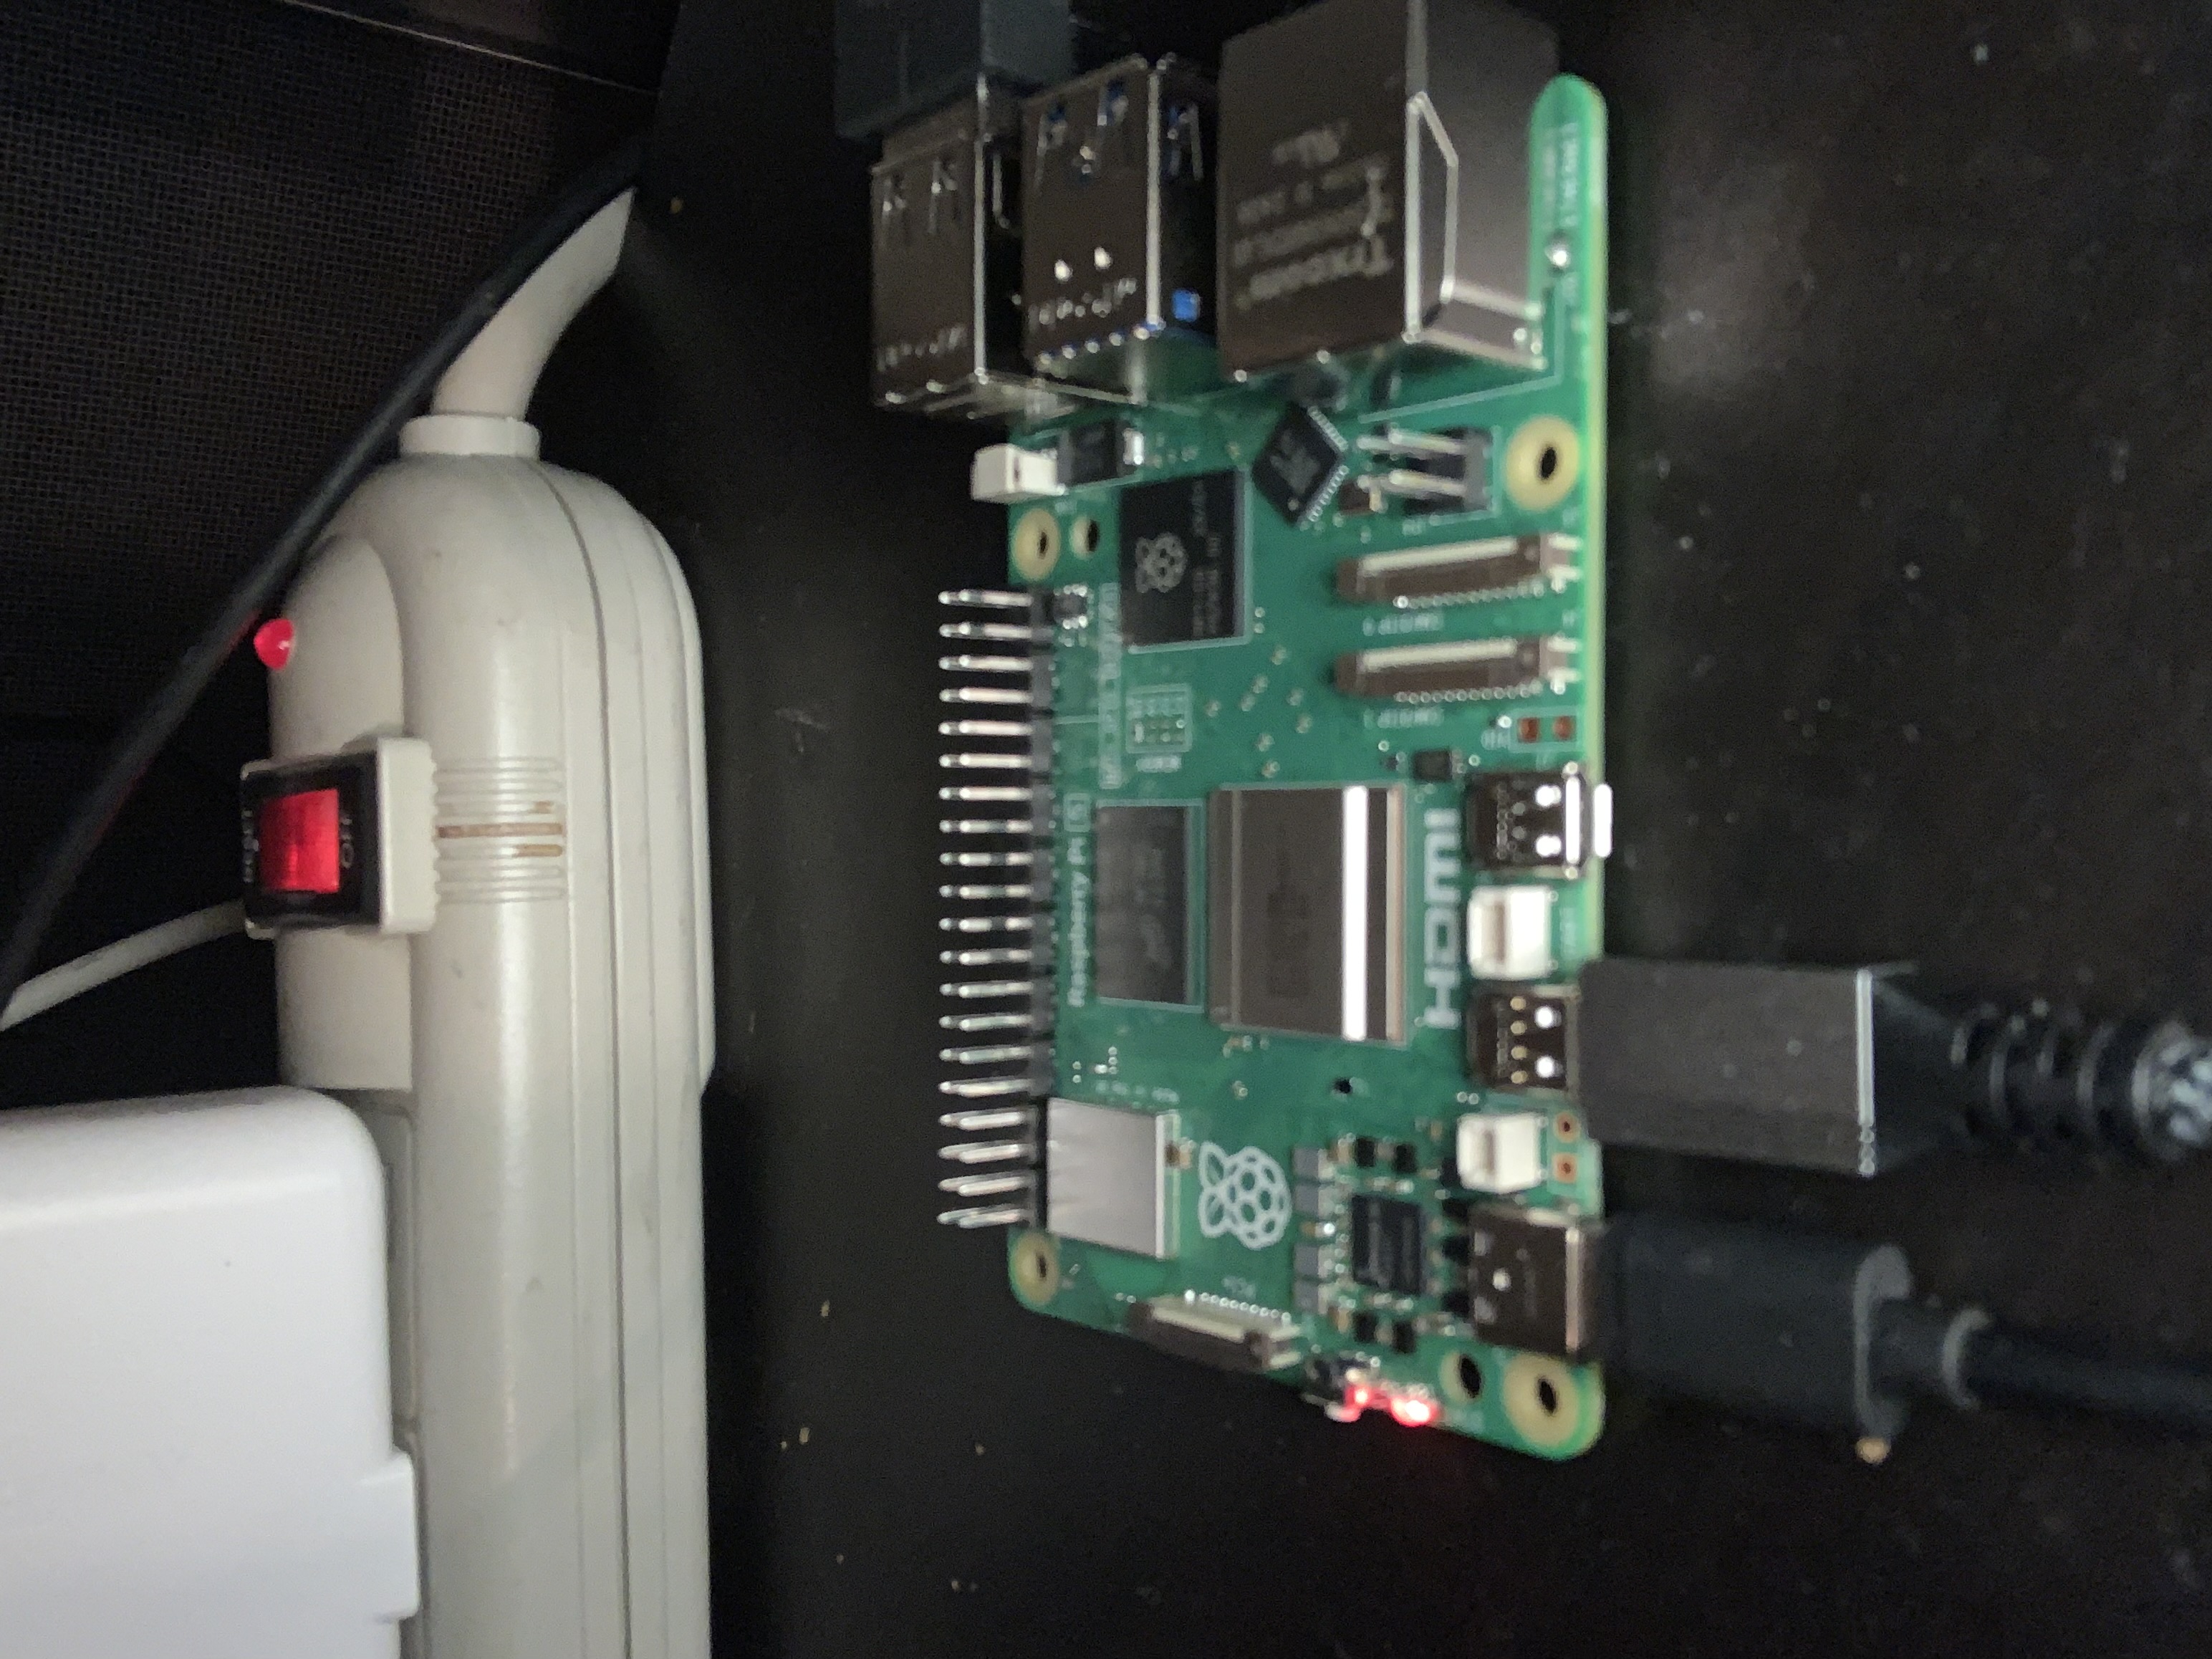
Jan 11, 2025: New mounts for the pis.
December 7, 2024: Well the final version of the case is coming along.
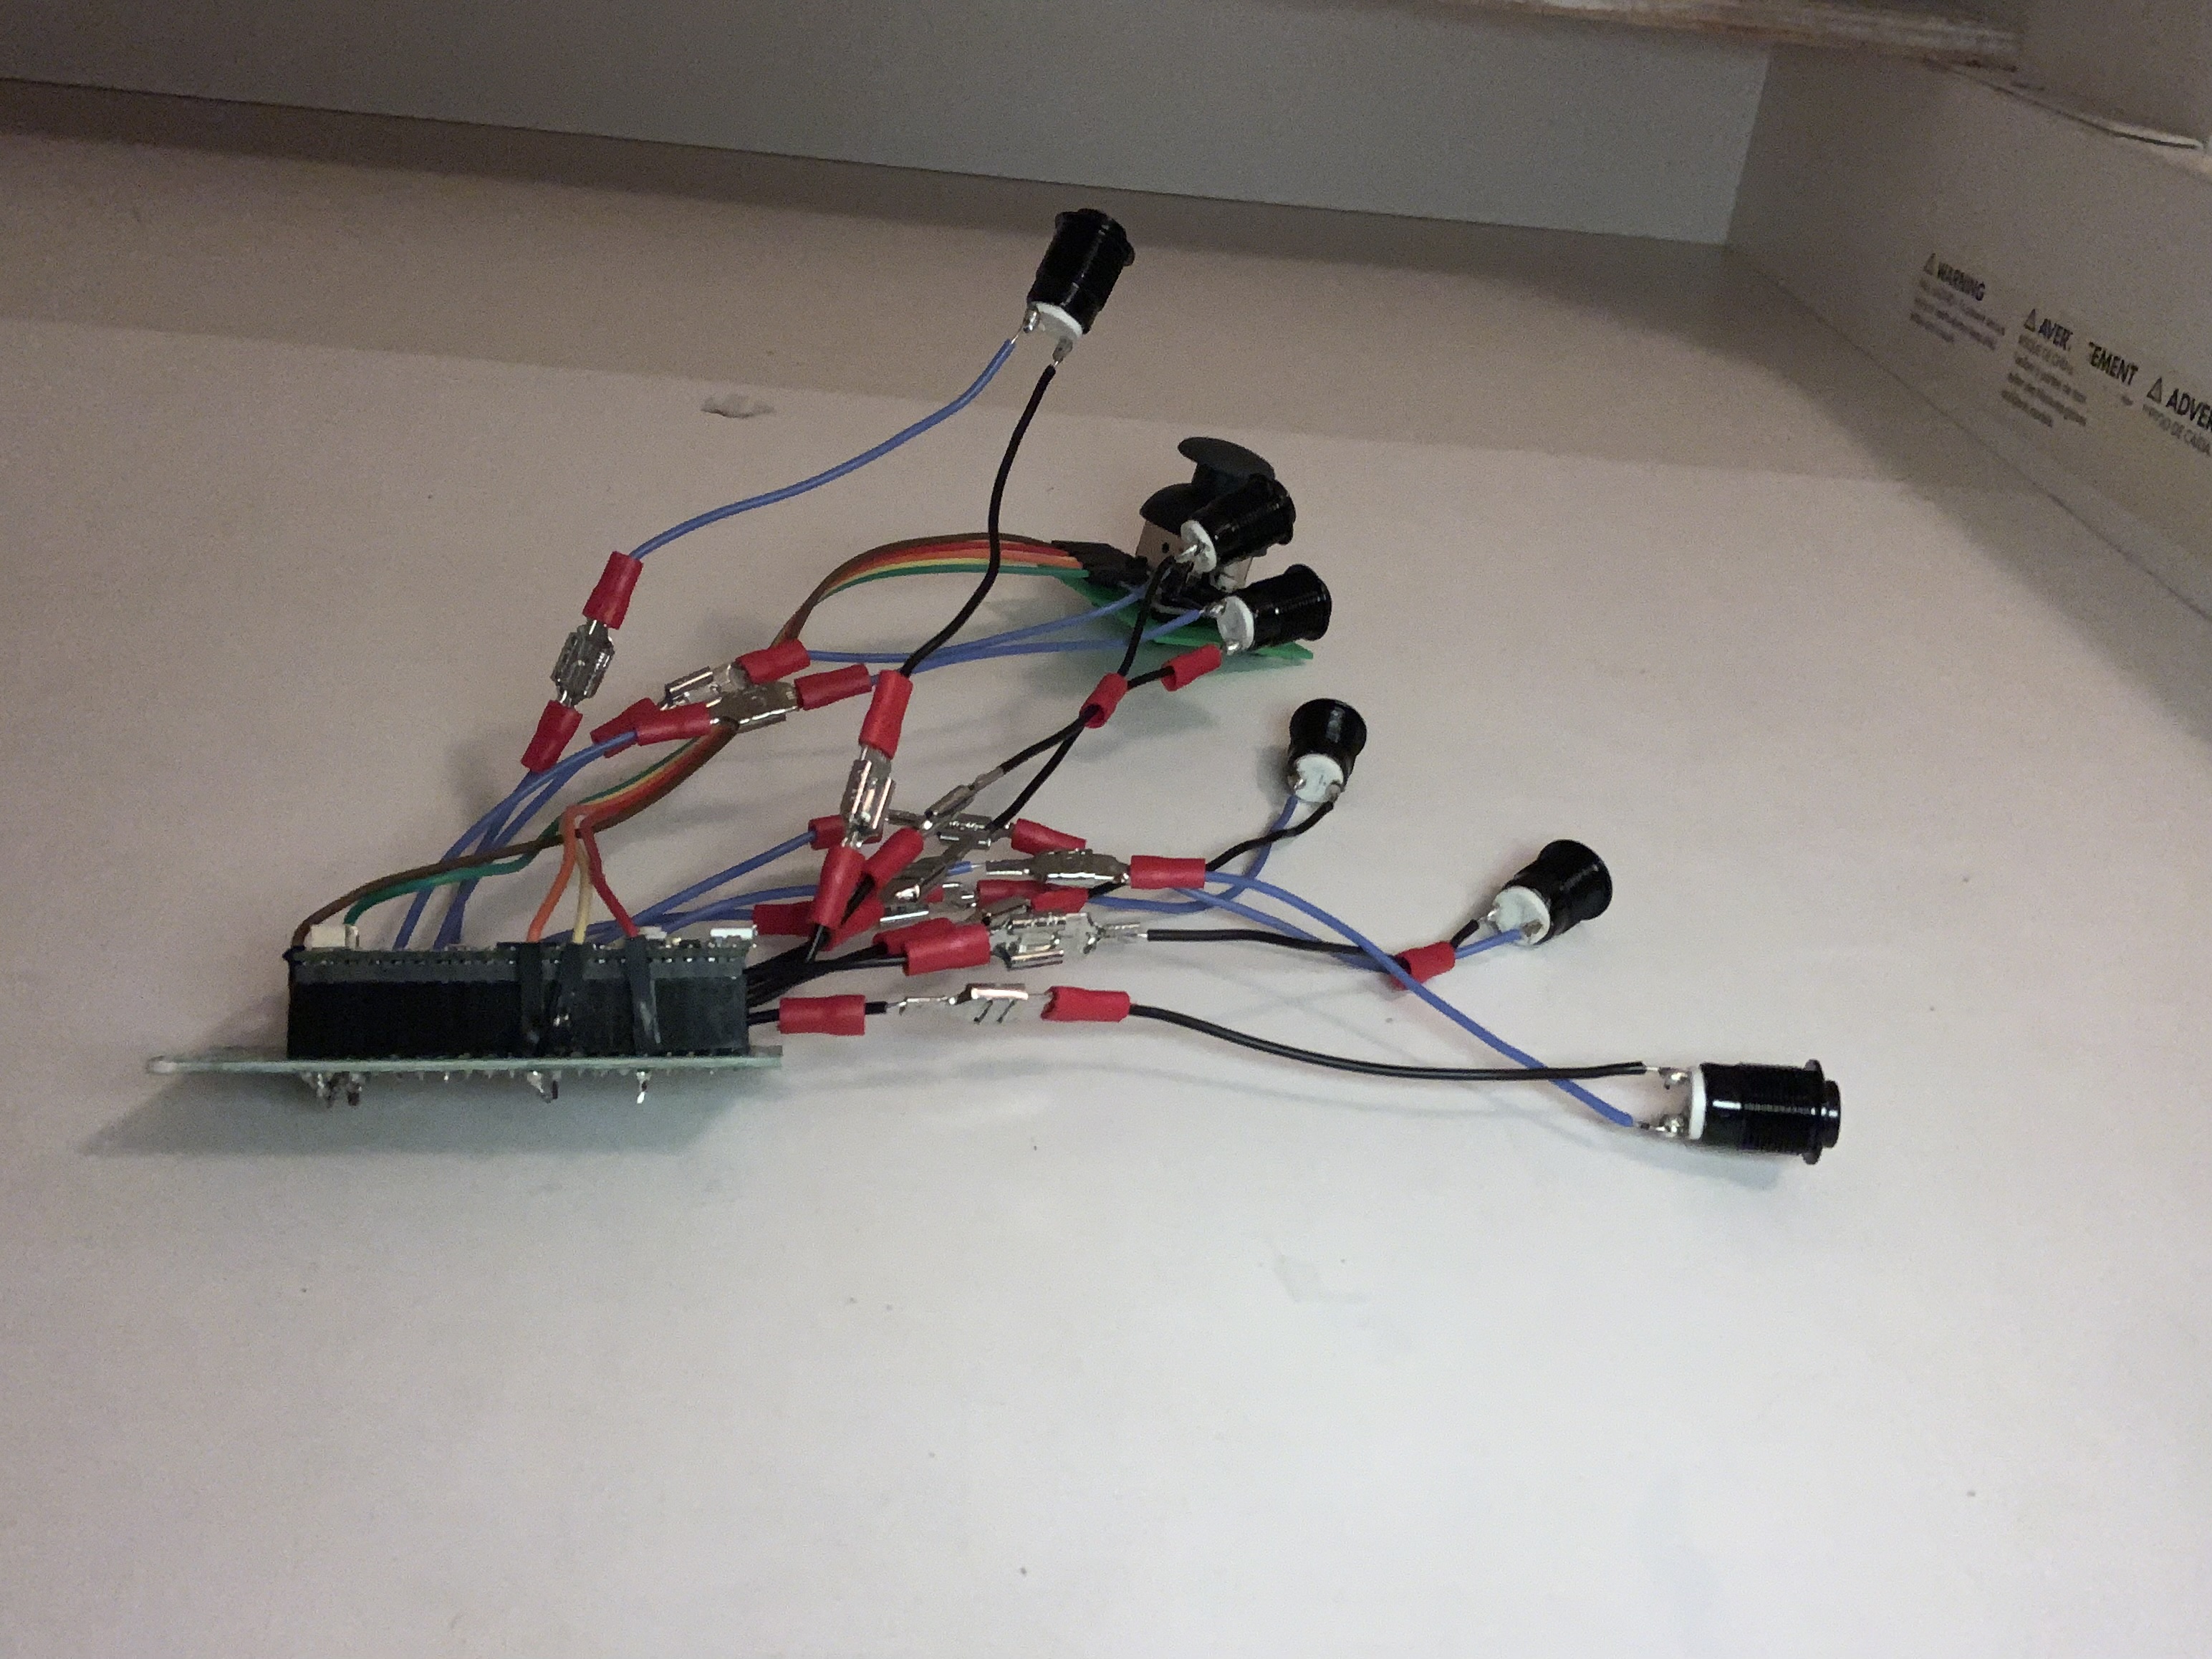
December 1, 2024: GOT THE CONTROLLER WORKING FINALLY
Sorry no pictures for this one but I finally got the controller working. :)
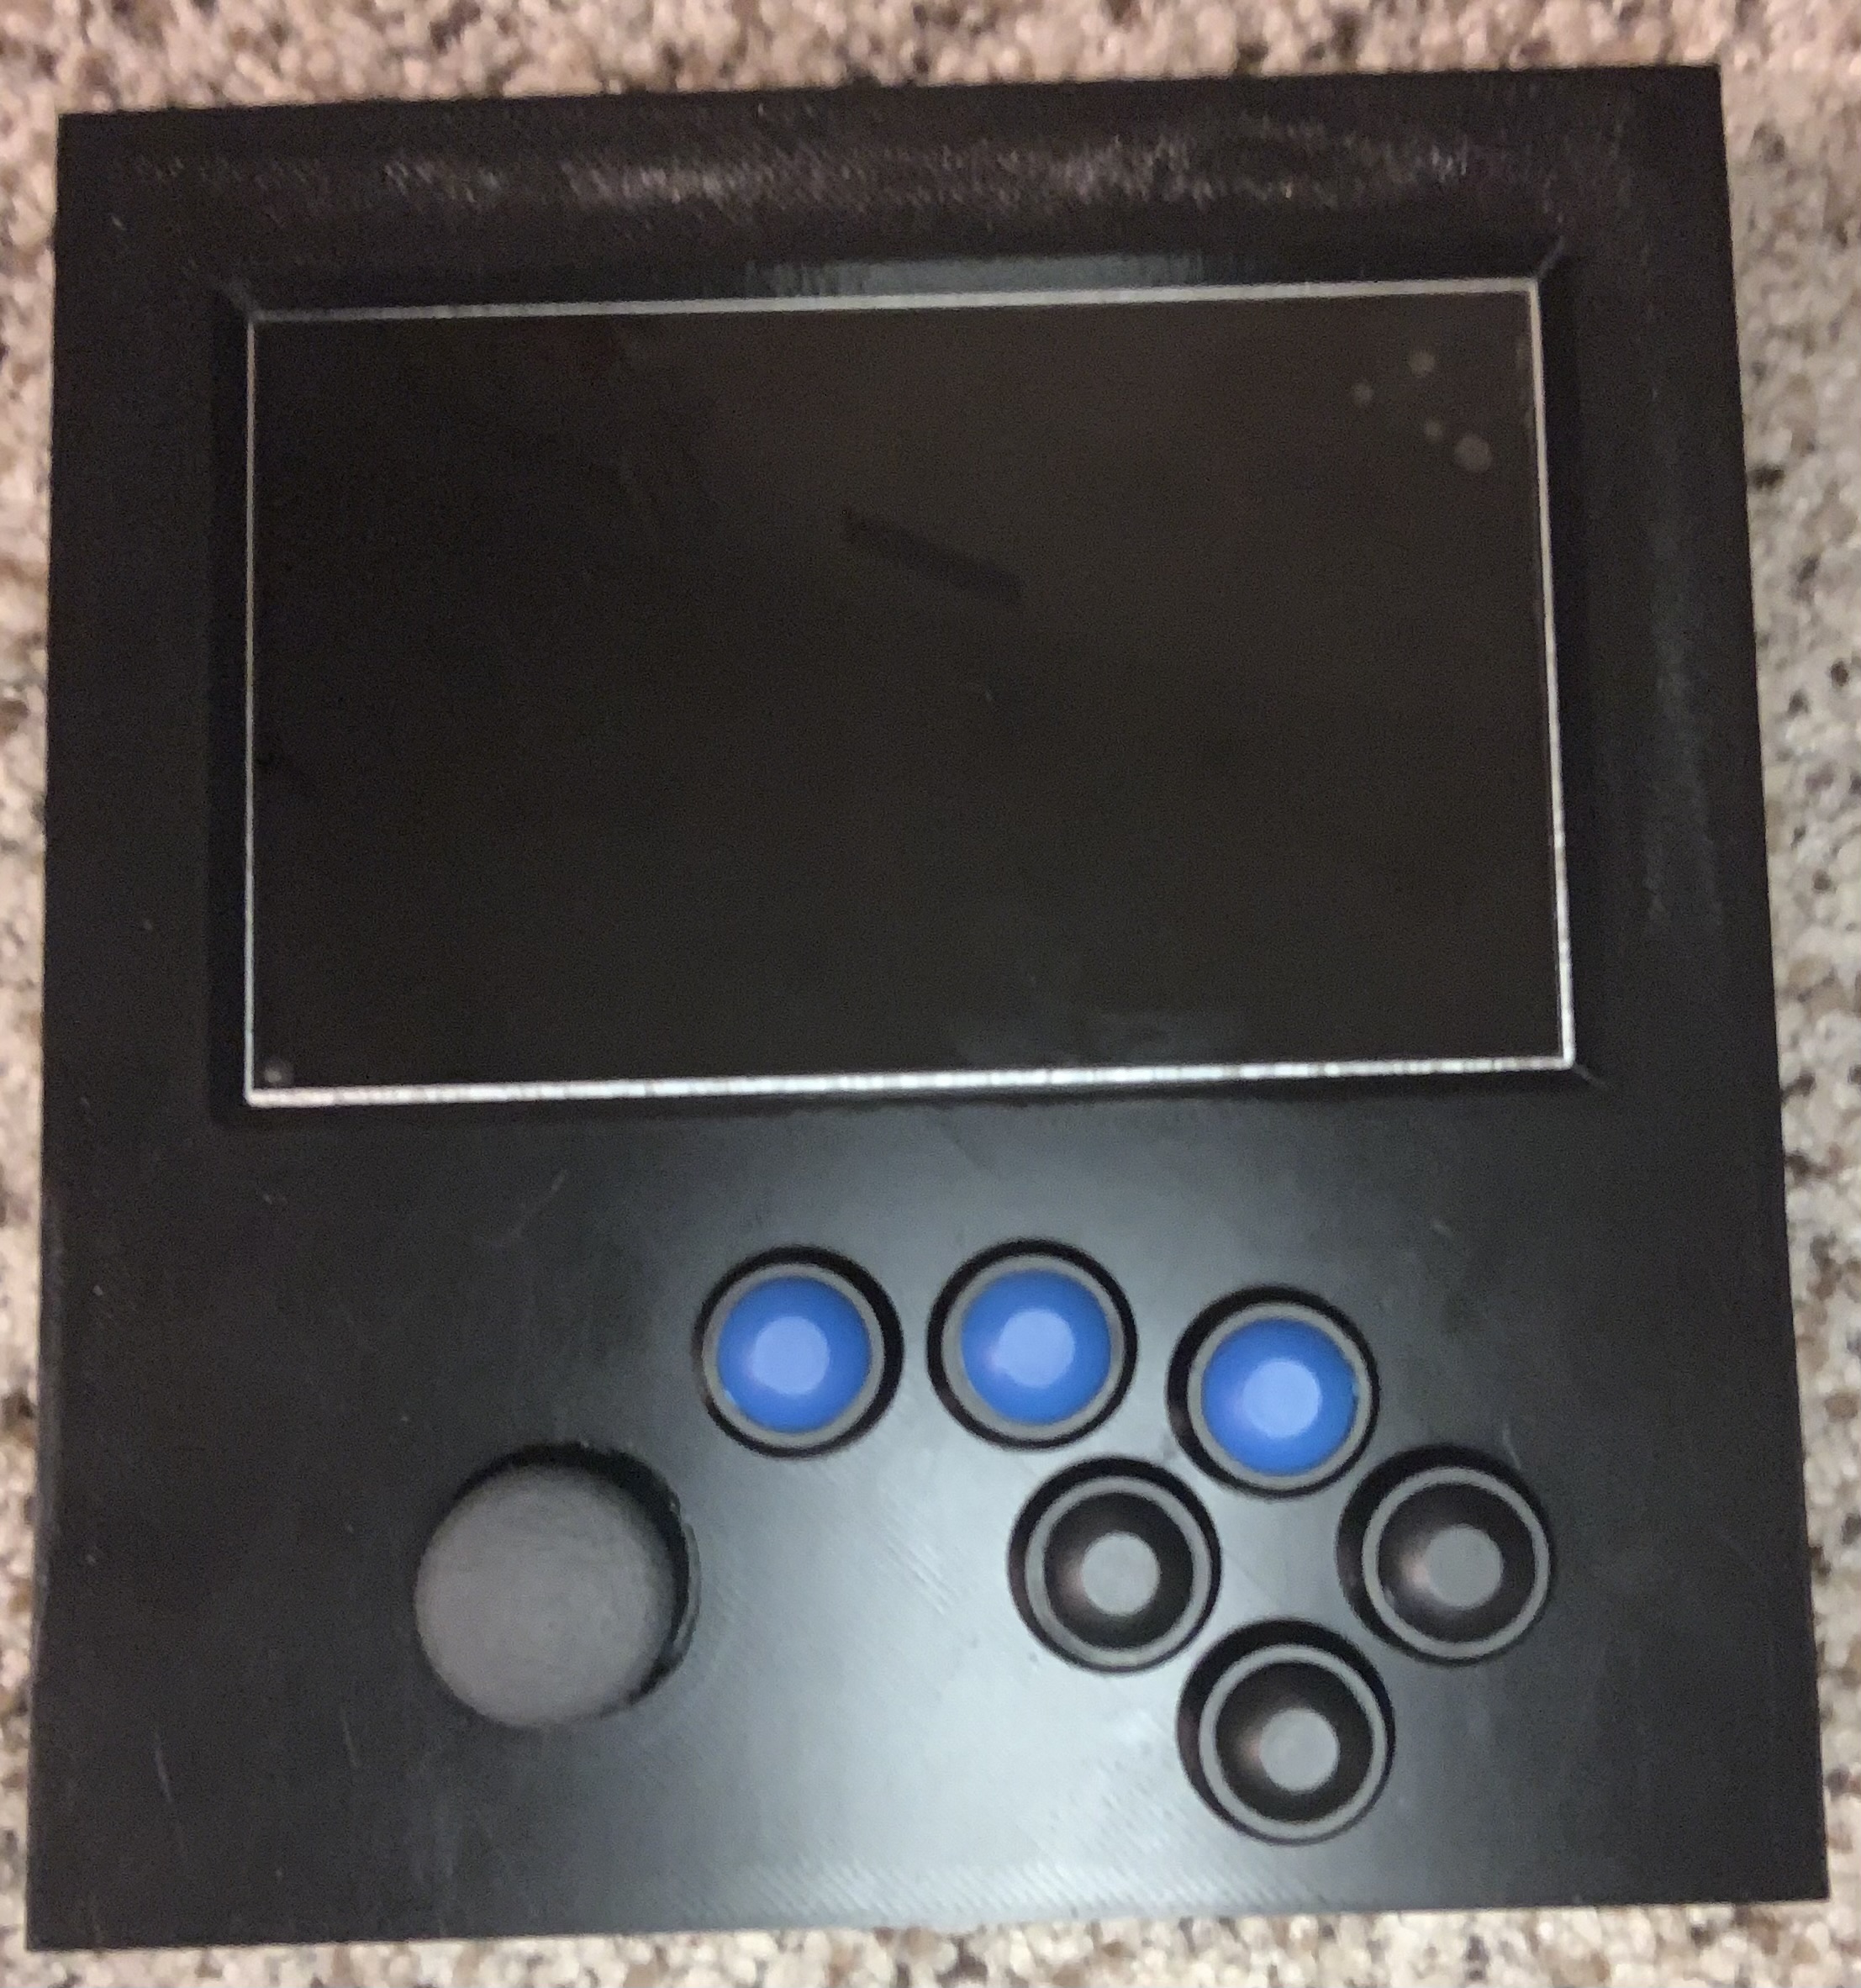
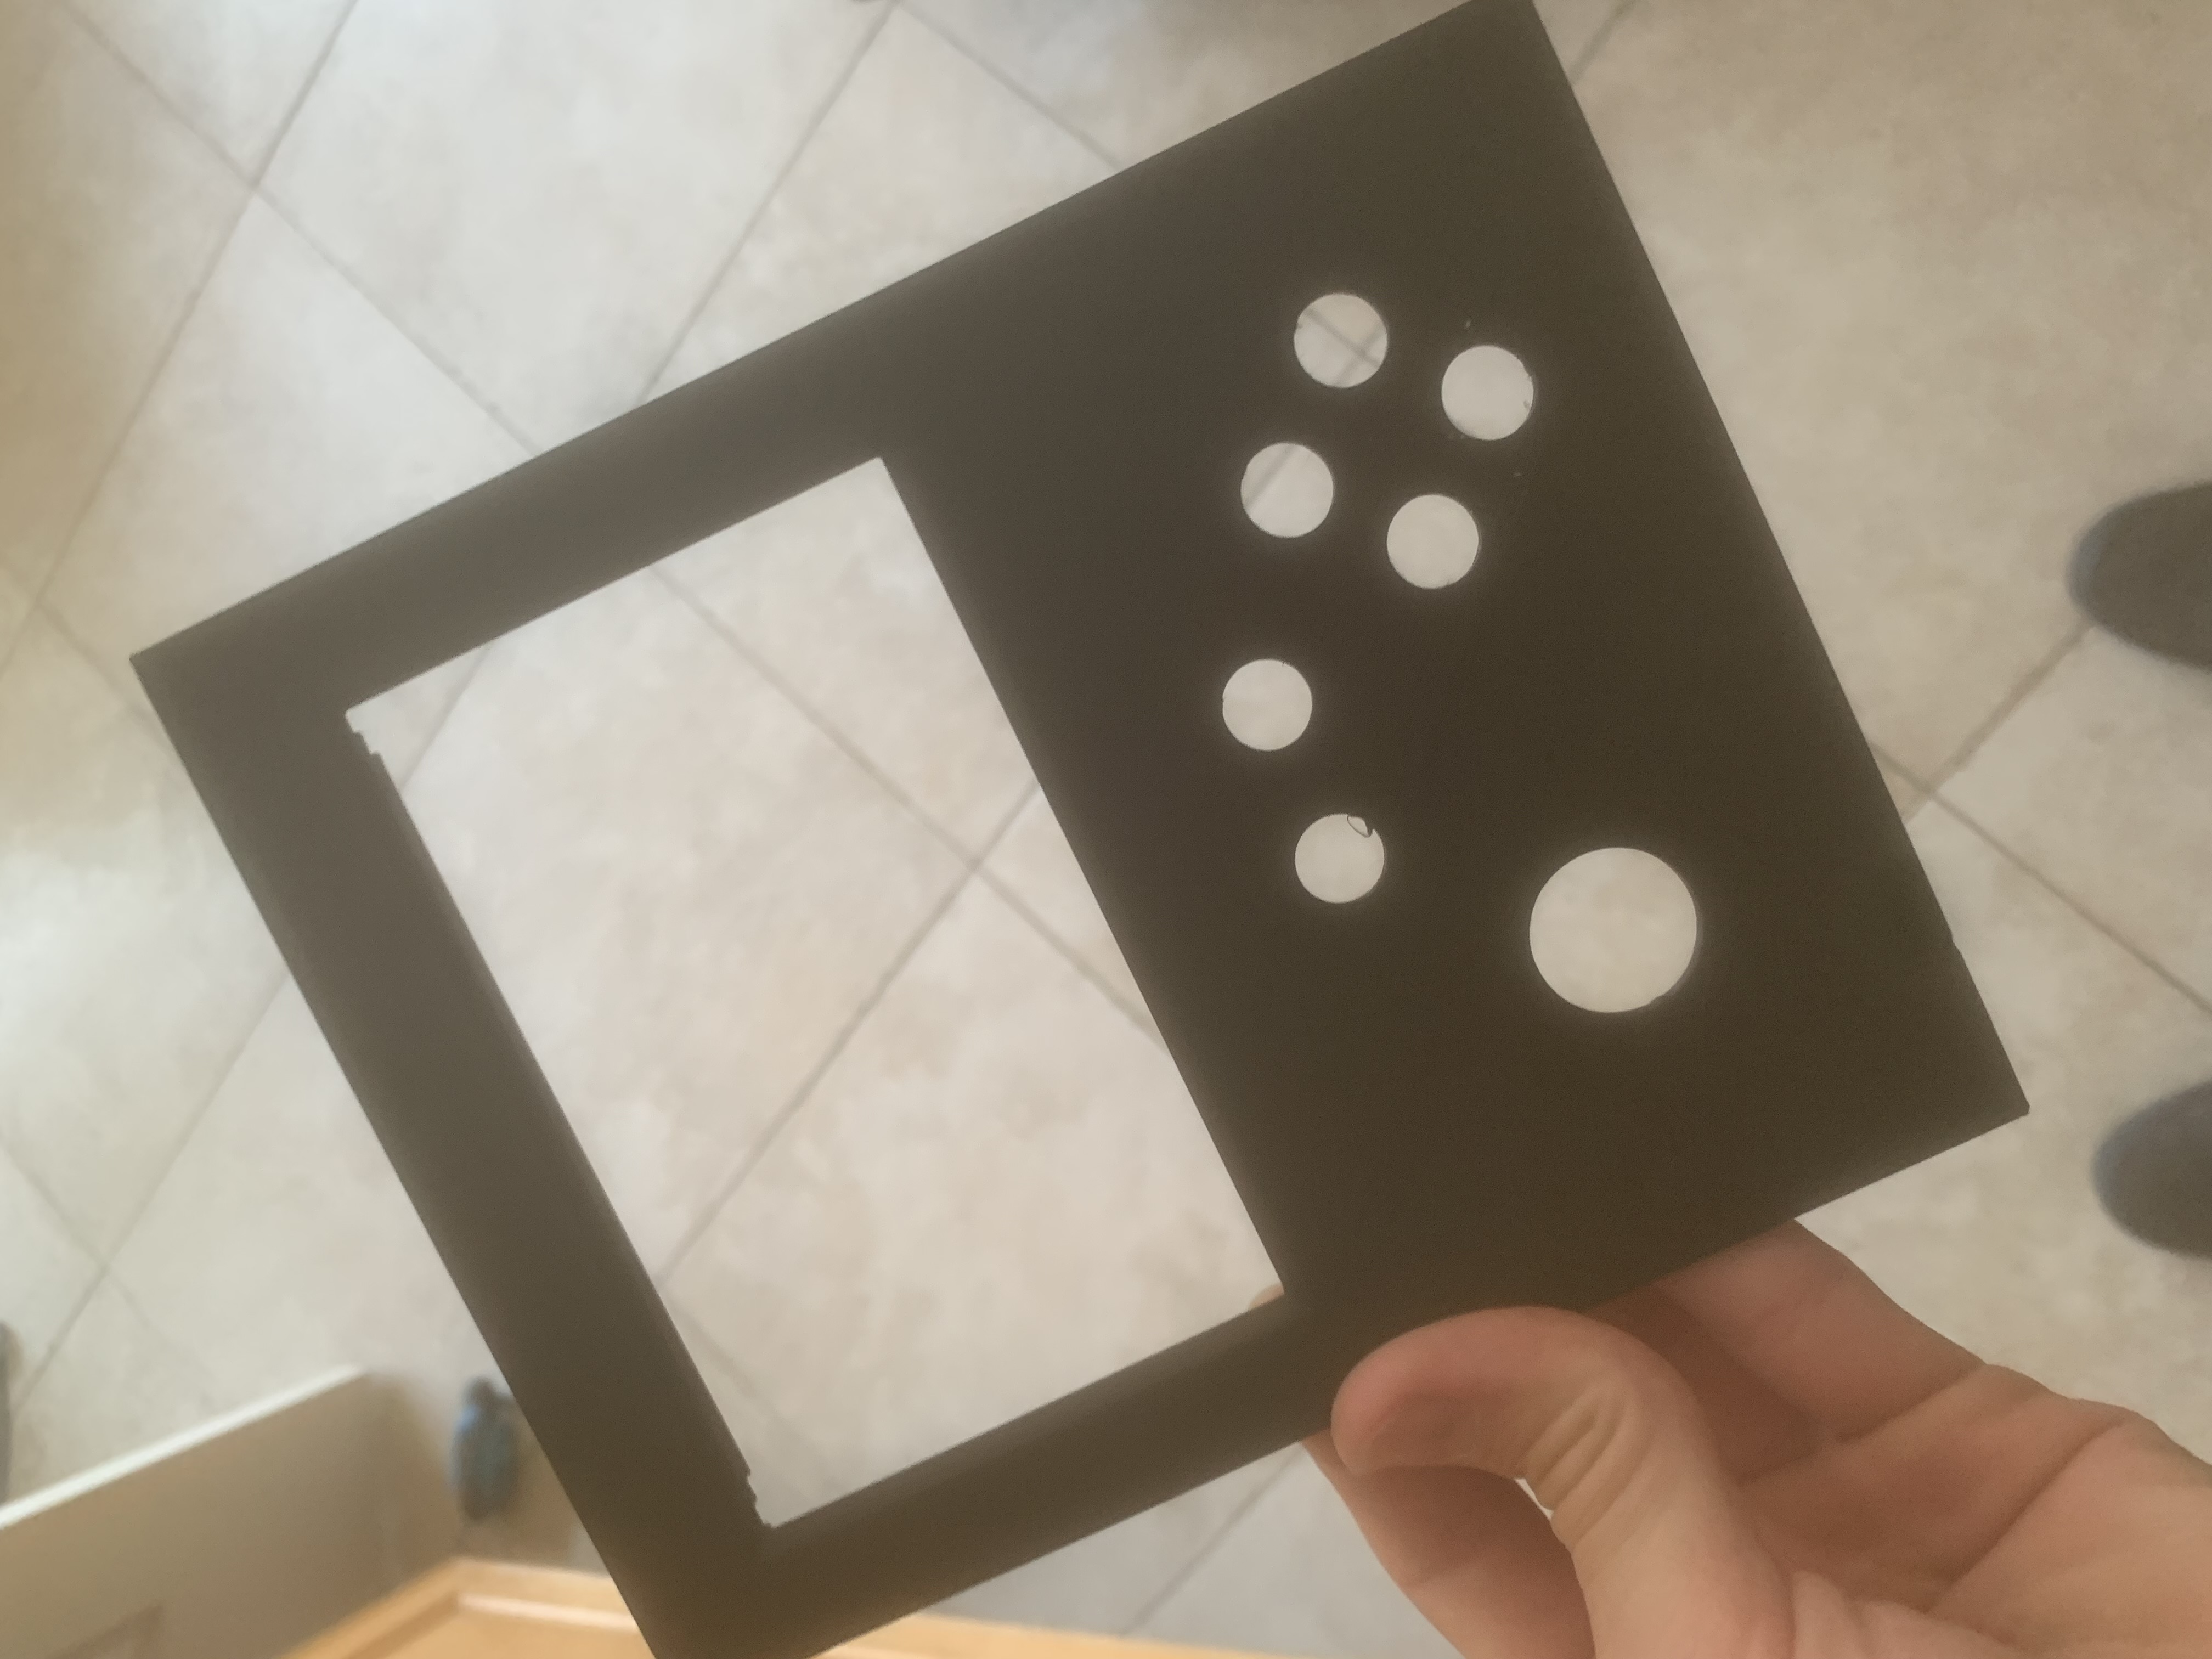
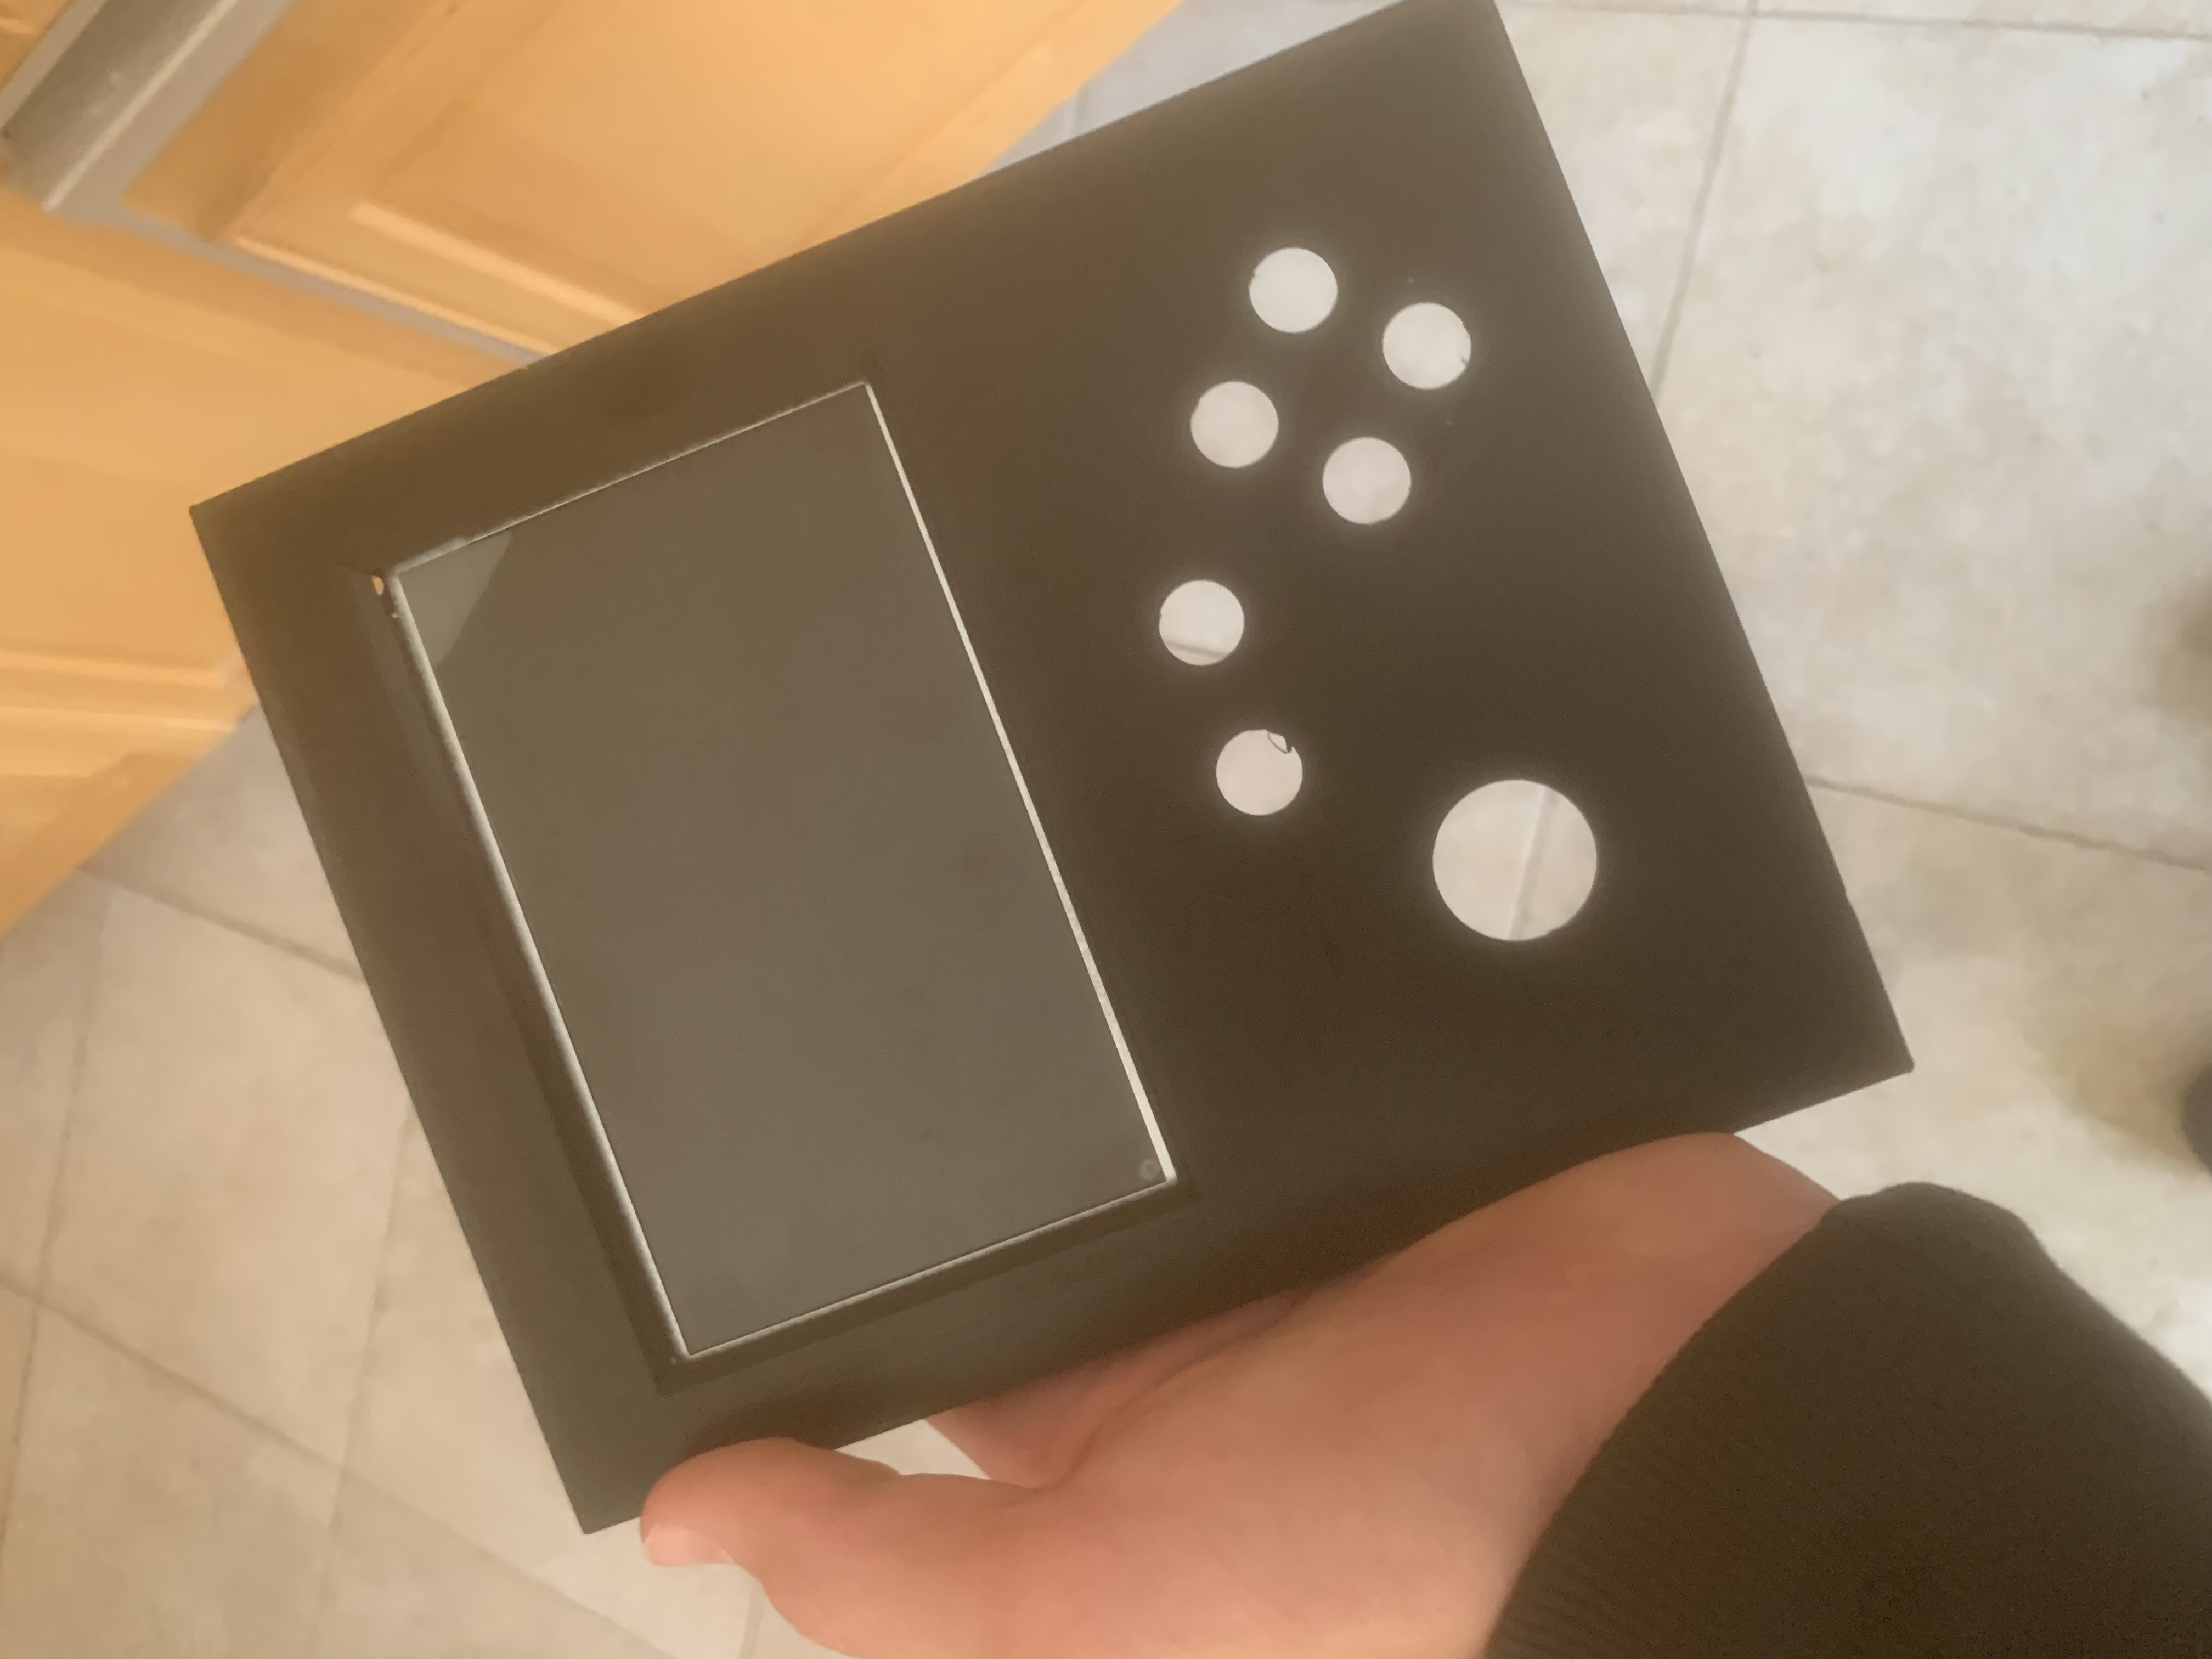
November 15, 2024: Final (hopefully) front plate printed + started to assemble.
 front plate printed + started to assemble/IMG_0732.JPG)
 front plate printed + started to assemble/IMG_0731.JPG)
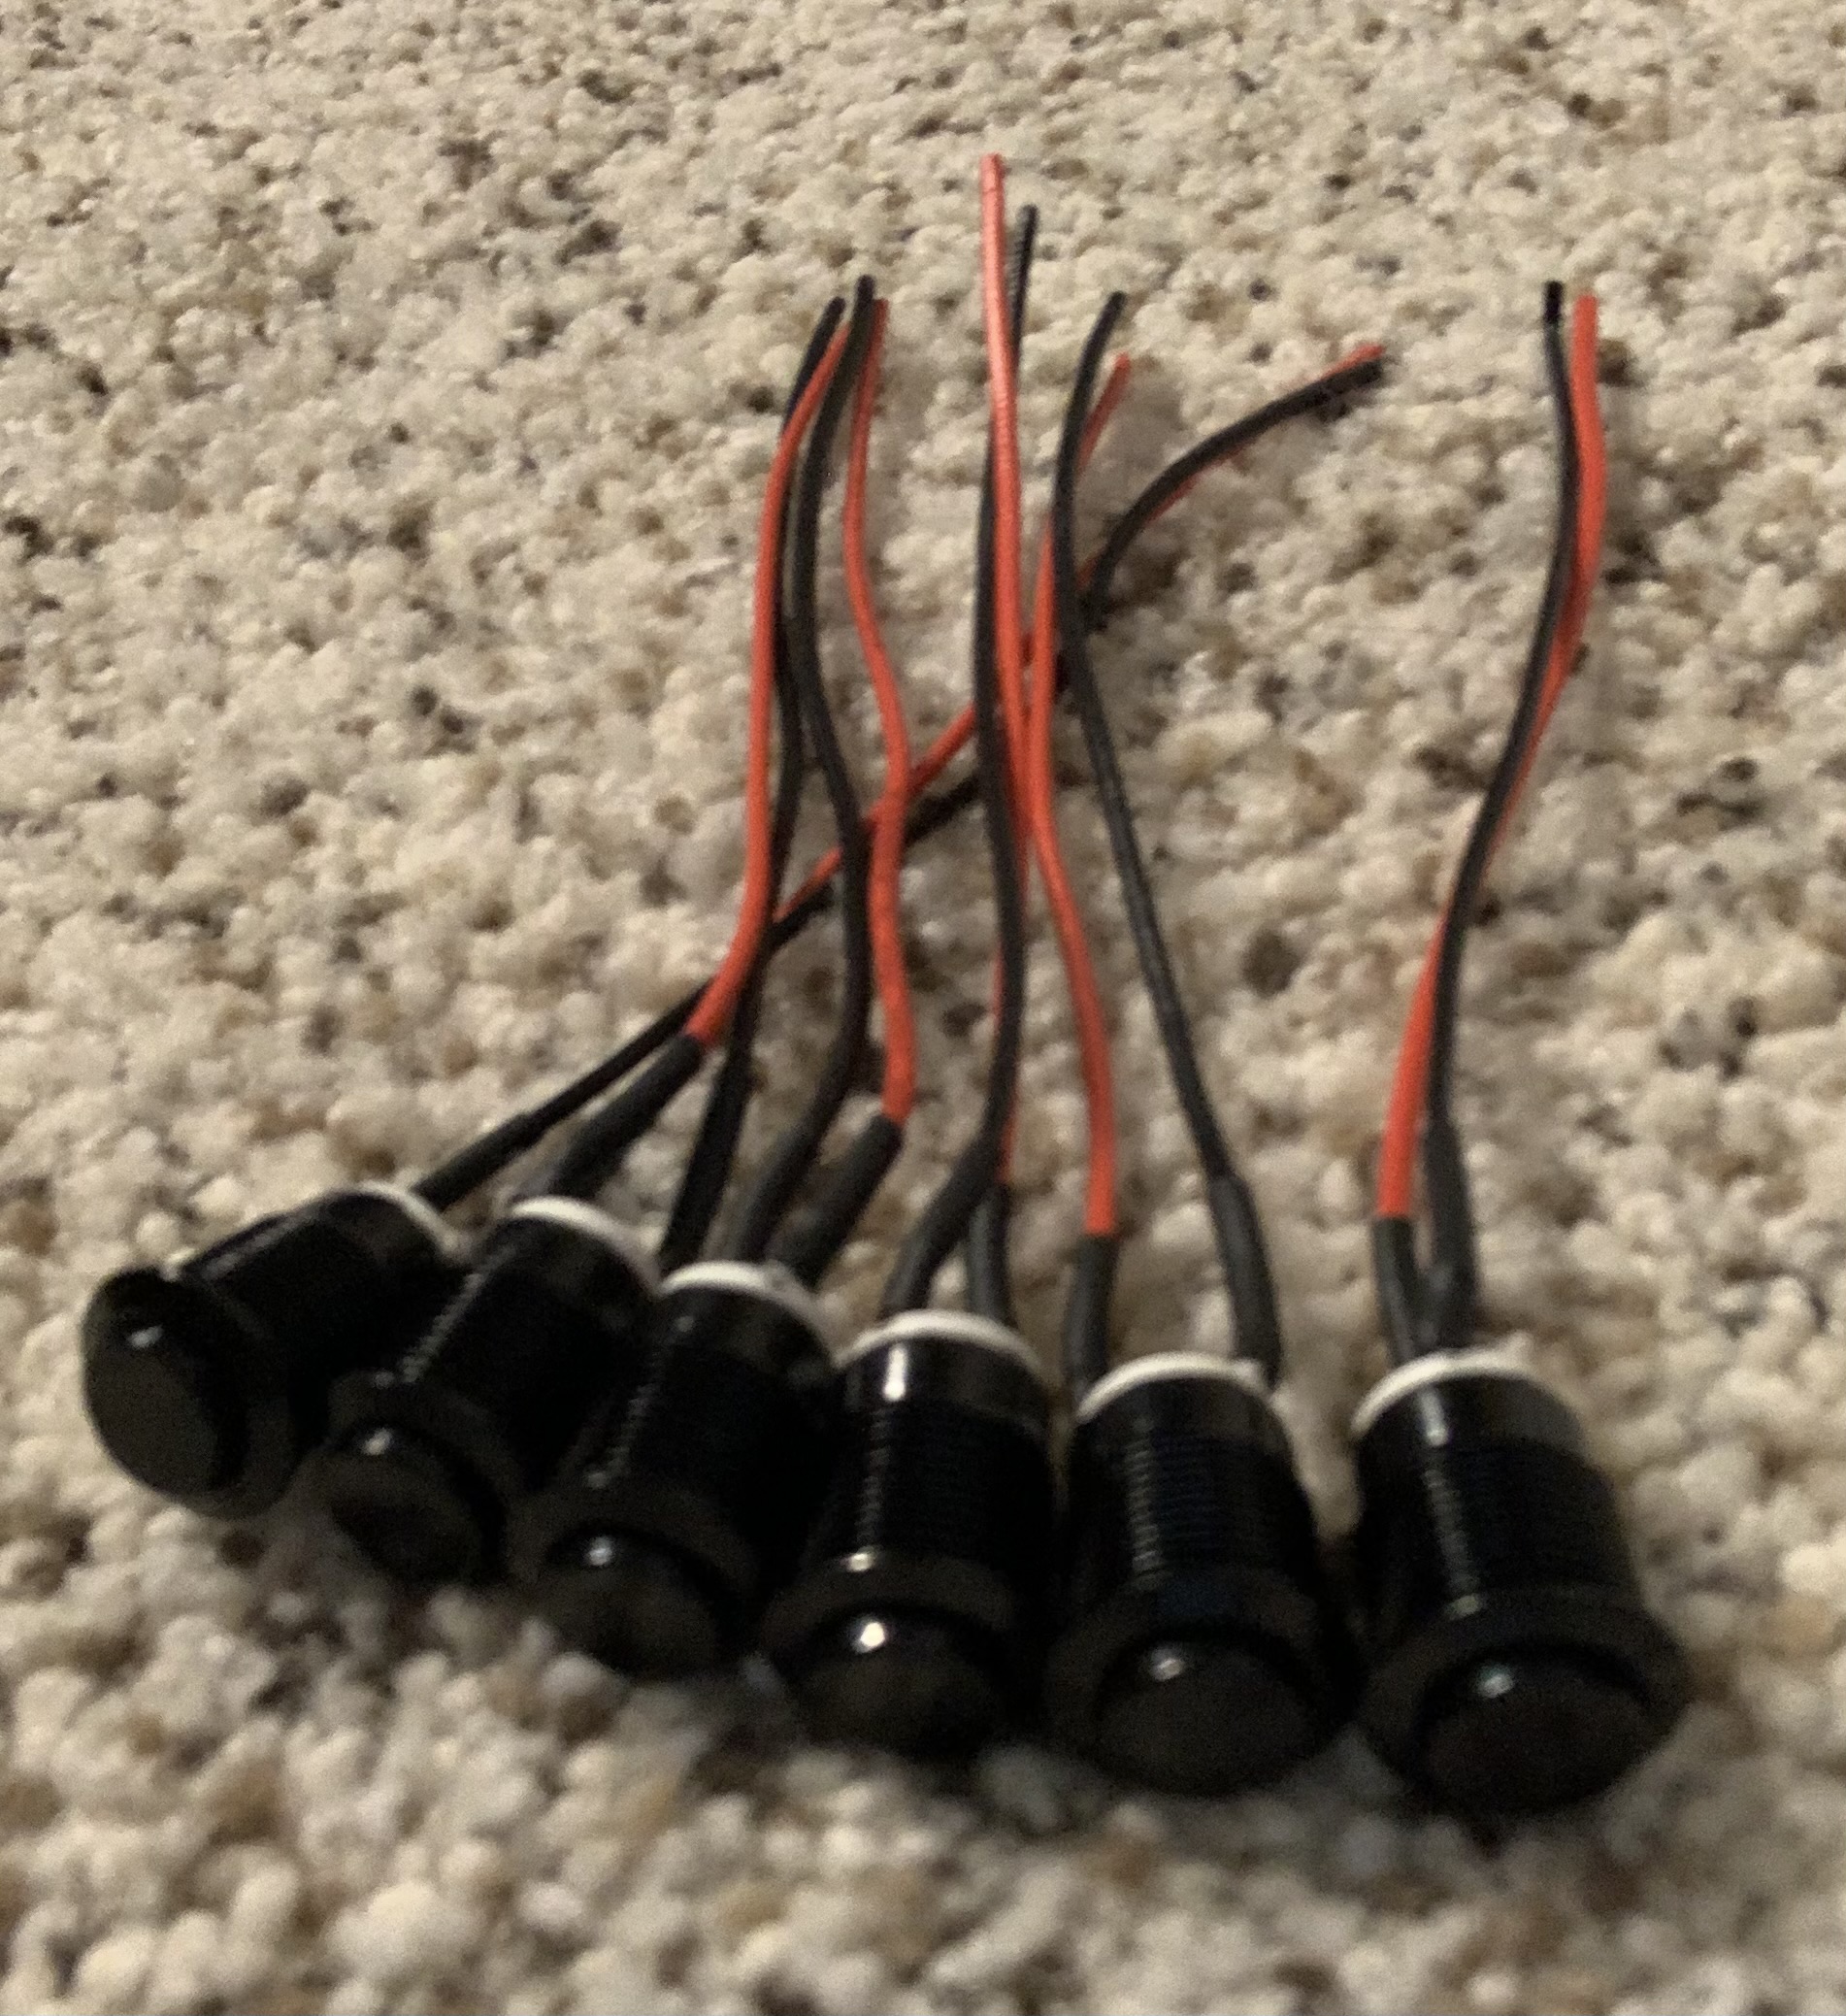
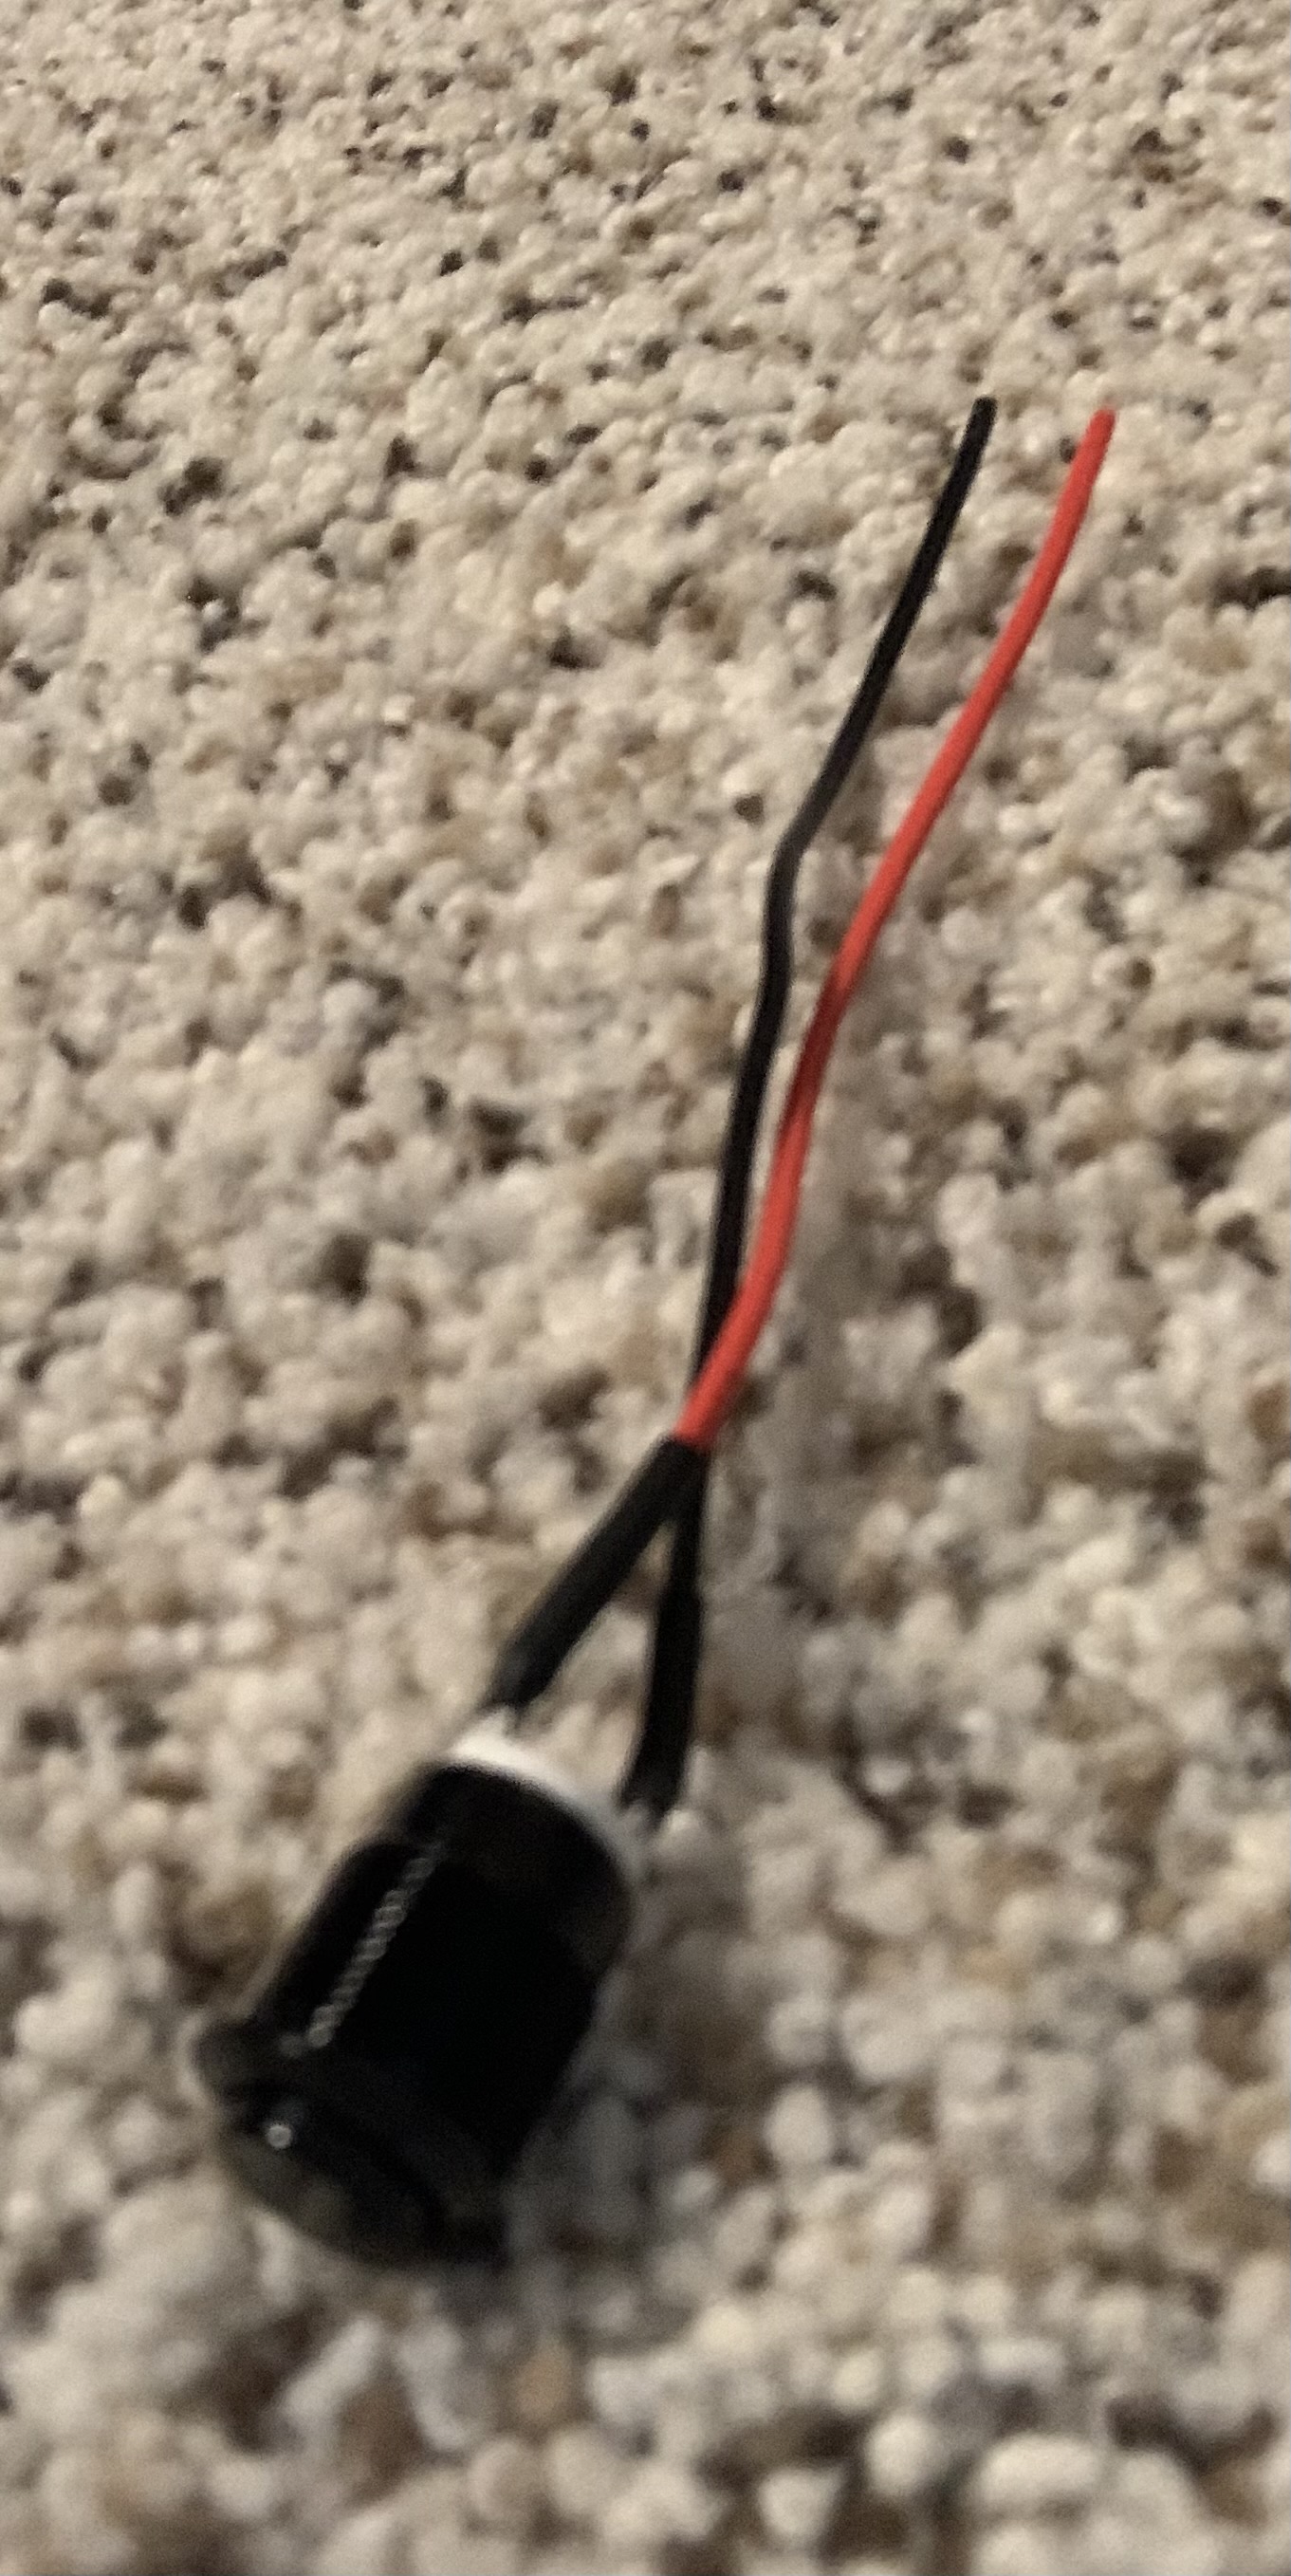
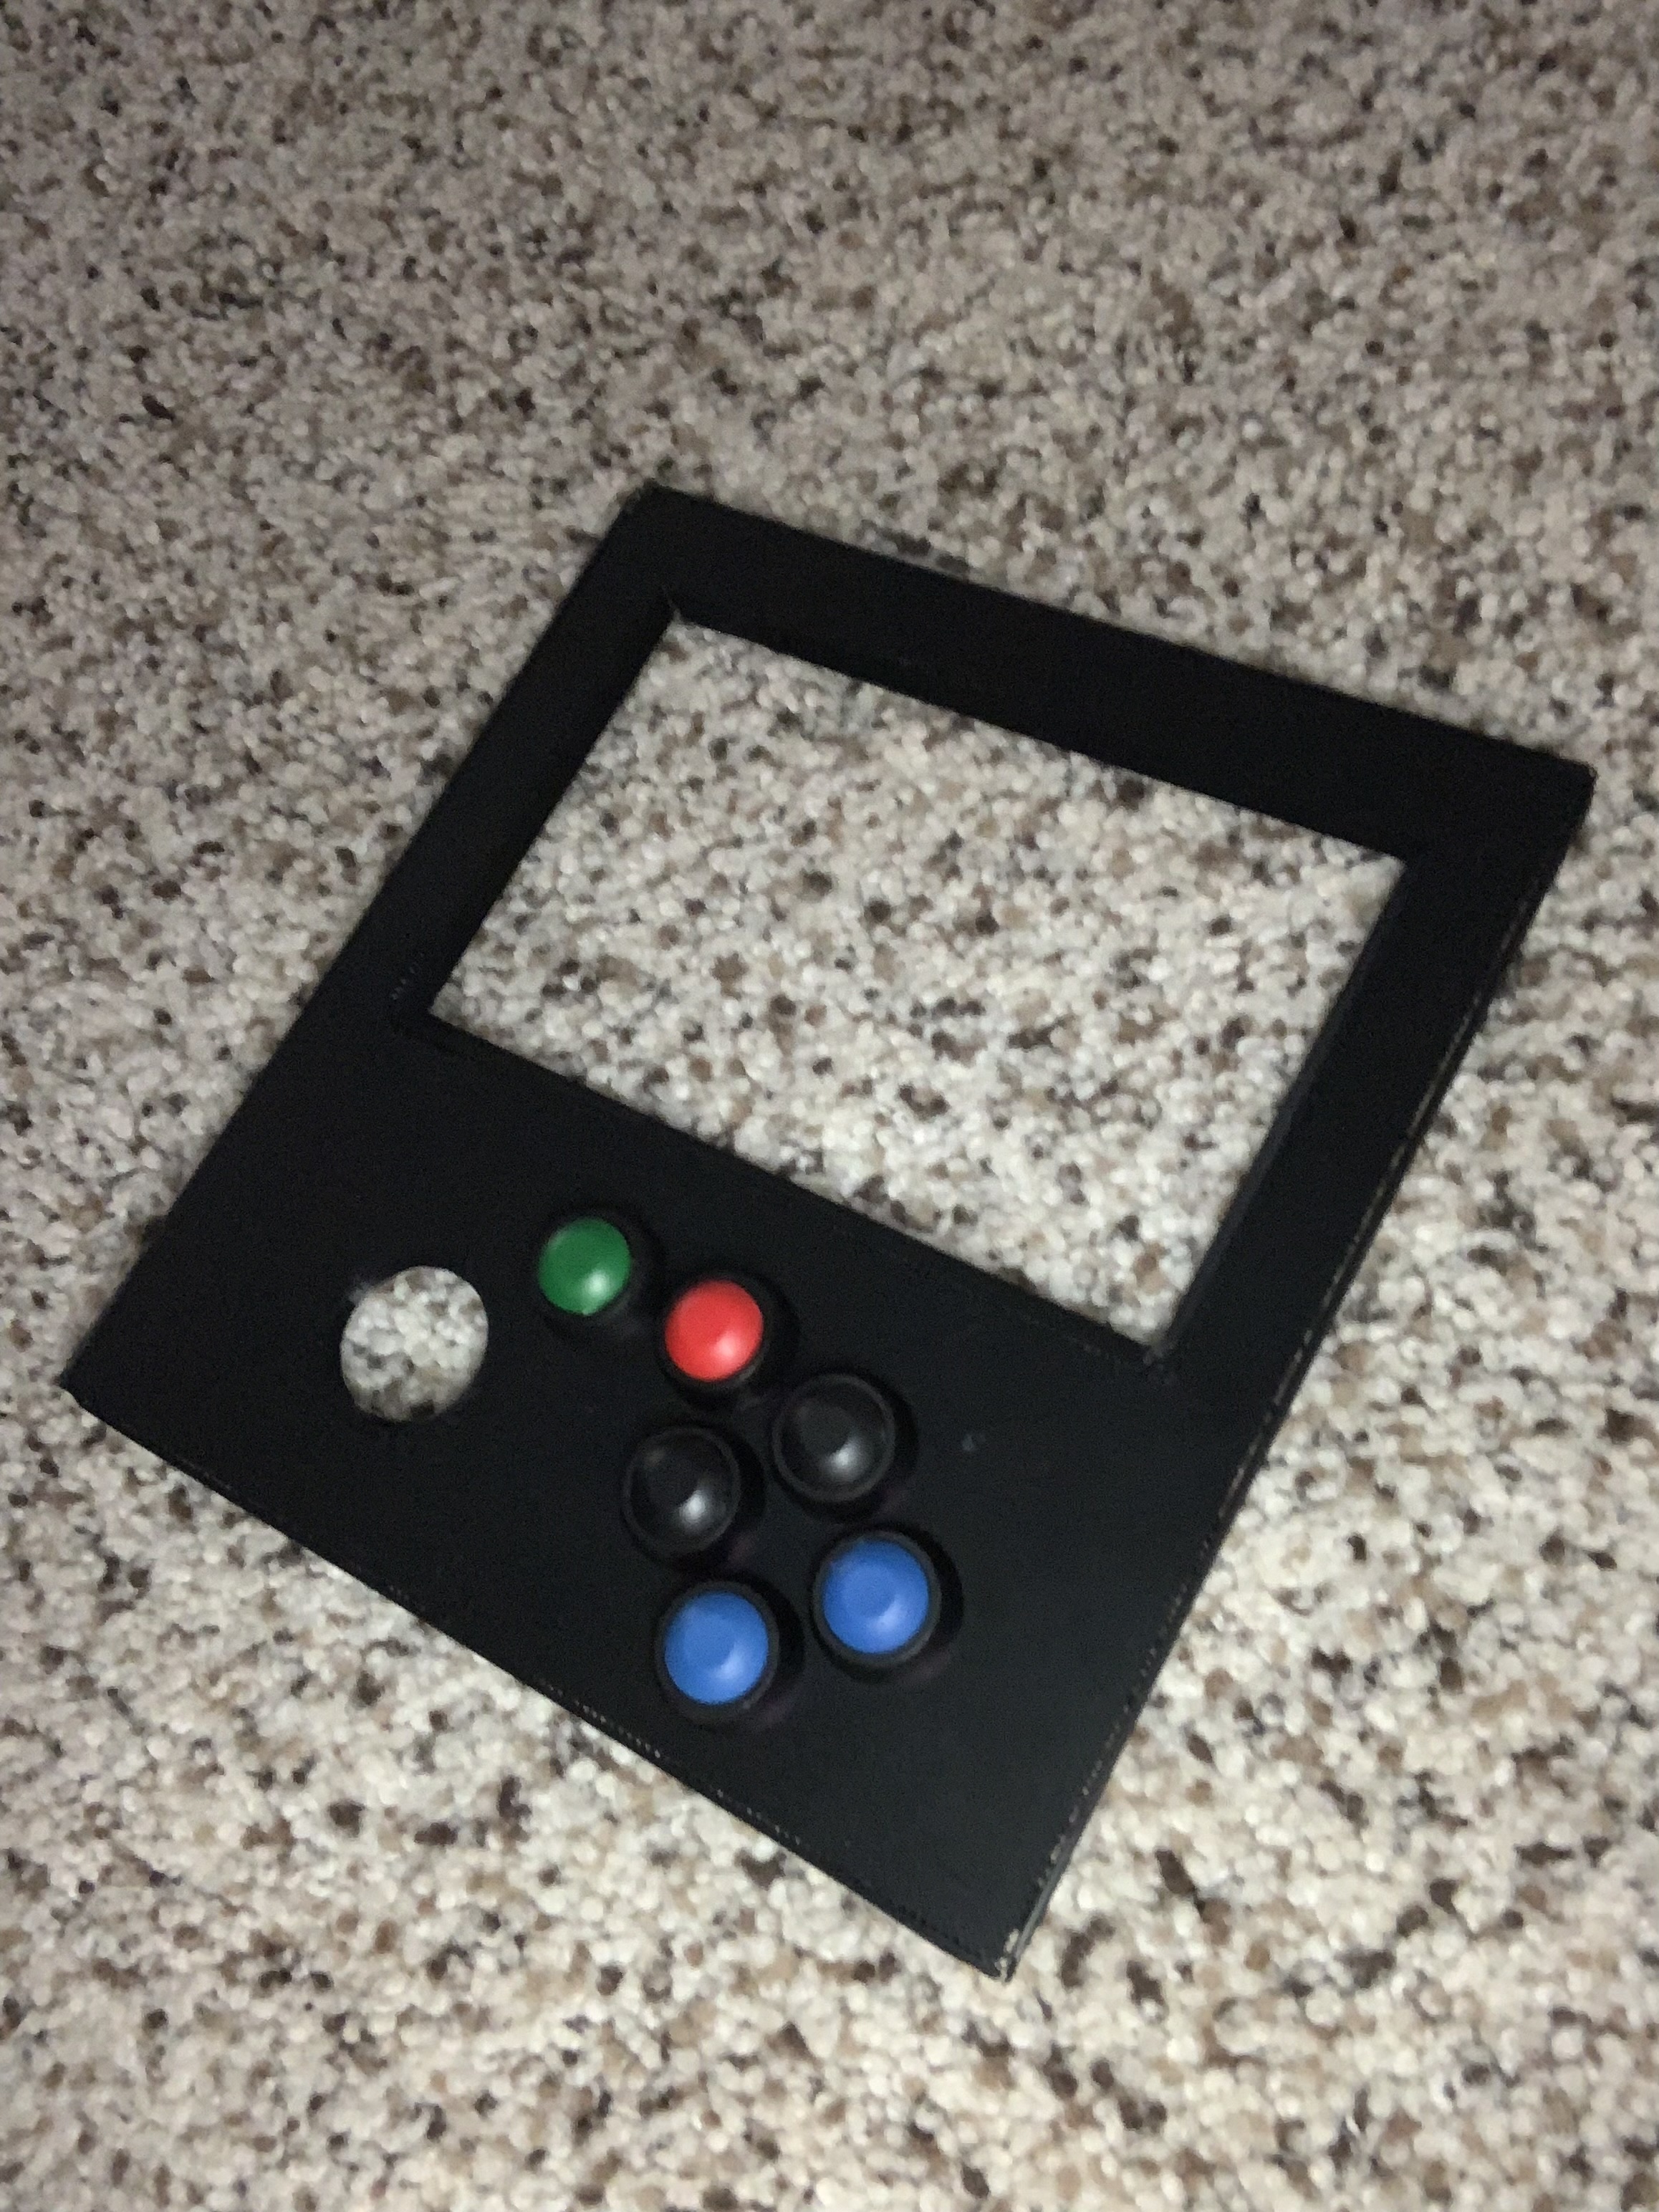
October 29, 2024: New buttons arrived.
October 28, 2024: Working on front panel v3.
October 22, 2024: Started wiring up the buttons to ground.

October 22, 2024: Front panel v2 printed.
October 22, 2024: Print failed but I can test the button fit.
October 20, 2024: Working on the pi5 mount.
October 19, 2024: Working on front panel v2.
October 18, 2024: Front panel v1 printed.
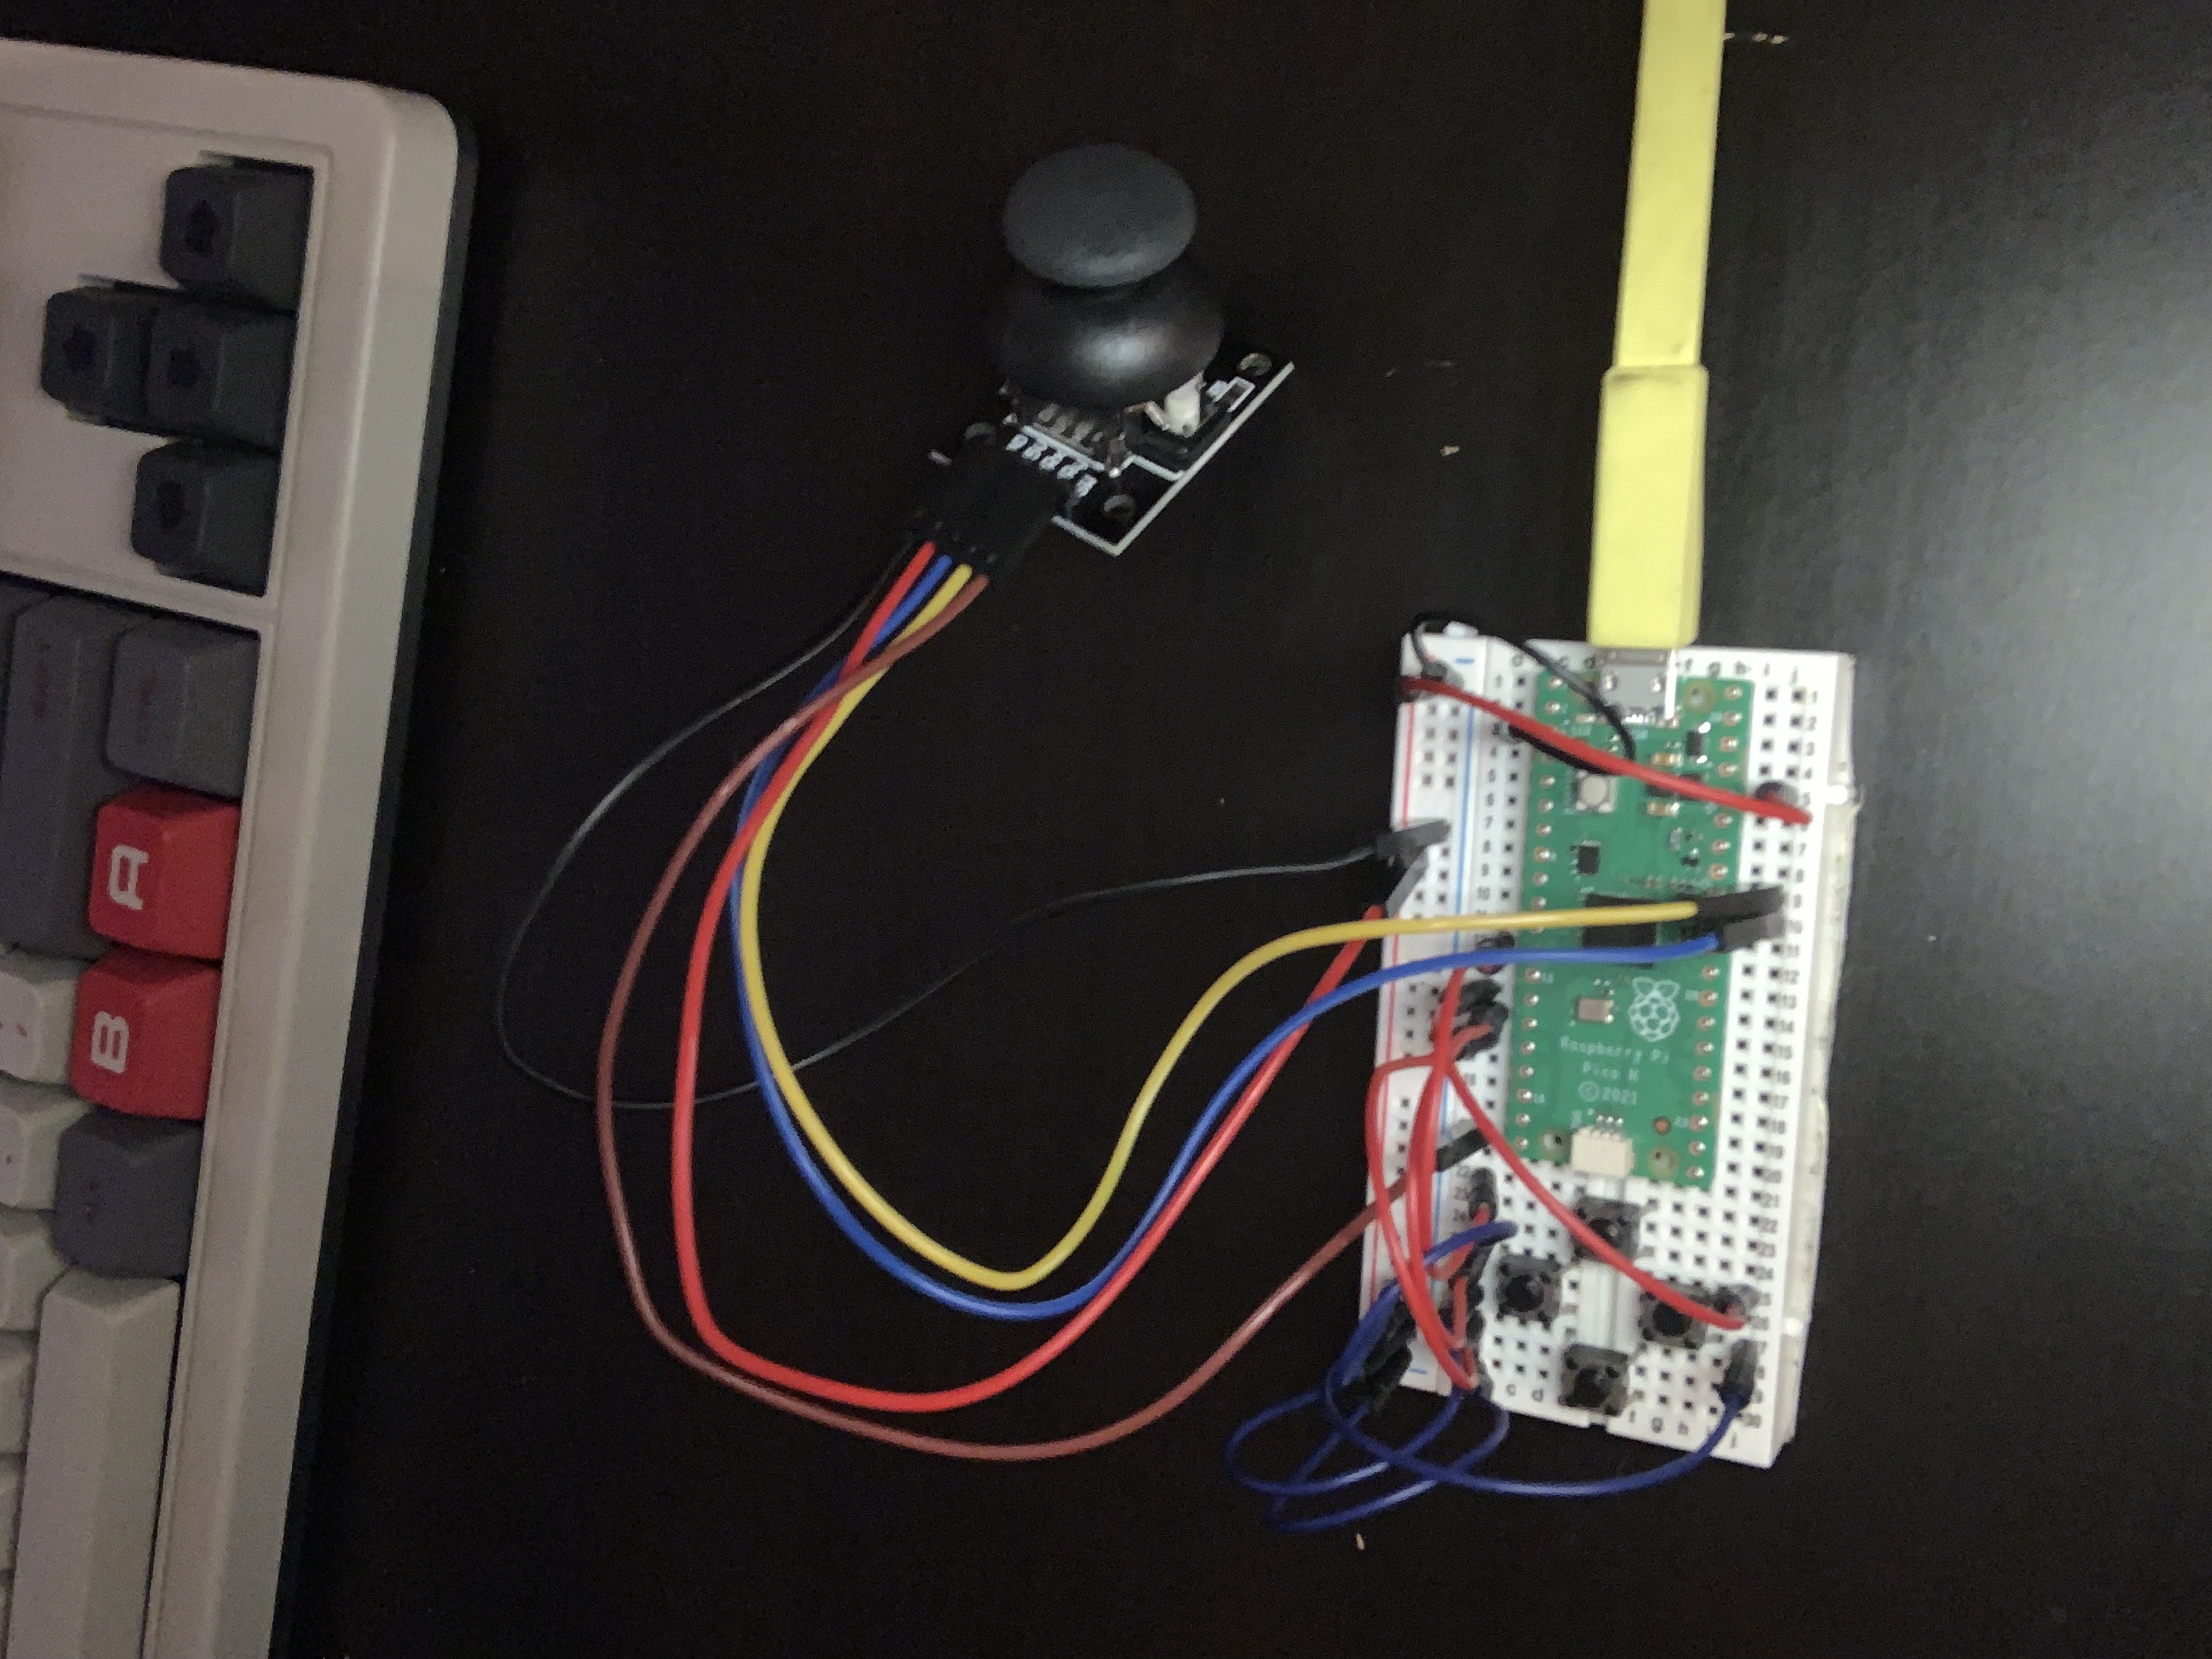
October 18, 2024: Controller wiring testing done.
October 17, 2024: Working on case model.

October 2, 2024: Controller Working (not plus and minus).